Closed Fields
Closed Fields capture detailed information upon the return of an object, closing an action at its completion.
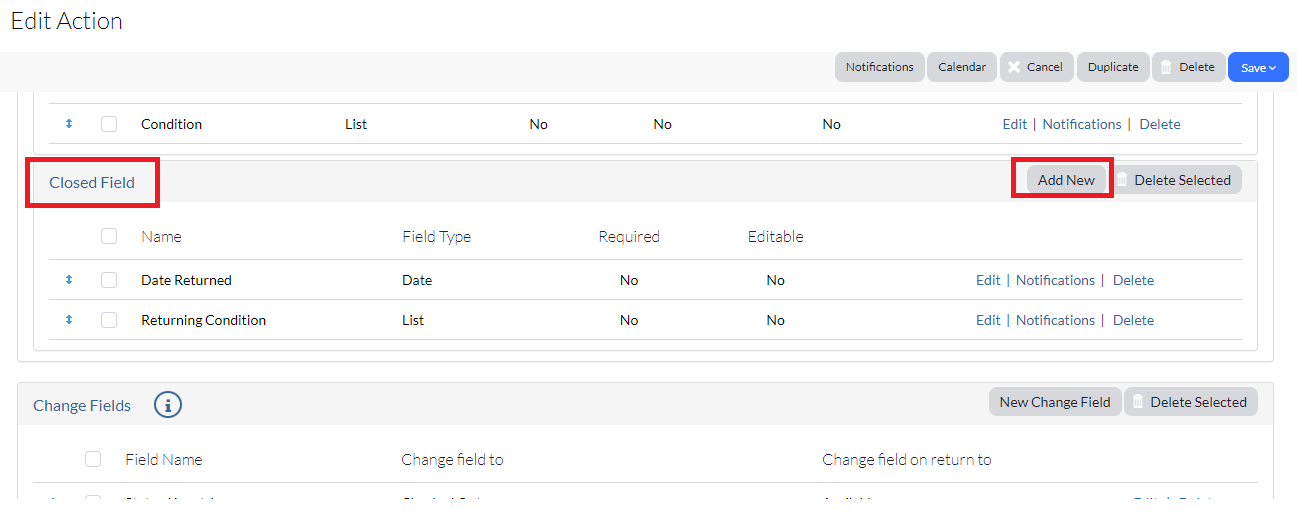
To create a closed field:
1. Navigate to the Closed Field section from within your action, and then click Add New.
NOTE: Your screen may eventually vary from our examples below, depending on the type you select from the Type drop-down menu. (Click the Type information icon to view definitions of the various Type options or see Field Type Descriptions.)
The Type you select will change your Closed Field options. (Click the information icon to view definitions of the various Type options or see Field Type Descriptions.)

2. Enter the title that you would like to name the column header within both your history tab and your open field reports.
NOTE: It is recommended to create a name that is very specific, making it easier for you to find.
3. The Full Text Field Display/Message is the description that is used on the action form, and describes the action open field in greater detail, if needed. It will automatically be populated with the label name if left blank.
4. Select the field type from the Type drop-down menu. The selected type defines the open field.
![]()
The Type you select will change your Closed Field options. (Click the information icon to view definitions of the various Type options or see Field Type Descriptions.)
Some of the Type descriptions will allow you to create other filter options, set dates and so forth.
5. Check the Required checkbox if you wish to require the field to be completed when the action occurs.
6. Select your edit preferences for the remaining options.
7. Click Save and Close to save your Closed Field and to be taken back to the Action list page.
Related Topics