Reserve Actions
Need or want to create a reserve action? Awesome, because that's what this article is all about; reserve actions! First, we need to let you know that reserve actions are date dependent actions meaning they are set to view existing booked times in order to prevent overlap. Nice, huh?
Let's delve in and we'll show you how to set one (or several) up.
Create a reserve action
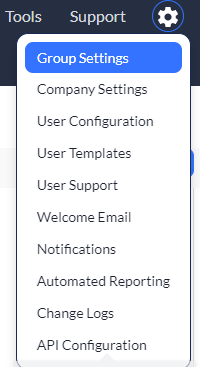
1. Click to select your settings ![]() icon, and then select Group Settings.
icon, and then select Group Settings.
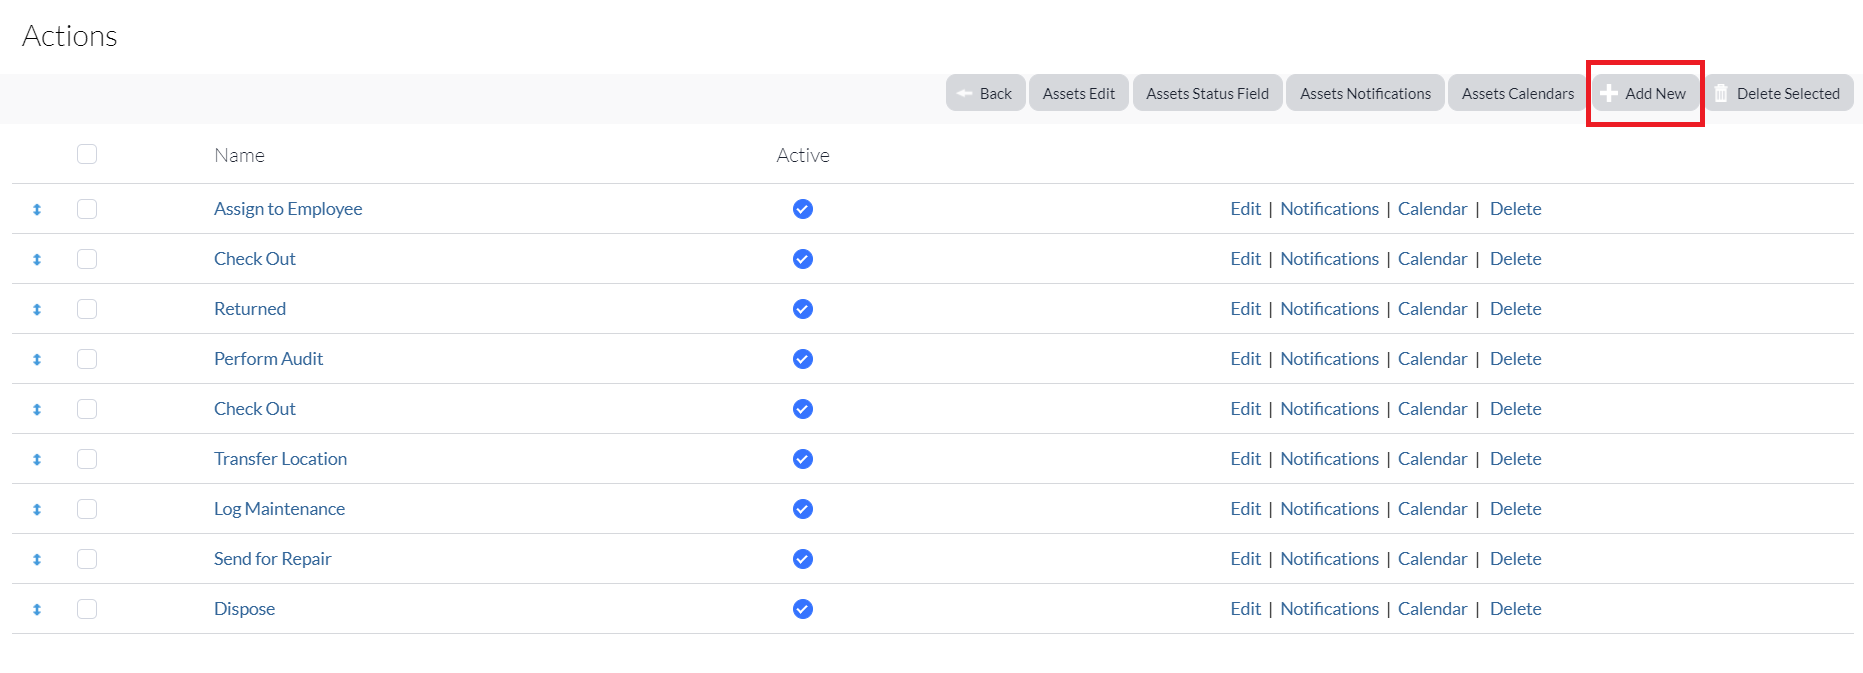
2. Select the Actions link from the group you wish to create a date dependent action, and then click Add New.
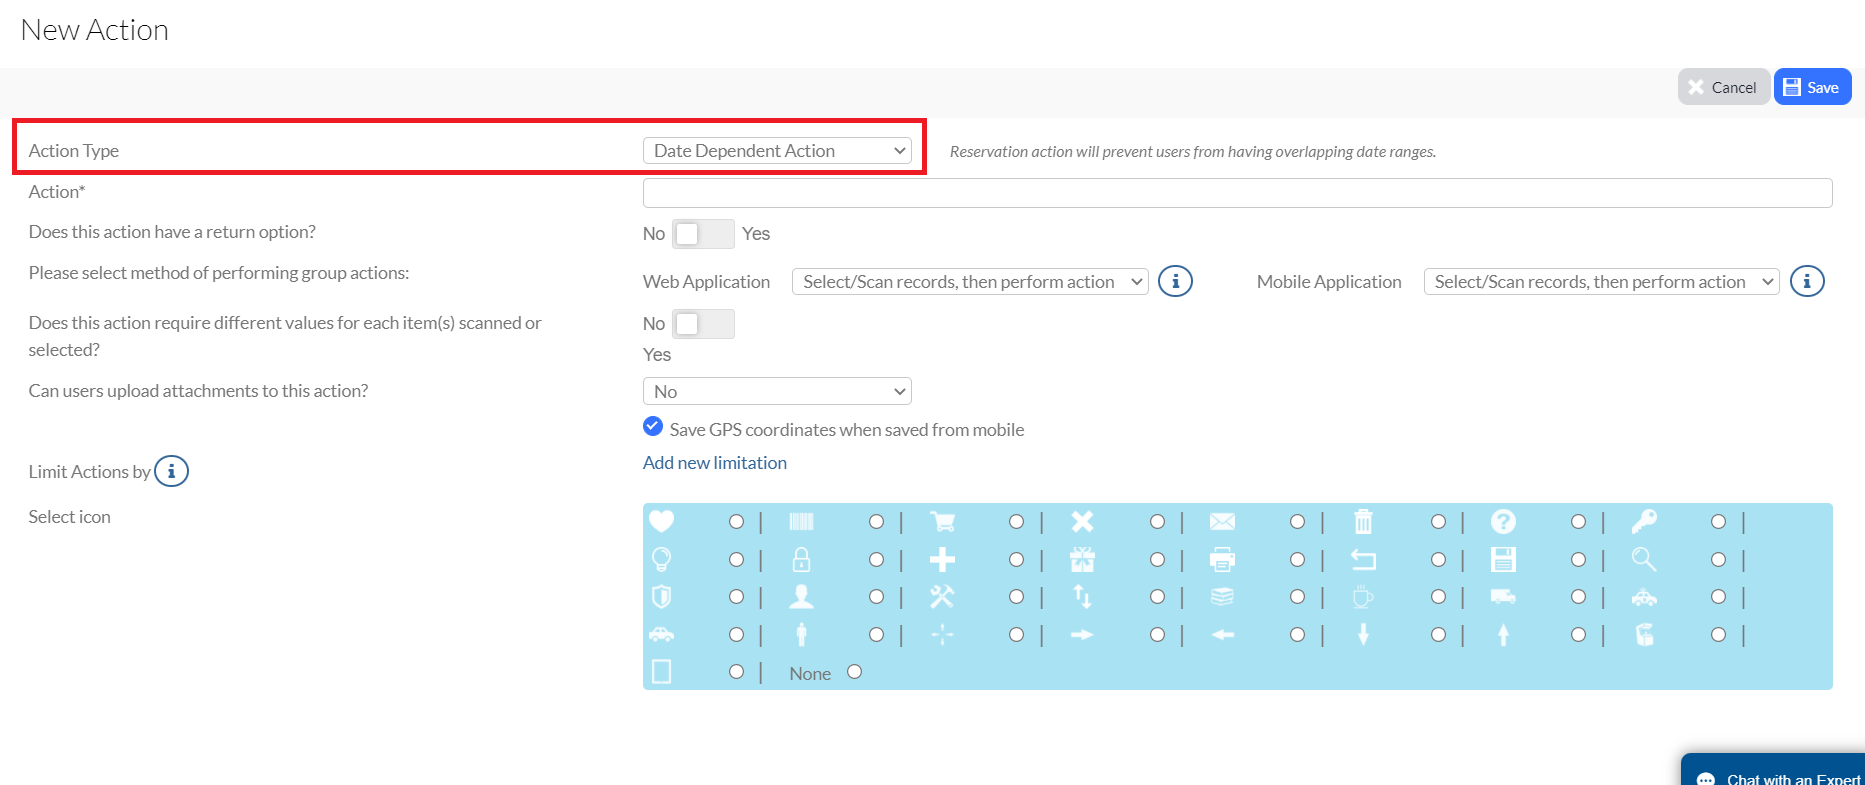
3. Select Date Dependent Action from the Action Type drop-down menu.
4. Type Reserve within the Action field. (This field is required.)
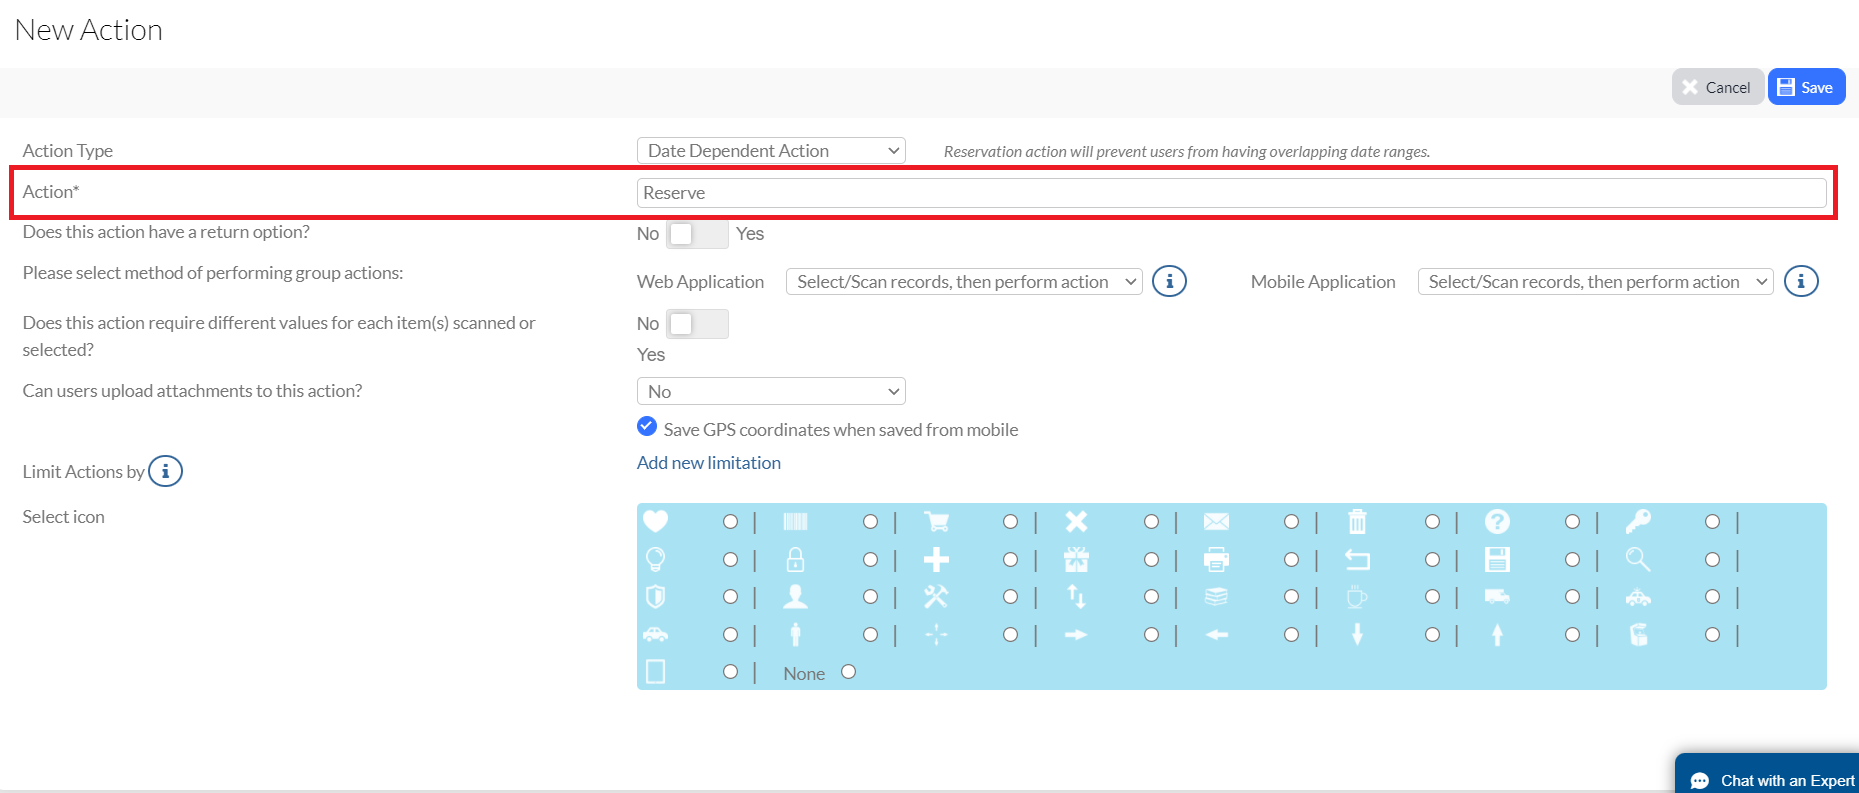
5. Click Save.
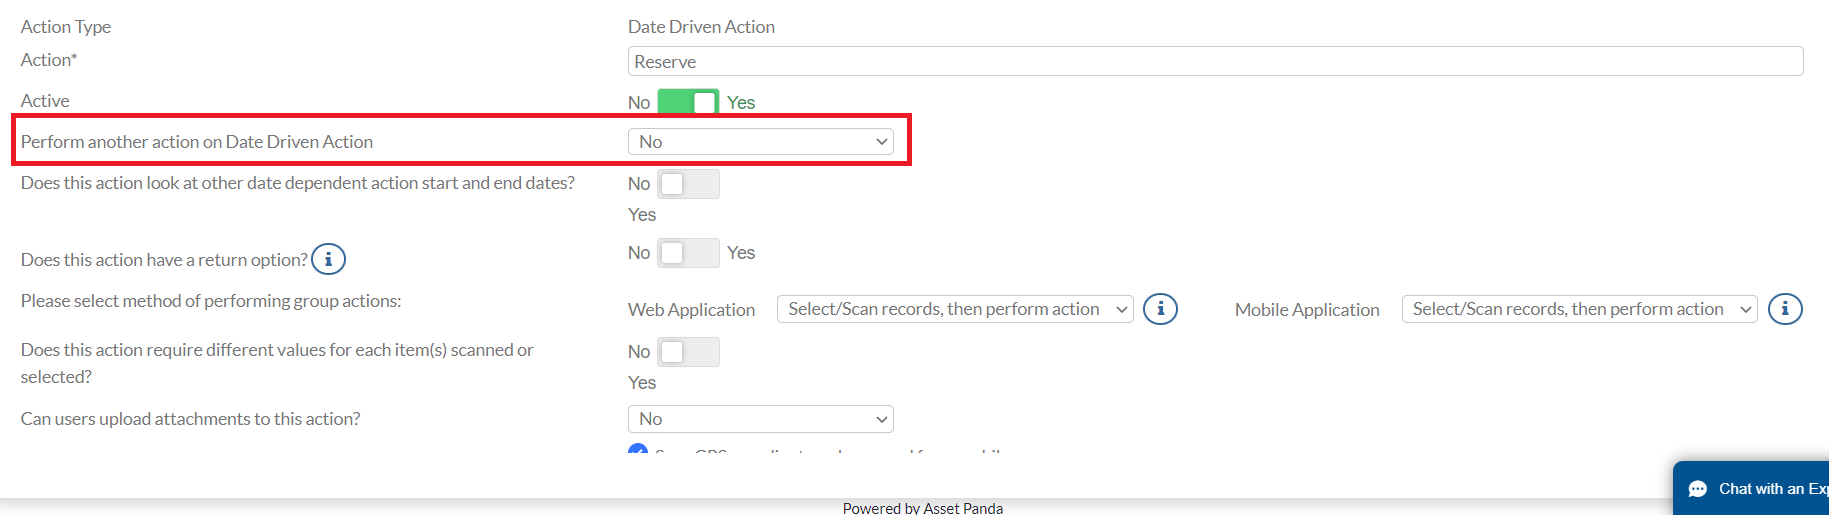
You will notice that the screen changes from the New Action screen to the Edit Action screen, providing you with new options.
6. Select No for the Perform another action on Date Driven Action field.
7. Scroll down to the Fields section, and then locate the Open Field section.
The Date Driven action automatically includes both the Start Date/Time and End Date/Time fields.

You cannot remove these fields although you can customize them by clicking the Edit link.
8. Click Add New to add additional, necessary fields such as Logged By, and Reserved For.
We will skip the Change Fields section because the Reserve action is only for reserving an asset, rather than immediately checking one out.
9. Select Save and Close.
Create a date driven reserve action
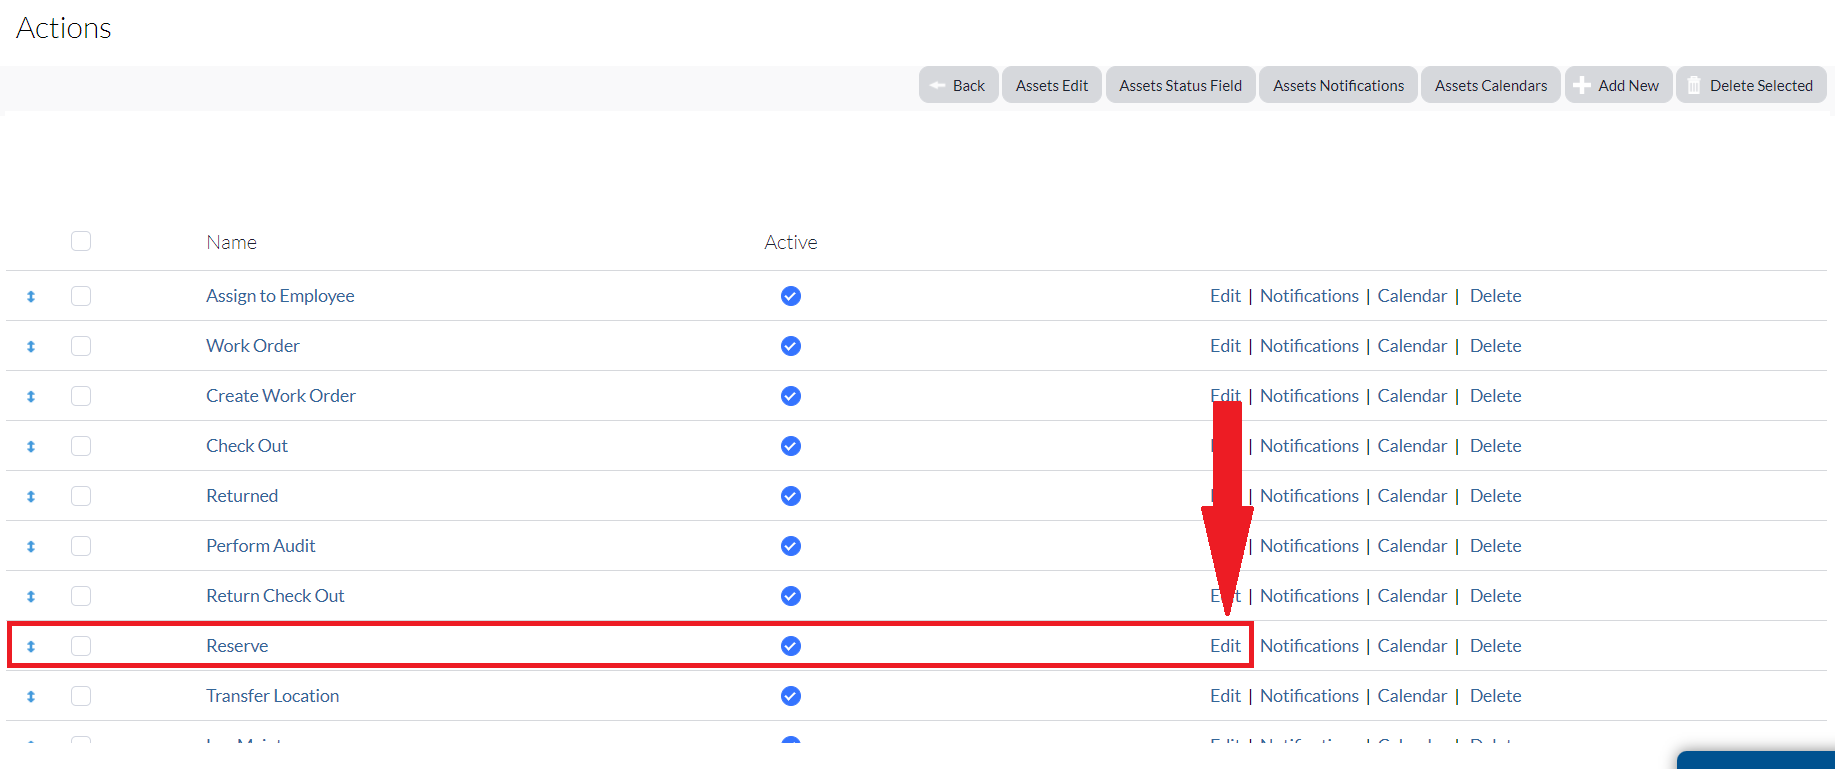
1. Return to your Reserve action, and then click Edit.
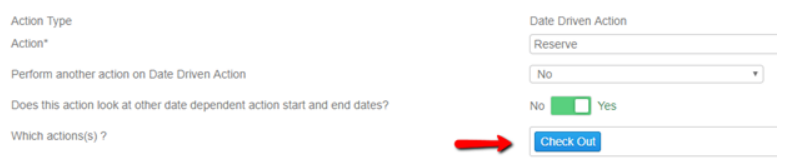
2. Switch the toggle to Yes for the Does this action look at other date dependent action start and end dates field.
3. For the Which action(s) field, select any other existing date driven actions that could have conflicting dates. (We've selected Check Out in our example.)
4. Click Save and Close when you have finished editing your action.
Perform a reservation action
Now that the necessary actions have been created, you can perform a reservation action.
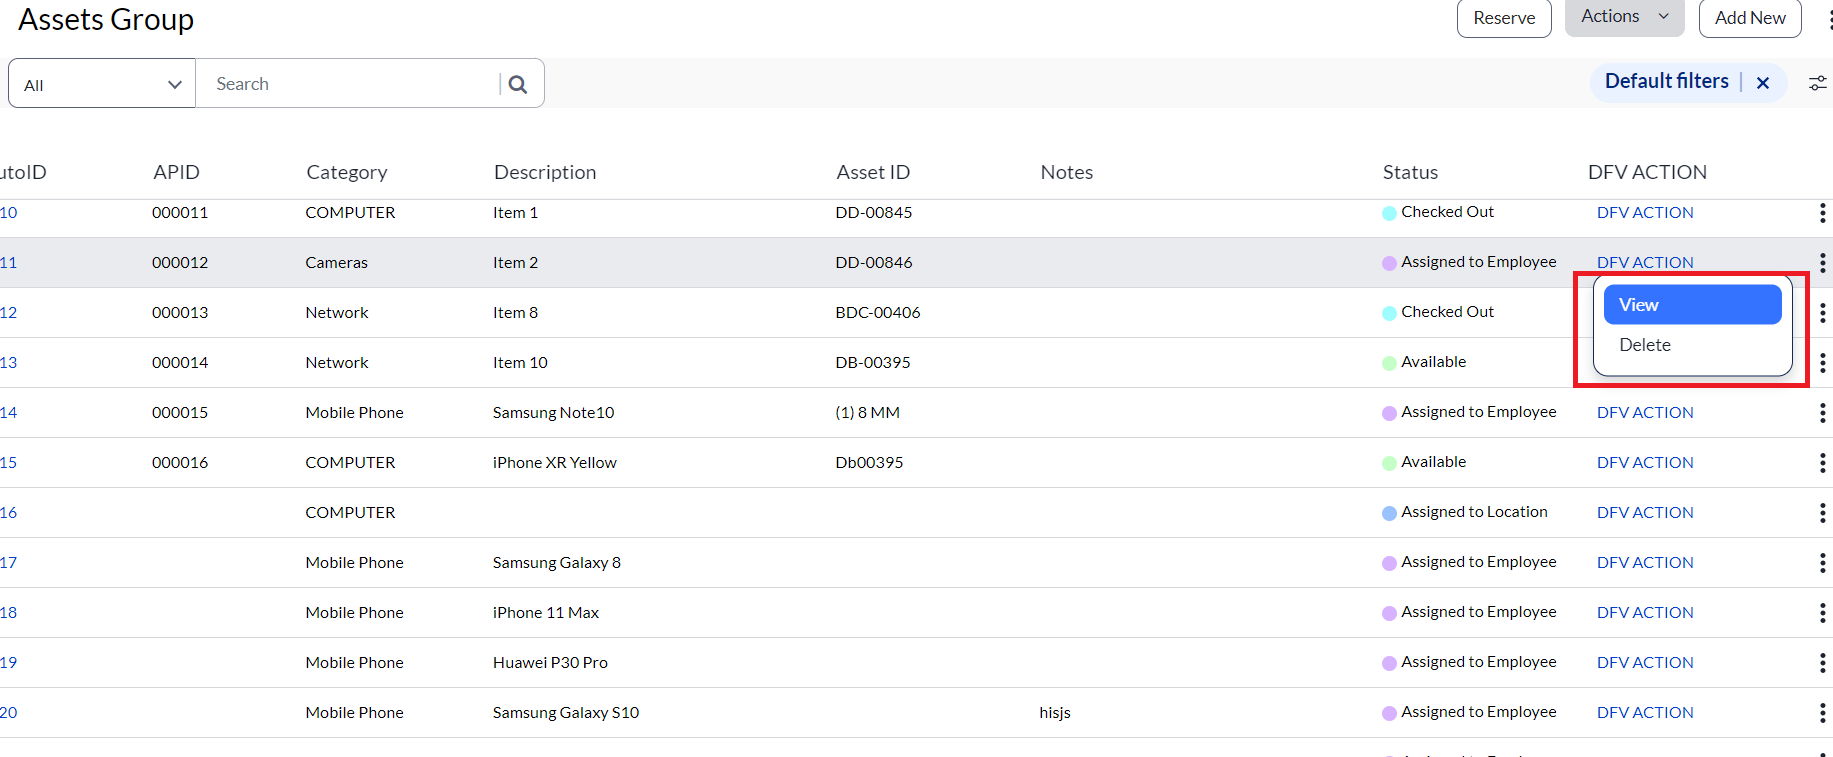
1. Select your Assets group, and then click the ellipses  icon next to the asset you wish to perform the action on.
2. Select View.
3. Click Actions, and then select the action you wish to select. (We've chosen Reserve for our example.)

When we then perform the Reserve action, we can setup the date and time, along with when both the check out and in will occur. Note that you'll only be able to select an End Date/Time that occurs after the Start Date/Time.

One common use of the reservation action is to be able to reserve an asset several times for different time slots.
NOTE: If you try to make a reservation during a date and time the asset is already reserved, you will get an error message.
4. Click Save and Close once your reservation is set to a time frame that does not conflict.
And finally...
After the Reserve action is performed and there are no conflicts with your (Date Driven) Check Out action, you will then use your Check Out Reservation and Check In Reservation when the reservation period has ended.
To do this:
Navigate to Reserve, Check Out Reservation, and then Check In Reservation.
After your Check Out action has been performed and there is no conflict with the Reserve action, you will then use the Return Checkout action when complete.
To do this:
Navigate to Check Out, and then Return Check Out.
Related Topics