Predefined Forms
First things first. What exactly is a predefined form and do you even need to use one (or more)?
Asset Panda gives you the option to generate a PDF document containing information from a specific action that has been performed on a specific item.
Let's bring our regular Action report into this conversation because in the Action report, we can pull information from an asset and an asset’s action, but it is limited to a simple spreadsheet view or columns of information. A predefined form on the other hand, can populate information within a format that you create.
Sounds great. Right? Well, let's get to it!
Set up predefined forms
1. You'll need to first set up your predefined form with Microsoft Word. (All of your formatting then converts into Asset Panda, creating your predefined form.) Once that is completed, navigate to Asset Panda and proceed to Step #2 below.

2. Navigate to the action you want to attach your predefined form to. (For instance, you can attach to a Check Out action or any type of action you prefer. (See Create an Action for information on how to create an action.)
3. Scroll down to your Triggered Forms (see Triggered Forms for more information on this form type) section and then click to add some forms.
NOTE: You can also add forms by selecting Tools, and then Predefined Forms from your dashboard. You'll actually need to use this method to add any additional forms. See the, How do I edit or download a predefined form section below.

4. Provide a name for your form within the Name field (this is a mandatory field).

5. Click Choose File and then navigate to the Microsoft Word form you created in previous steps.
6. Select whether or not to use a logo, and then click Save.
7. Navigate back to your action and triggered forms, and then click Connect New Form. (This now shows because you have a form to attach.)
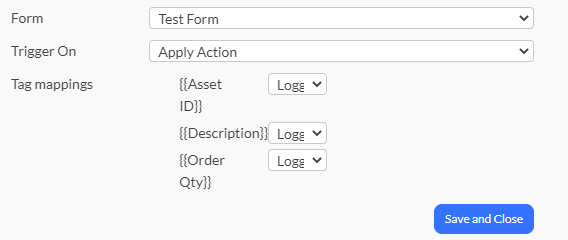
8. Select your new form from the Form drop-down menu, and then select what you wish your from to Trigger On.
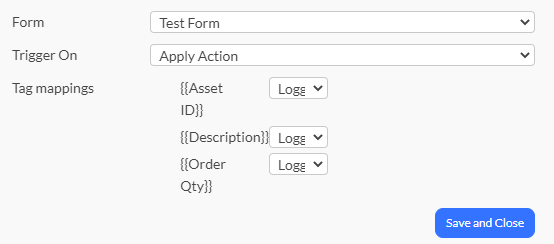
9. Select your Tag mappings from their drop-down menus, and then click Save and Close.
Edit or download a predefined form
You may wish to eventually edit, delete, replace, add, or download your predefined forms. These options aren't available from within the action itself. You must navigate to where your predefined forms live.
1. Click your Tools menu, and then select Predefined Forms.
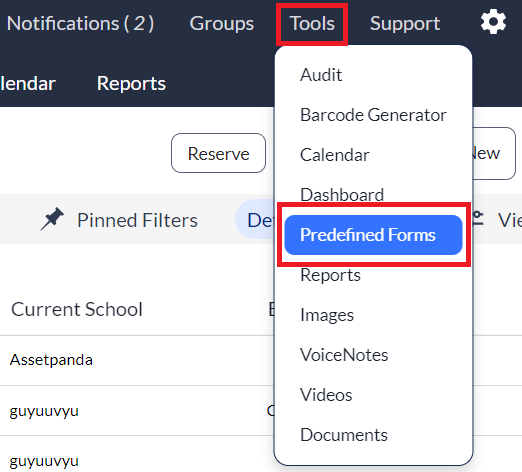
2. Select the task you wish to accomplish (Edit, Download, Delete, Add New Form) and that's it!

Attach a predefined form to a notification
Once you've created your predefined form and attached it to your action, you can create a notification that sends the attachment to the notification recipient.
An example would be this...say you have a Check Out action with an attached predefined form. You can set up a notification that goes to the assigned person and that notification will contain your predefined form.
Sounds cool, huh? Let's now discuss how you can do this.
1. Click to select your settings ![]() icon, and then select Group Settings.
icon, and then select Group Settings.
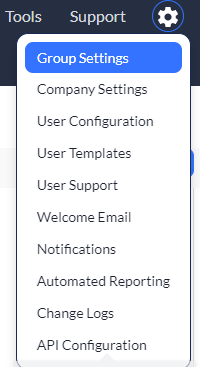
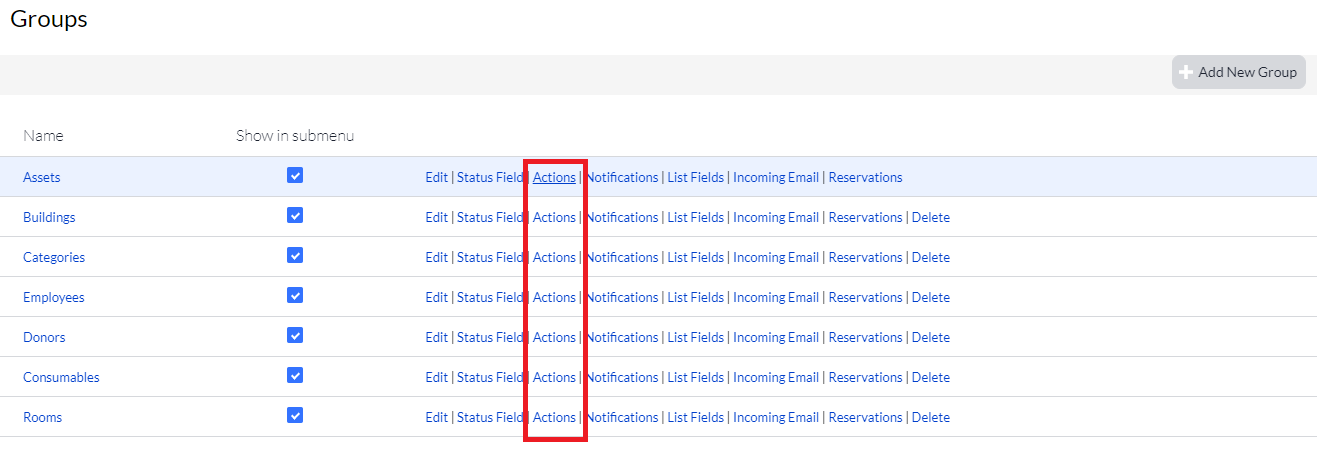
2. Select your preferred group, and then click Actions.
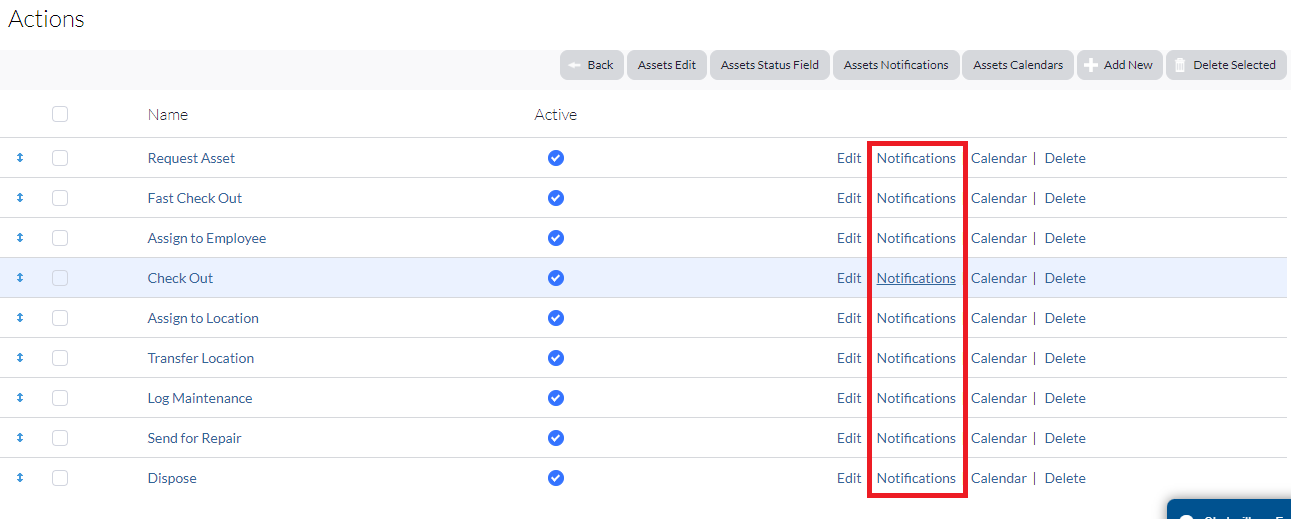
3. Select Notifications for your preferred action.
4. Click New Notification, and then complete the required fields. See How to Create Notifications for more information on creating notifications. (Just make sure you switch the Attach Action Predefined Form (only if email is sent) toggle to Yes.)
5. Click Save.
Related Topics