Documents, Voice Notes, and Videos
Did you know that documents, voice notes and videos can all be attached to your records? If not, allow us to be the first to let you know that yes, this is true!
First, it's important to note that attachments can be added in the following formats:
| Documents: | Voice Notes: | Videos: | ||
|---|---|---|---|---|
| .doc | .mp3 | .mp4 | .qt | .asx |
| .docx | .wav | .mov | .swf | .asf |
| .wma | .wmv | .swt | .3gp | |
| .xls | .ogg | .mn | .viv | .3g2 |
| .xlsx | .aac | .mpg | .vivo | |
| .txt | .3pg | .dvx | .vob | |
| .zip | .m4a | .mpeg | .fly | |
Good on formats? Excellent! Let's now jump into the fun stuff.
Psst. You can skip ahead if you prefer. Just click any of the links below!
- Add Attachments
- View Videos
- Navigate Attachments
- Select Attachments
- Search, View, Edit and Sort Attachments
- Add New Attachments
- Delete Attachments
- Create and Edit Folders
- Export Selected Attachments
- Move Attachments to Other Folders
To use attachments, you must first enable them within your account. Click Attachments to learn more about attachments (if you don't already know).
Add an attachment
You can add attachments (documents, voice notes, and videos) to your records. (You can add images too. Click Images for all of the image info you can handle!)
Pretty neat, huh? To do this:
1. Click your Tools menu, and then select Voice Notes, Videos, or Documents.
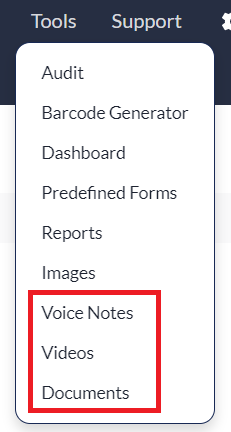
2. Click Add New.
This works the same regardless as to whether you are on the Voice Notes, Documents, or Videos page.

Set video views
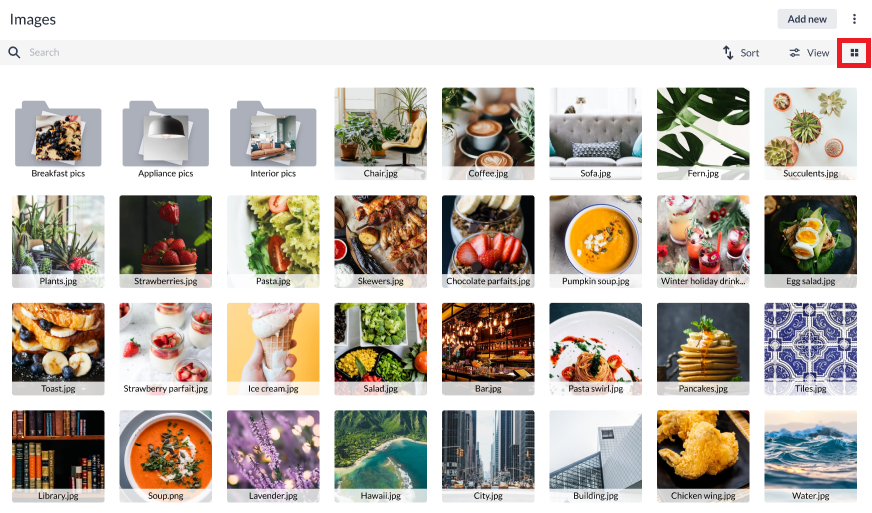
Let's focus on videos for a moment because they work slightly different than Voice Notes or Documents when it comes to viewing preference. Videos provide different viewing options. One is the list view and the other is the tile view.
Note that this section delves into tile or list view preferences only. Check out our Videos section to dig into viewing video details and more!
We'll be discussing both as we move through this article. You'll just need to pick the one that you like best although it's important to know that the functionality (adding new images, etc.) generally works the same for both. There are occasional differences in the way things work between views but we'll let you know where those are. You may even find that you like both and that's okay. Variety is the spice of life!
NOTE: The tile view is the default view.
2. Click the icons shown in the screenshots below if you wish to change from the list view to the tile view or vice versa.
List View
Tile View (Videos only)
NOTE: Those not within a folder are the same as those contained within the Uncharacterized videos section of the list view.
Navigate attachments
We realize how it can be when you're trying to get back to a main page, but can't seem to find out how to do so. This is precisely why we've made it as easy as possible to navigate back to your main page, whether you are in Documents, Voice Notes or Videos.
NOTE: You'll only find this within the tile view.
Just click the Documents, Voice Notes, or Videos (depending on which attachment page you are viewing) link at any time and you'll be taken back to your main page.

Select attachments
Have you ever had to individually select numerous attachments? We have too, which is why we have an amazing Select all on a page feature. You can select multiple attachments, giving you time to do other things.
To find and use this feature:
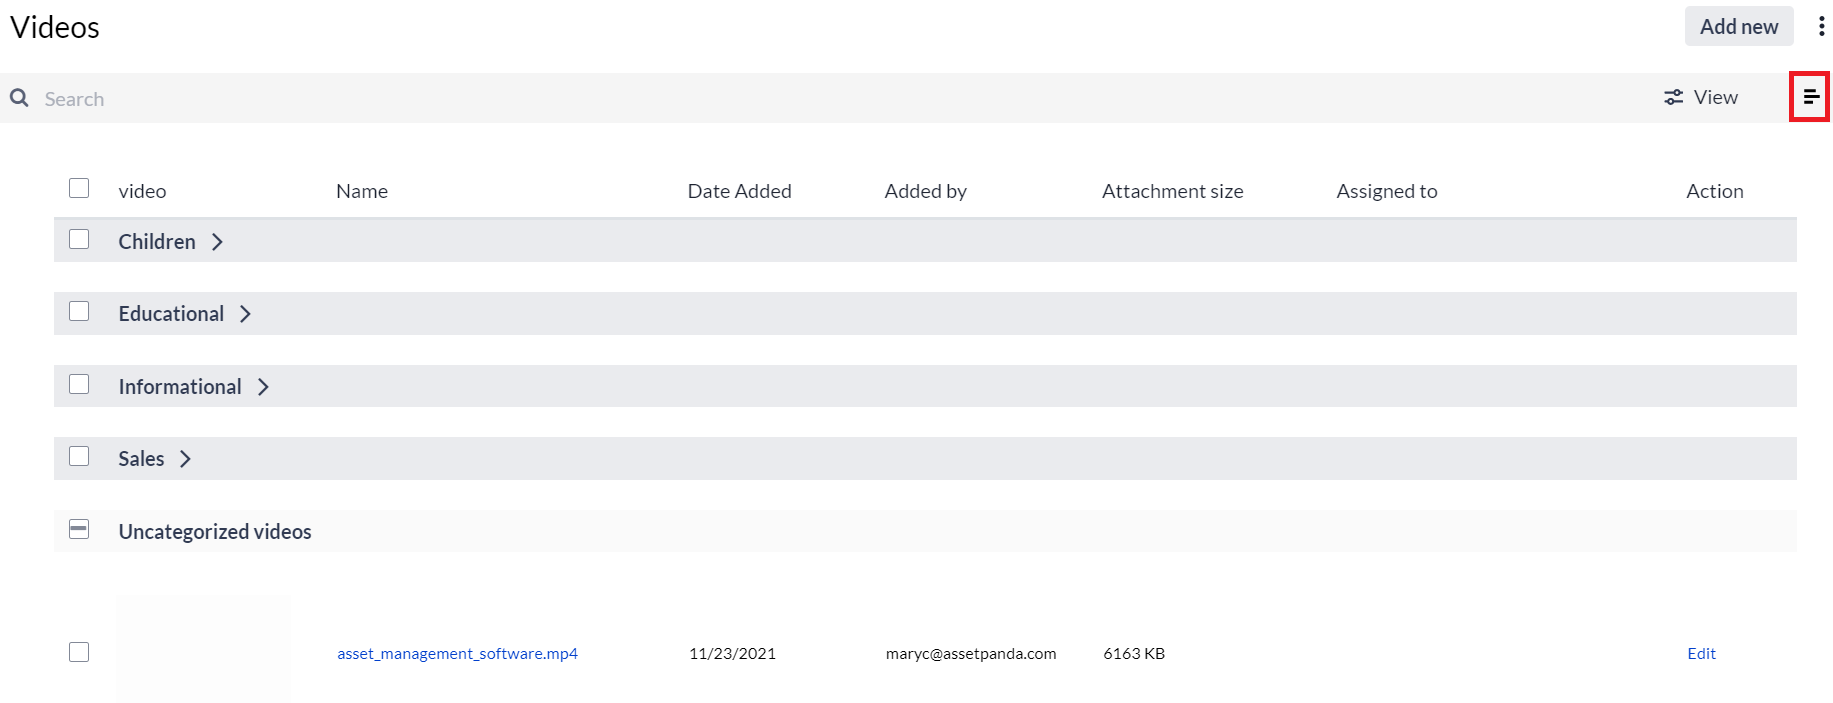
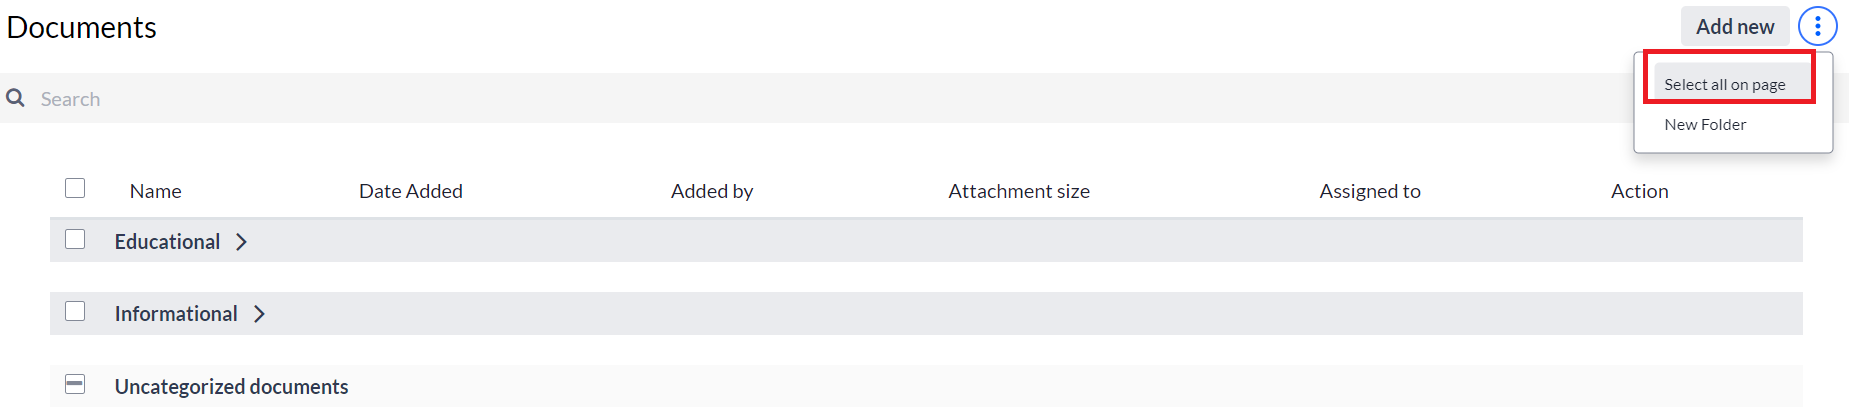
1. Click the ellipses  icon, and then click Select all on a page.

You will notice that every attachment on the page you are viewing is automatically selected.

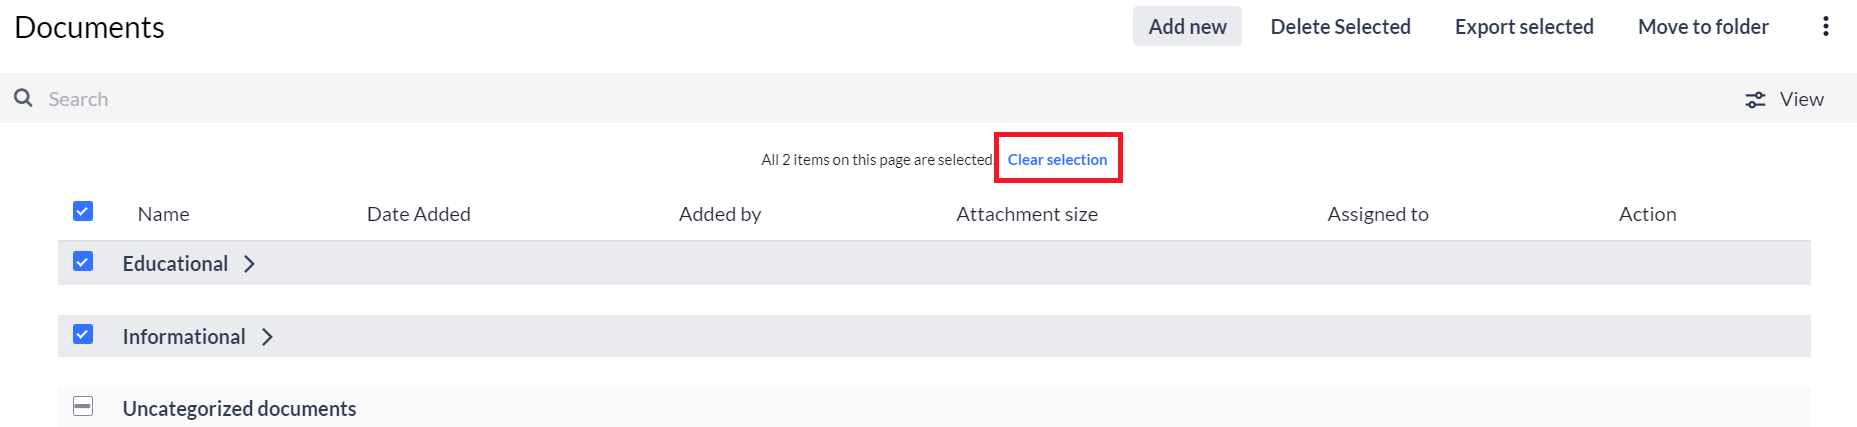
One thing to note about this feature is that selecting all will select all items on the current page only. You will notice a link (check out the screenshot above) that allows you to truly select all of the attachments if you wish. Just simply click that link and all of the attachments here (rather than just those on the page) will be selected. (This link will only be available if there are more attachments than are on the page.)
Search, view, edit, and sort attachments
We offer the basic options of being able to search, view, edit and sort your attachments.
Search attachments
You can search for attachments by the attachment name and/or date range of when the attachment was added.
1. Enter the attachment name into the search box.
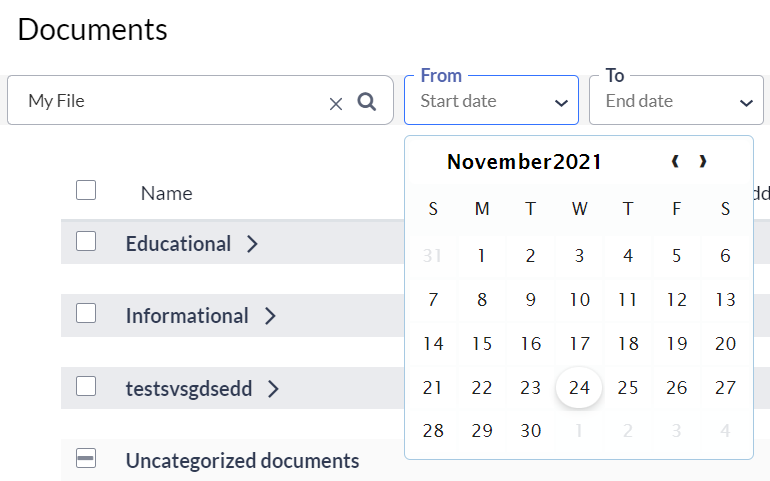
You will notice that the From and To date boxes automatically display when you click within the search box.
2. Click with both the From and To dates boxes to select these dates from the calendars (if known).
3. Click the magnifying glass ![]() icon from the search box to run your search.
icon from the search box to run your search.
All attachments contained within the given search parameters will display on your screen.
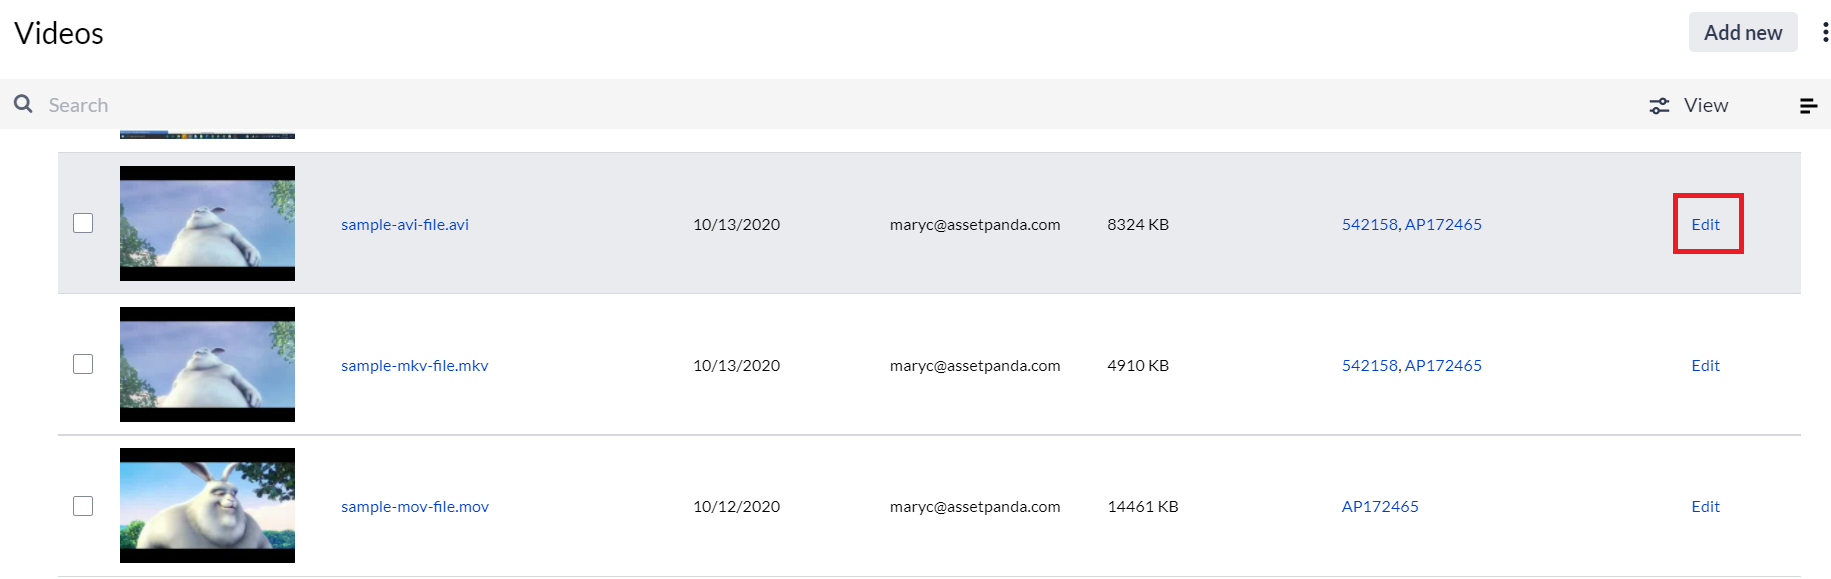
View and edit attachments
You will likely wish to view or edit a specific attachment at some point. It's really quite simple.
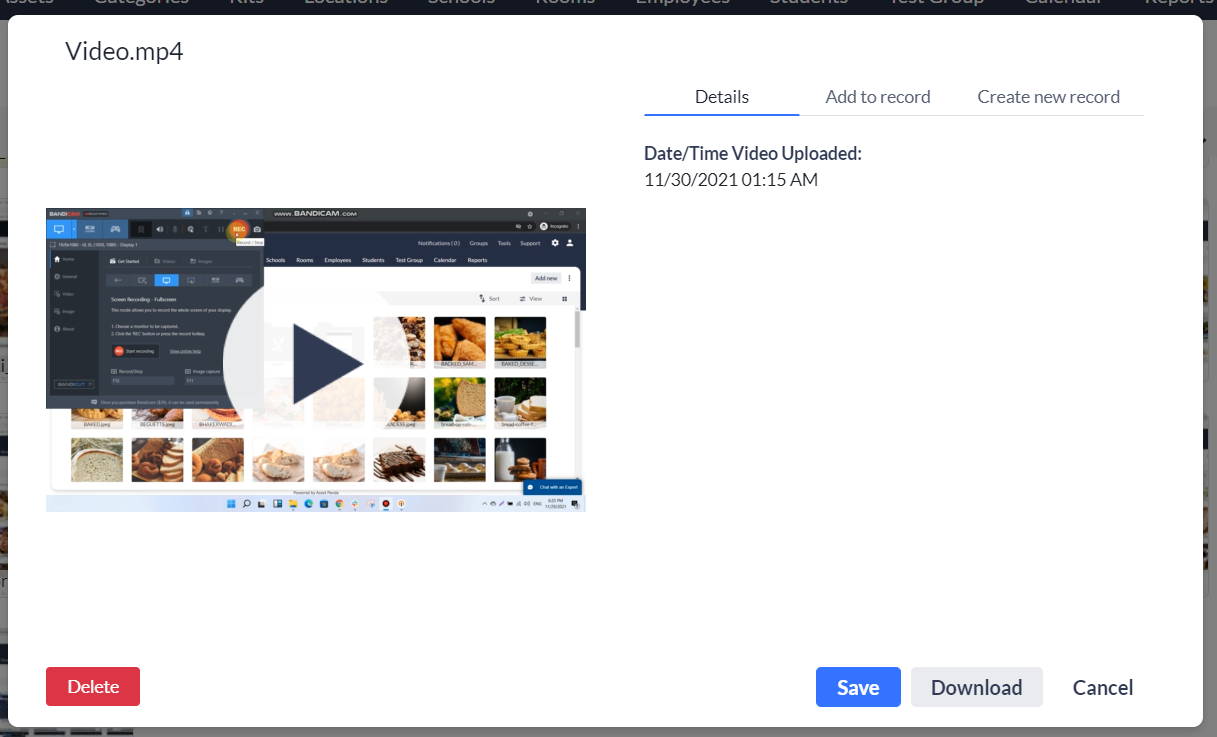
Videos
First, let's talk about how to view a video (along with some other cool things you can do at the same time). If you are looking for information on tile or list viewing preferences, check out our View Videos section.
1. Click the video you wish to view. (Be sure to click the video itself rather than the checkbox or the pencil icon.)
NOTE: Click the Download button at any time to download this video directly. You can of course also select the Delete button if you wish to delete the video entirely.
2. Click Details to view all of the details pertaining to this specific video.
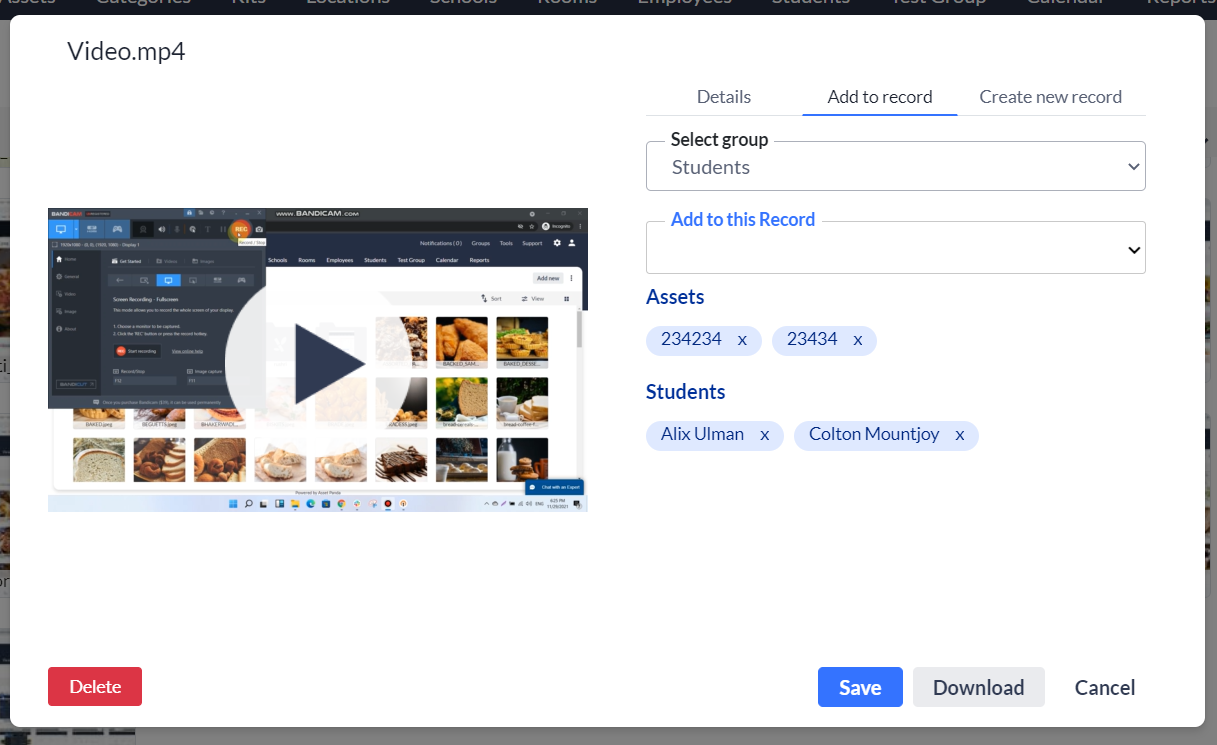
3. Click Add to a record if you wish to add this video to a specific record.
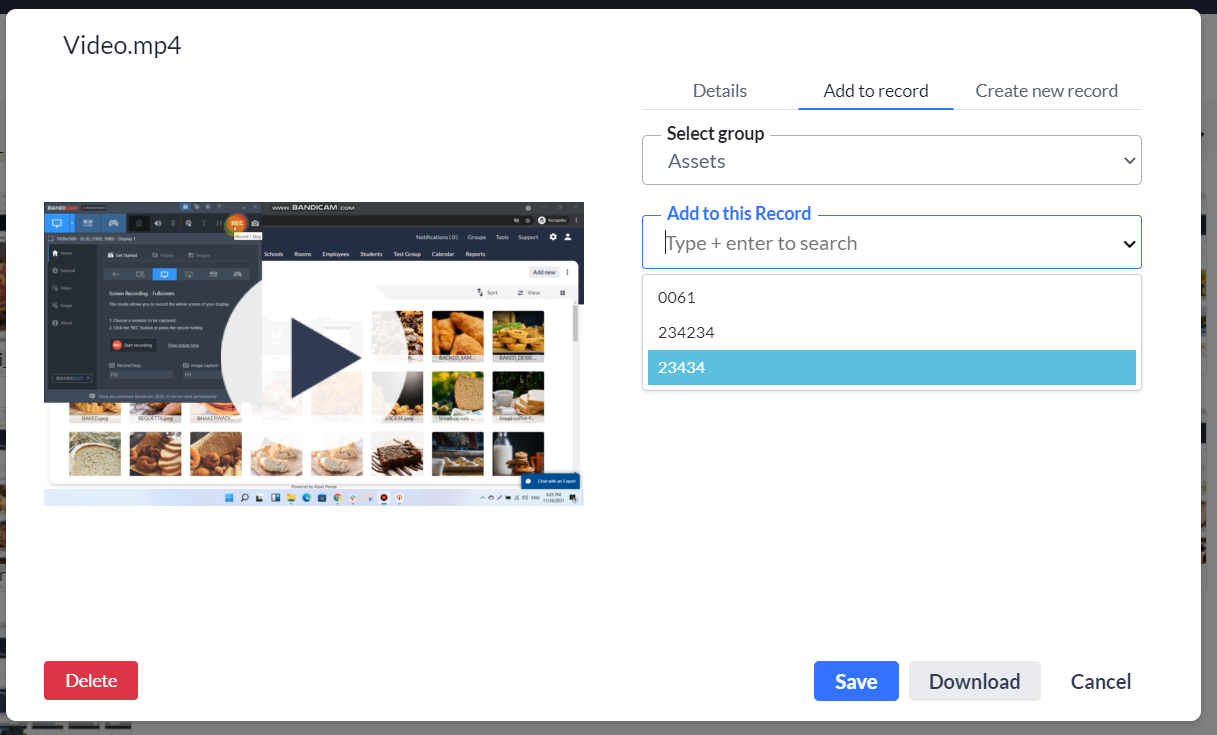
4. Use the Select group drop-down menu to select the group you wish to add the video to, and then select the record from the Add to this record drop-down.
You'll then be able to see all of the records that contain this video.
Lastly, you can select Create new record to create a new record from this video.
5. Click Create new record, and then select the group (from the Select group drop-down menu) where you want the new record to reside.
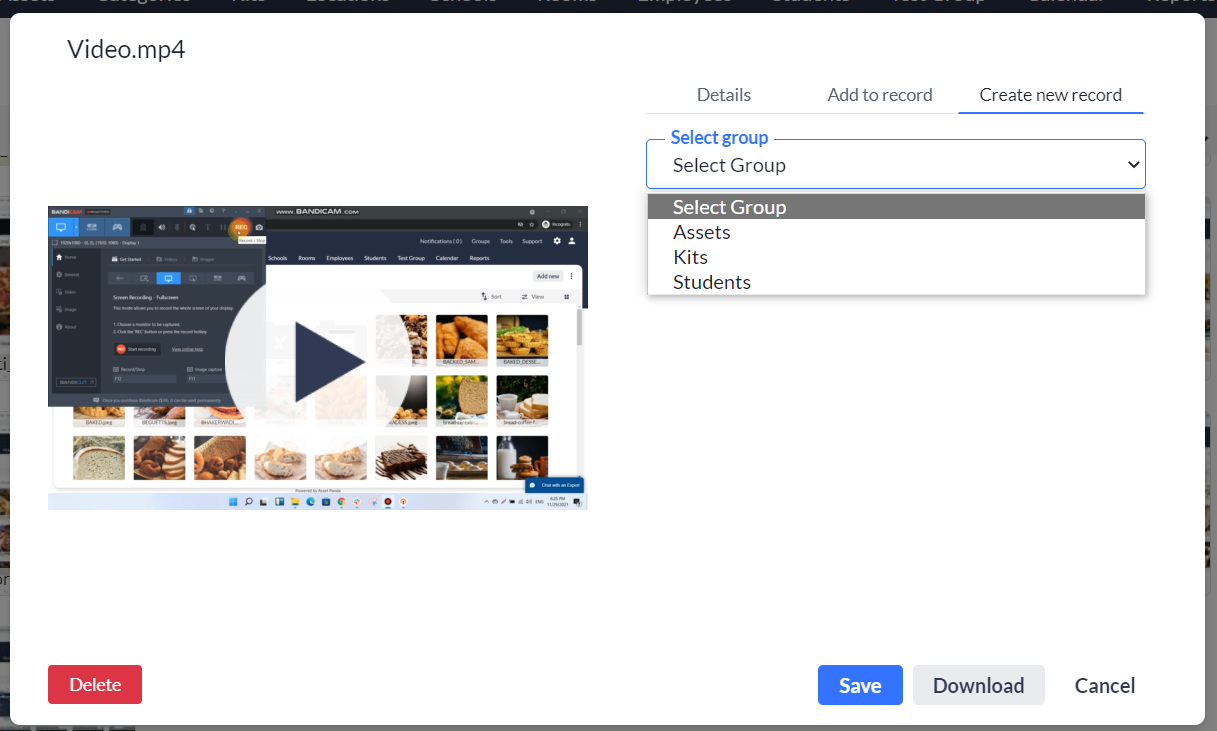
6. Click Create, and then create your new record as you wish.
7. Click Save.
See it in action (Add to record):

Voice Notes and Documents
Voice Notes and Documents work a bit differently than Videos when it comes to viewing.
1. Click directly on the link (the name) of the Voice Note or Document you wish to view, or click the Open link. (Only Documents contain the Open link.)
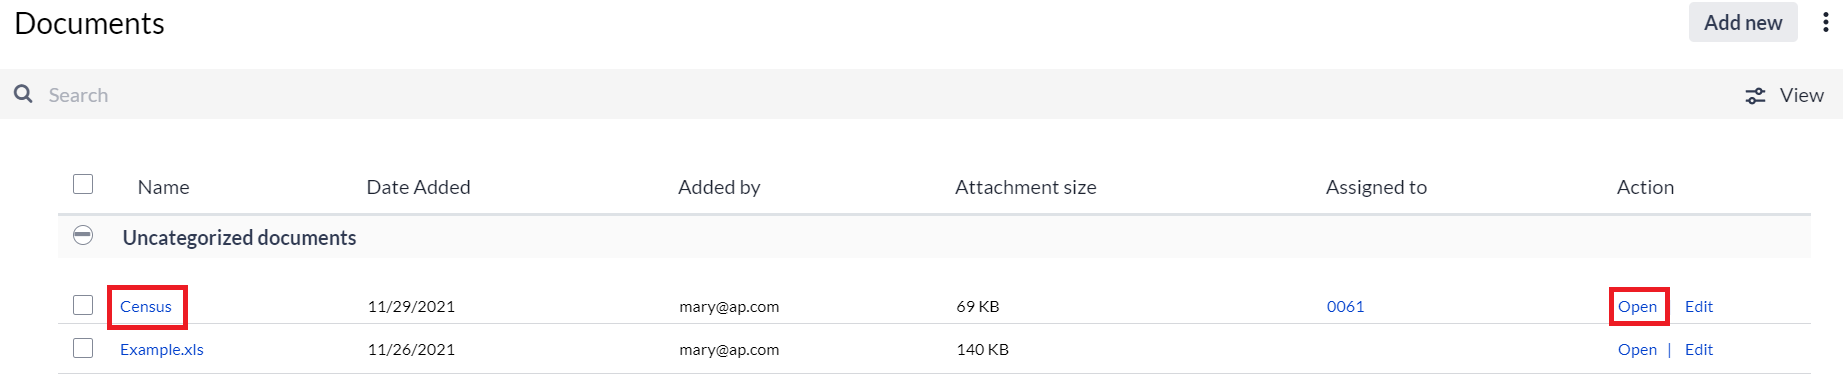
You will notice that you don't have the same options (Details, Add to record, Create new record) that you had with viewing Videos. Voice Notes and Documents just simply open on your screen, same as when opening and viewing any other similar file.
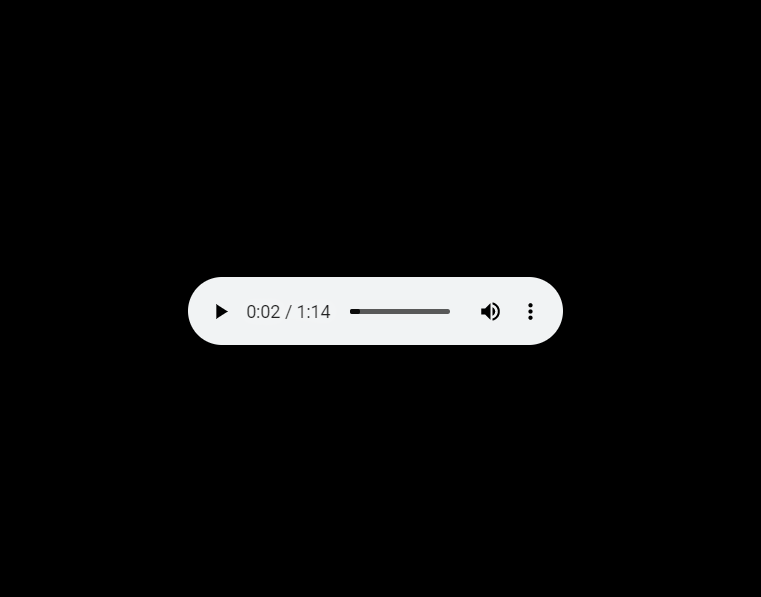
Voice Note Example
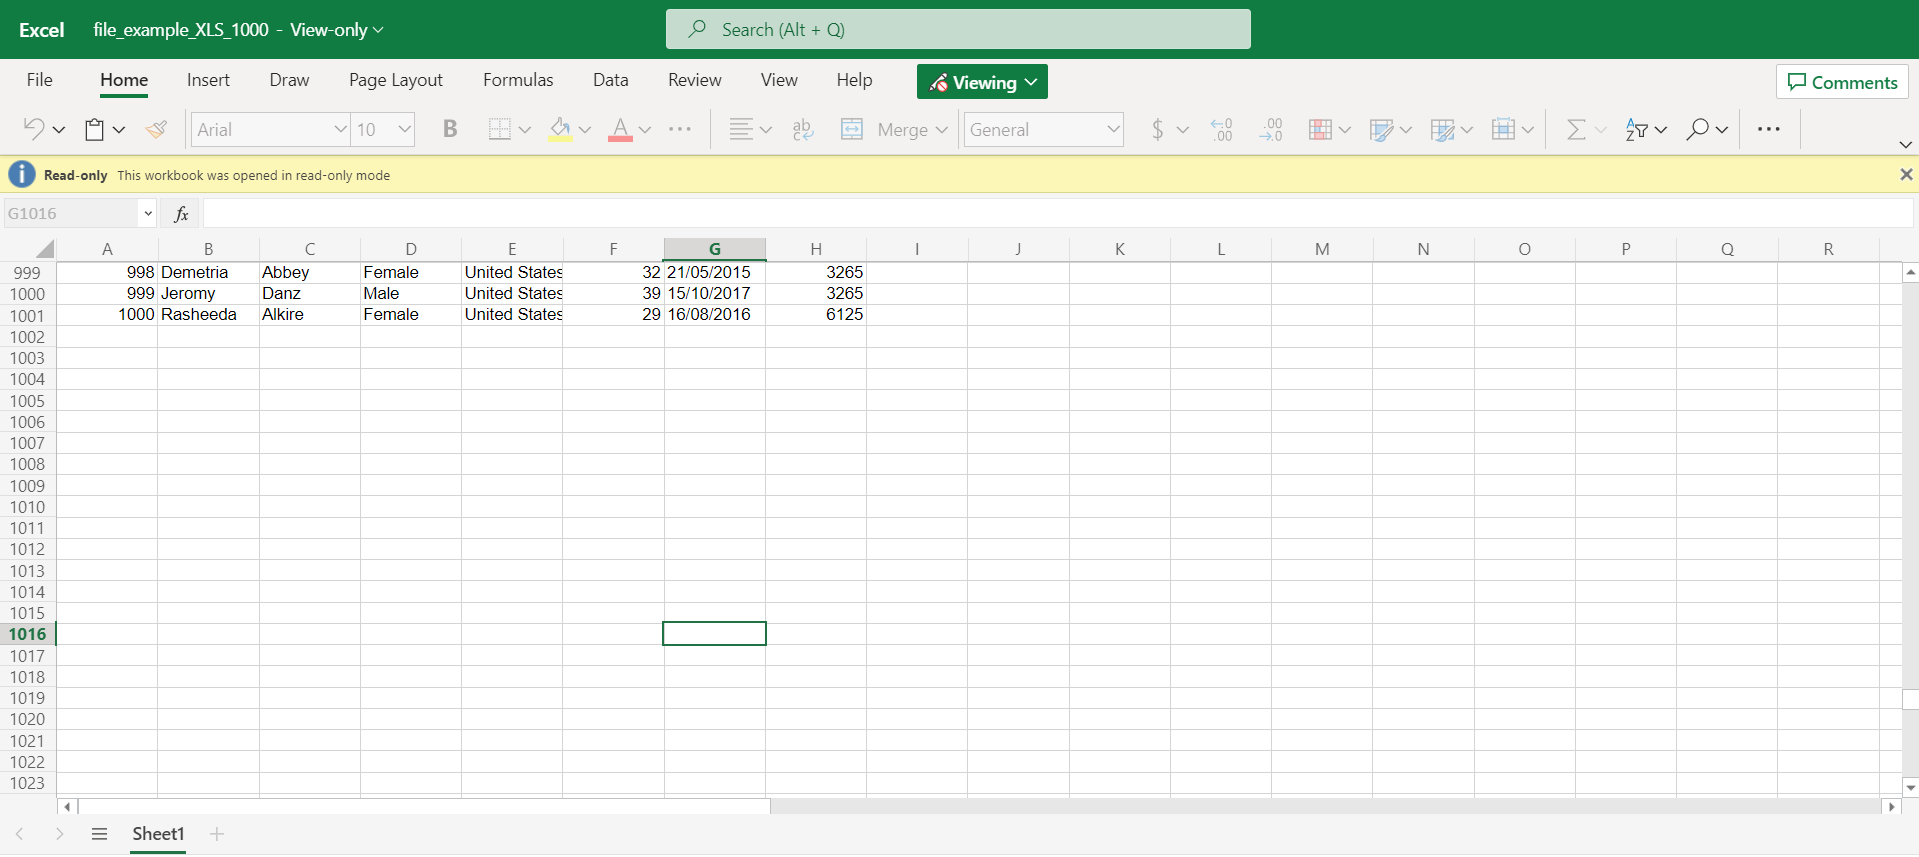
Documents Example (Microsoft Excel File)
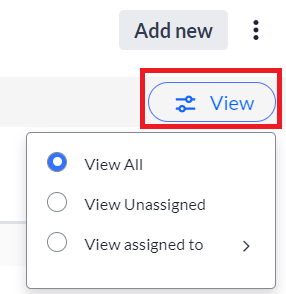
You may have noticed an additional button when checking out your attachments (when it comes to Videos, Voice Notes and Documents) is the View button. Click the View button for additional viewing options:
- View All: View all of your attachments.
- View Unassigned: View those that aren't assigned to a record.
- View Assigned to: View those that are assigned to specific groups.
Edit attachments
Now, let's talk about how to edit an attachment. This editing feature is available to all of your attachments.
NOTE: The only edit you can make within this section to Documents, Voice Notes, and Videos is to change the name of the attachment.
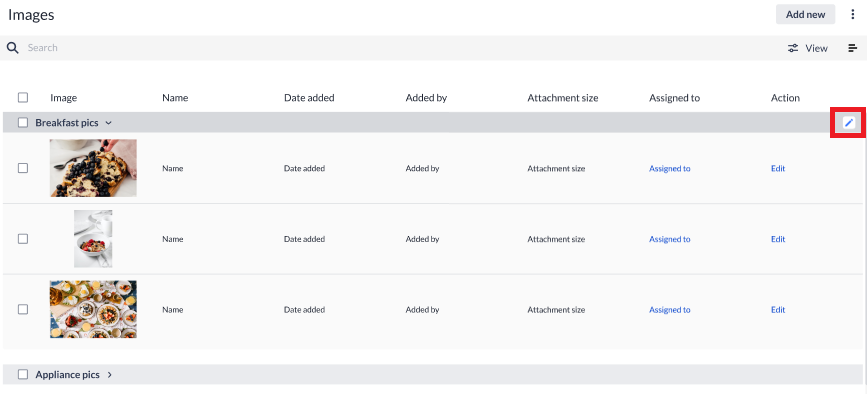
1. If within list view, click the Edit link for the attachment you wish to edit.
NOTE: Remember that the tile view and list view are only available within Videos and Images.
If within tile view, click the pencil icon for the attachment you wish to edit. (For Videos only.)

2. Rename the attachment, and then click Save.

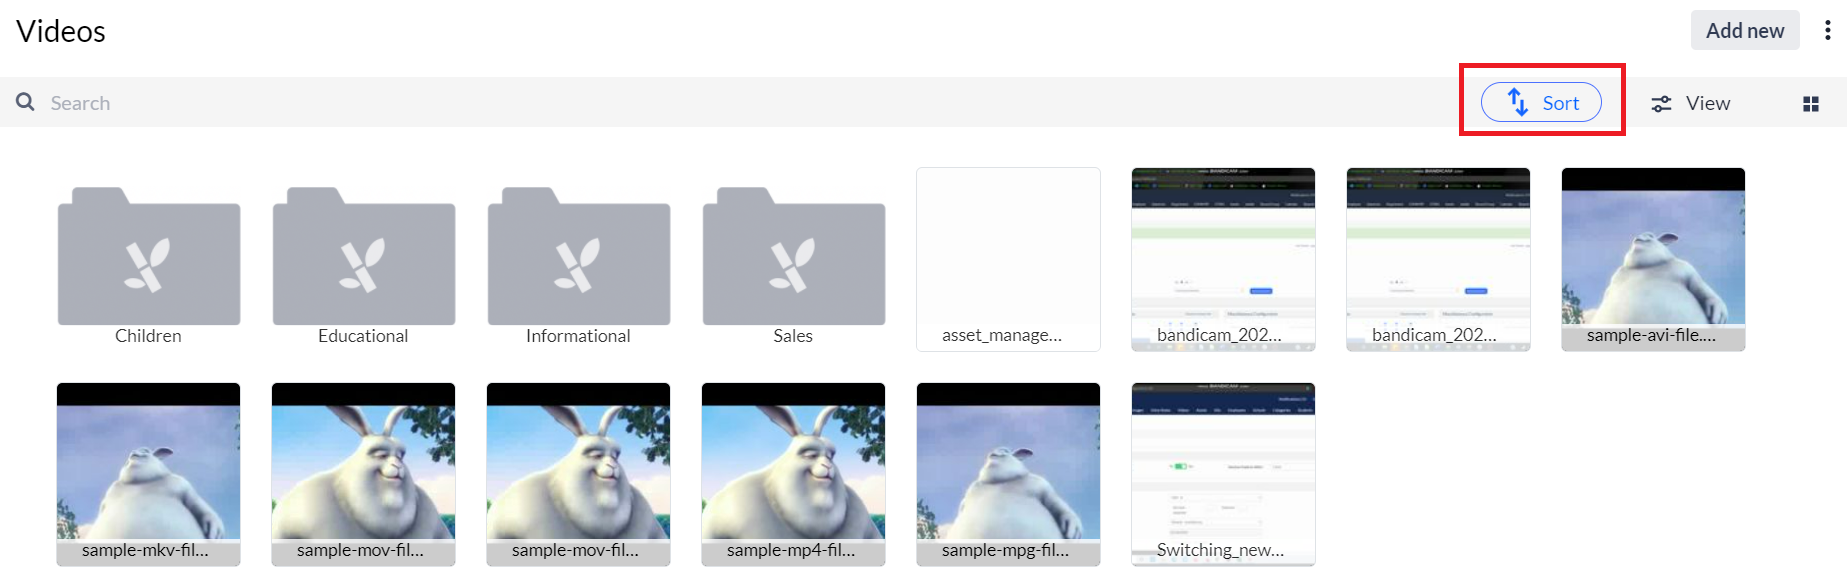
Sort Attachments
Sorting is done a couple of different ways, depending on whether you are in the list view or the tile view. (Remember that the tile and list view options are for Videos only. Voice Notes and Documents will be list view only.)
To sort within list view:
The list view uses a hover approach when it comes to sorting.
Hover your mouse over the information above the attachments and use the arrows to sort as you wish.

To sort within tile view (Videos only):
Click the Sort button and sort by name or date added.
Add new attachments
You may also decide that you'd like to add a new attachment, rather than just view the ones you already have. No problem as the process is one you are likely familiar with. Simply:
1. Click the Add new button.
2. Navigate to, and then select your new attachment.
This works the same whether you are in the list or tile view.
NOTE: Keep in mind that there is a 50MB file size limit but don't worry. We take the guessing game out as you'll get a warning if you try to upload an attachment that exceeds this size.
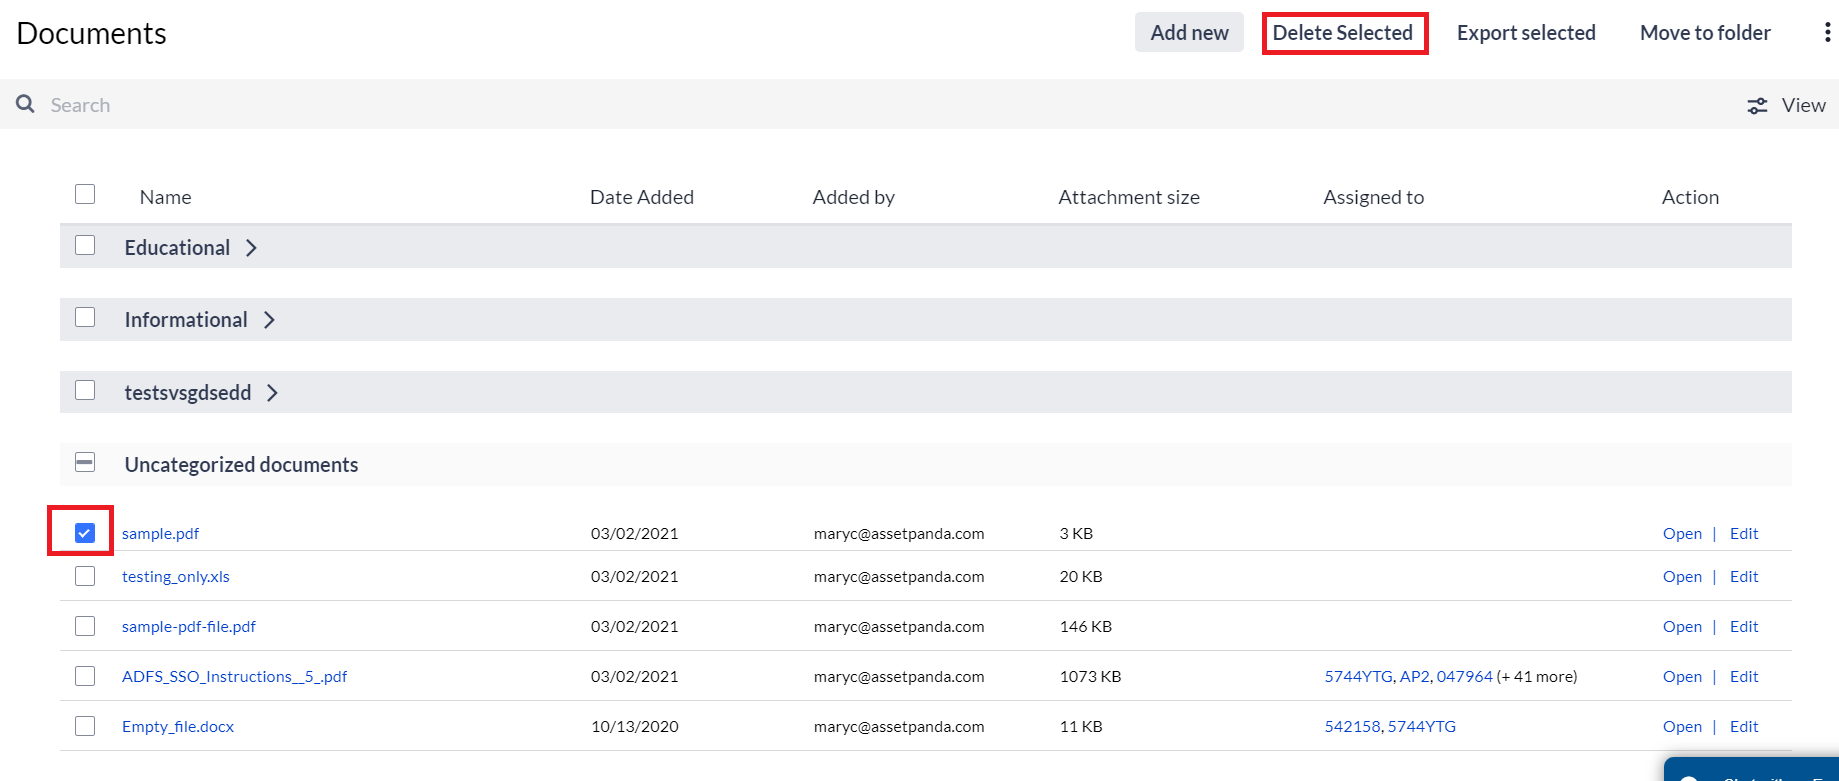
Delete attachments
Let's say you want to delete an attachment. You'll find that you've got a couple of options. One, you can delete attachments individually. Two, you can delete entire folders of attachments (but we'll talk about that in a moment).
Let's start with the deletion of a individual attachments.
1. Click the box next to the attachment(s) you wish to delete.
List View
Tile View (Videos only)

2. Click Delete selected to delete the selected attachments.
Now, onto deletion of an entire folder of attachments.
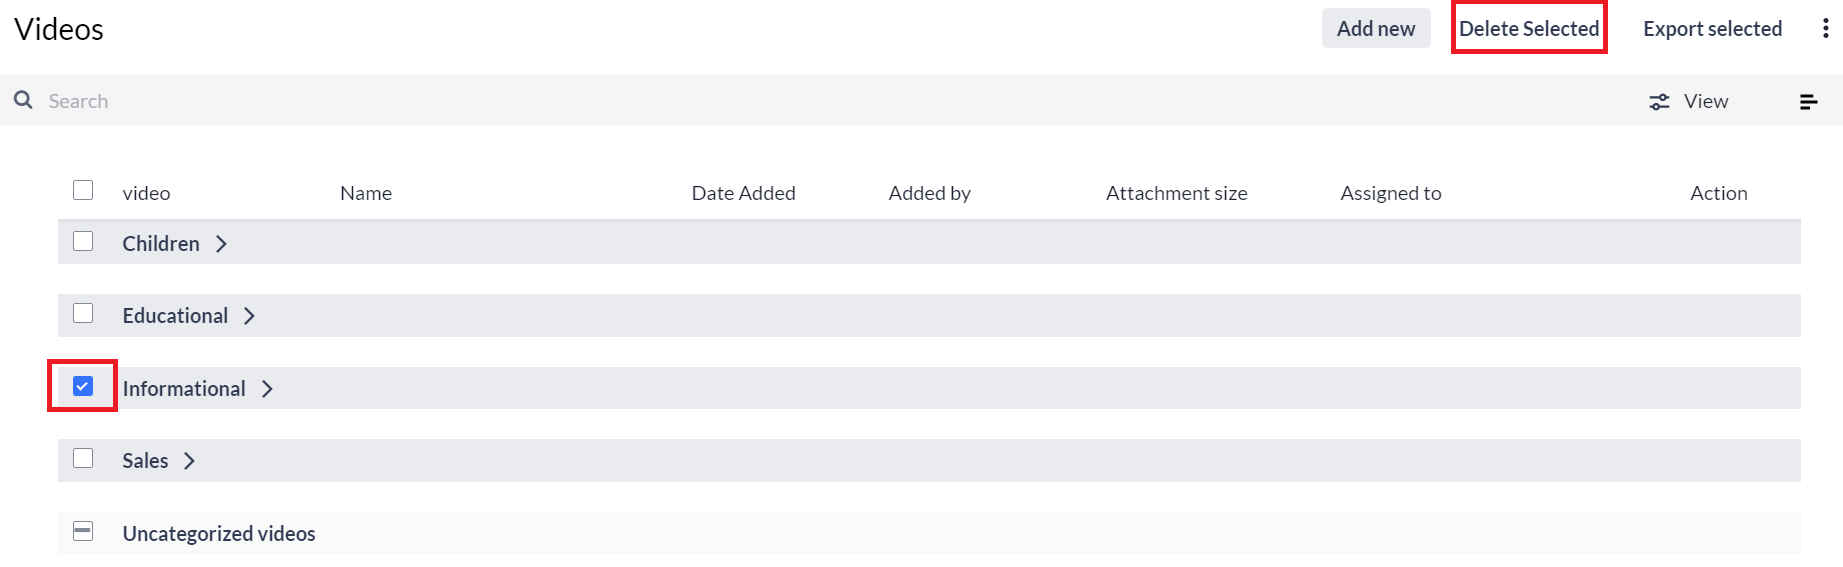
3. Click the box next to the name of the folder you wish to delete.
You will notice from the list view that it automatically places a check next to the box of every attachment contained within the folder.
List View
Tile View (Videos only)
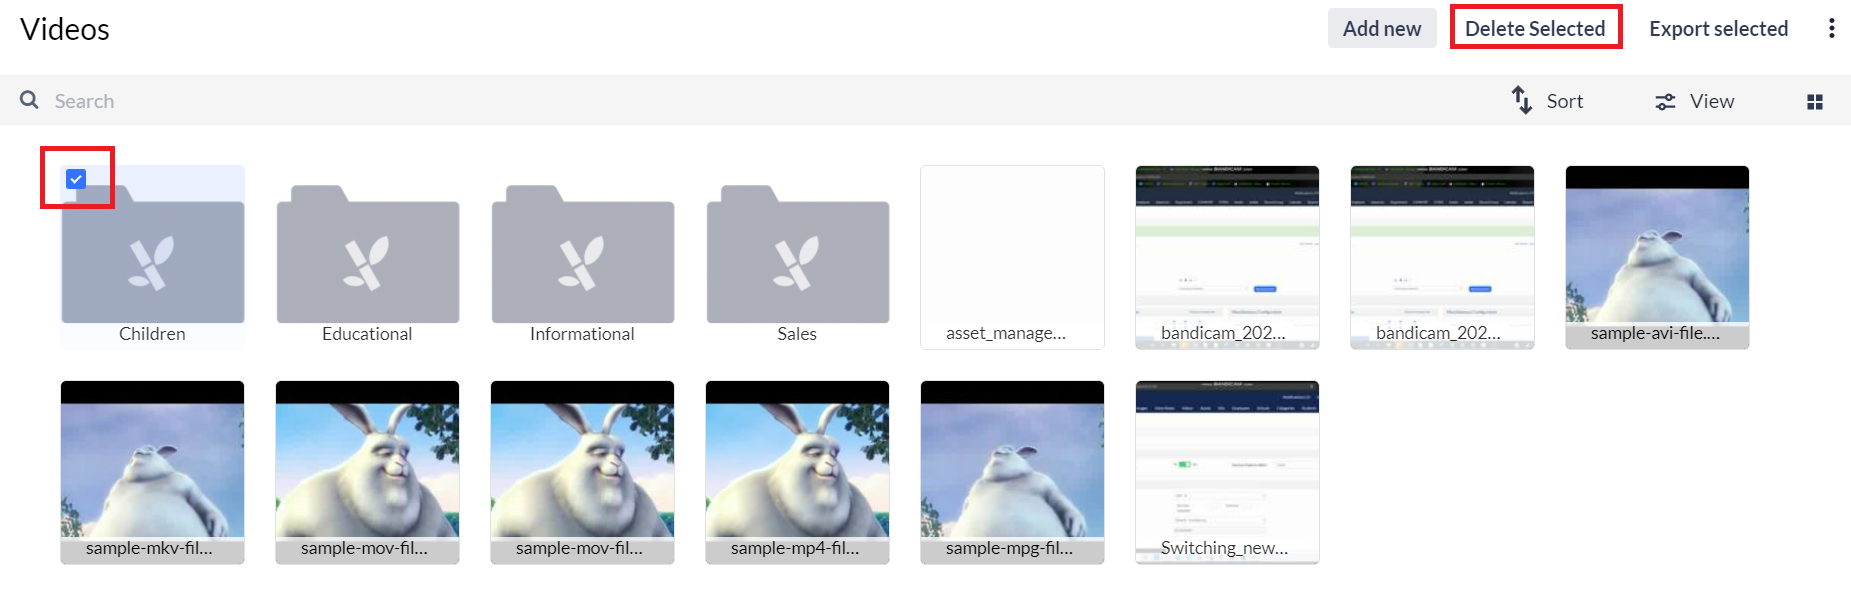
4. Click Delete selected to delete the folder.
A message displays asking you if you are certain you wish to delete the entire folder because once you do, it's gone. In other words, we want to make sure that you are aware!
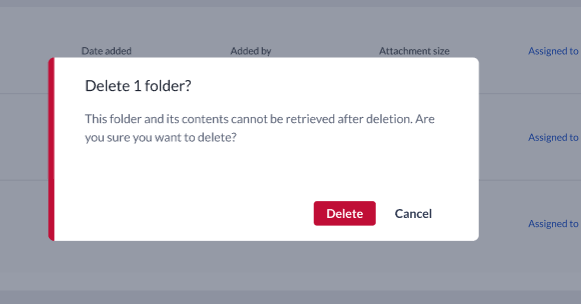
5. Click Delete if and when you are ready and just like that, the entire folder of attachments is deleted.
Create and edit folders
There will likely be times when you need to create a new or edit an existing folder.
Create a new folder
1. Deselect any attachments or folders (if any are currently selected).
2. Click the ellipses  icon, and then select New folder.
3. Give your folder a name within the Folder name box, and then drag or browse for the attachments you wish to add. (You may not yet have any attachments to add and that's okay. Just skip the drag or browse step.)
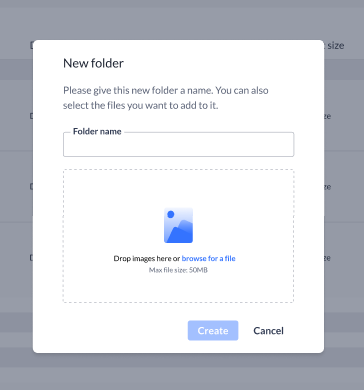
4. Click Create.
Select all on a page
Let's also discuss the Select all on page feature since you may have just seen it as one of the options contained within the ellipses icon menu.
When selecting, you will find that several options appear on your page:
- Add new: Click to add a new attachment into the folder.
- Delete selected: Click to delete the selected attachments.
- Export selected: Click to export the selected attachments. (We discuss this more in Exporting Selected Attachments.)
- Remove from folder: Click to remove the selected attachments from the folder. Note that it does not delete the attachments. It just removes them from the current folder and places them into unassigned attachments.
And of course just click the Clear selection link if you change your mind about selecting the attachments you've selected. (Or, you can click the ellipses icon again and select Deselect all on page.)
Set a folder image (video tile view only)
One thing that's kind of fun is being able to set an image for your folder. We should note that this feature is only available within the Video tile view and you'll only be able to do this with images that are contained within the folder.
To do this:
1. Open the folder in which you wish to set the image.
2. Select the image you wish to use as the folder image.
3. Click Set as folder image and there you have it. Your selected image is now the image of that folder.
Edit an existing folder
Things change as time moves on and your folders are no exception. This is why we make it easy for you to edit your folders as needed.
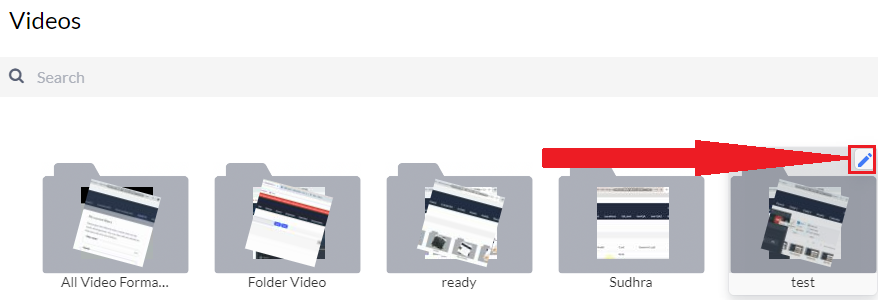
1. Hover over the folder you wish to edit, and then select the pencil icon (shown in the following two screenshots).
List View
Tile View (Videos only)
2. Edit as needed, and then click Save.
Export selected attachments
Another fun feature is the export option. This allows you to export your attachments via email. To export:
1. Click an attachment to select it.
You will notice that the Export selected option appears.
2. Click Export selected.
The following message displays at the top of your screen, letting you know that you'll receive an email that will contain a download link.
![]()
Move attachments to other folders
You may wish to move your attachments to other folders. We've made it a breeze with the Move to folder button. This button isn't always visible, so don't panic if you don't initially see it. It will display when you select a single or multiple attachments.
To use this feature:
1. Select the attachment(s) you wish to move (from either the list or tile view for Videos).
2. Click the Move to folder button.

3. Use the Existing folders drop-down menu to select the existing folder you'd like to move your images to or, click the Create a new folder link if you'd like to create a new folder. (Pretty cool, huh?)

You'll also notice that your selected images show in the Files to be moved section, offering you the chance to review and to even remove any that you may have selected by mistake (or changed your mind about moving). Just click any of the images in this section to remove them from the list of images that will be moved to another folder.
4. Click Move and the images are now moved to another folder.
Related Topics