Track a Record
Having records is a great thing. Without them, the world would cease to exist. Okay, so maybe things wouldn't go quite that far but still. It would make our daily lives just a touch more difficult. Of course, you don't have to worry about lack of records when using Asset Panda. We like to pride ourselves on making it easy and in this instance, easy to track.
If you would like to track which user(s) created a record, you can do so by simply adding a new User Stamp field type to your group. (Check out About Fields to learn more about adding fields.)
Note that our instructions below walk you through adding this field to an already existing group. The process is the same if you are instead adding a User Stamp field to a brand new group.
Without further adieu:
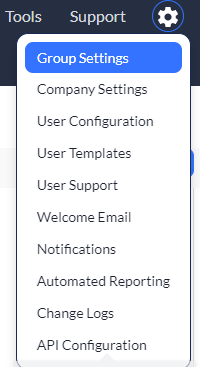
1. Click to select your settings  icon, and then select Group Settings.
2. Click the Edit link from the group you wish to edit, and then scroll down to your Fields section.
3. Click Add New Field.

4. Select User Stamp as the field Type.
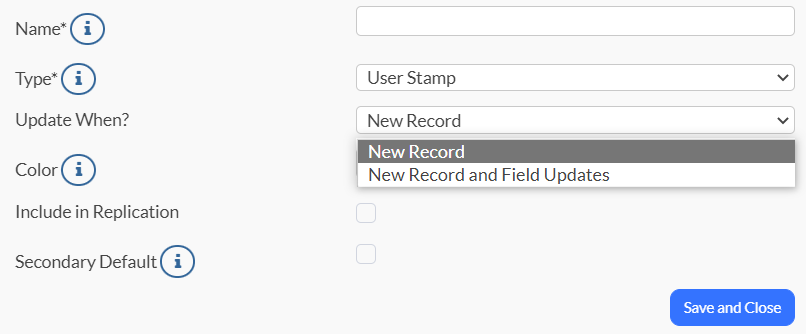
5. You'll notice a couple of options within the Update When drop-down menu. Select the one that best fits your needs and organization:
- New Record: Selecting this option allows the field to automatically capture the user stamp of the user adding the record.
- New Record and Field Updates: Selecting this option allows the field to capture the user stamp of the user adding the record. It will then update according to the user who last changed any fields of information in the record. This happens whether the change occurs manually or through an action. (See below for more information on making manual changes to a record.)
6. Click Save and Close when you have completed the creation of your new field.
Manually add a record
You may also opt to manually add one or multiple records. We've got your back!
To get started:
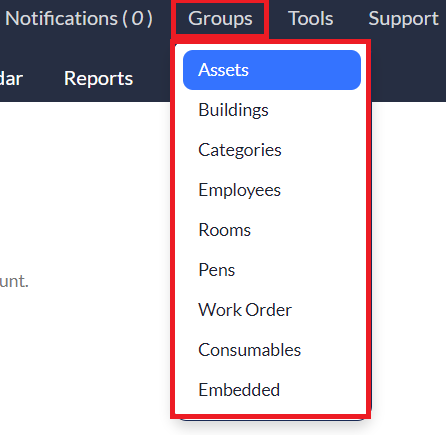
1. Click the Groups menu, and then select your preferred group. (Some of your groups may differ from ours and that's okay. We've selected our Assets group for this example but you can choose any!)
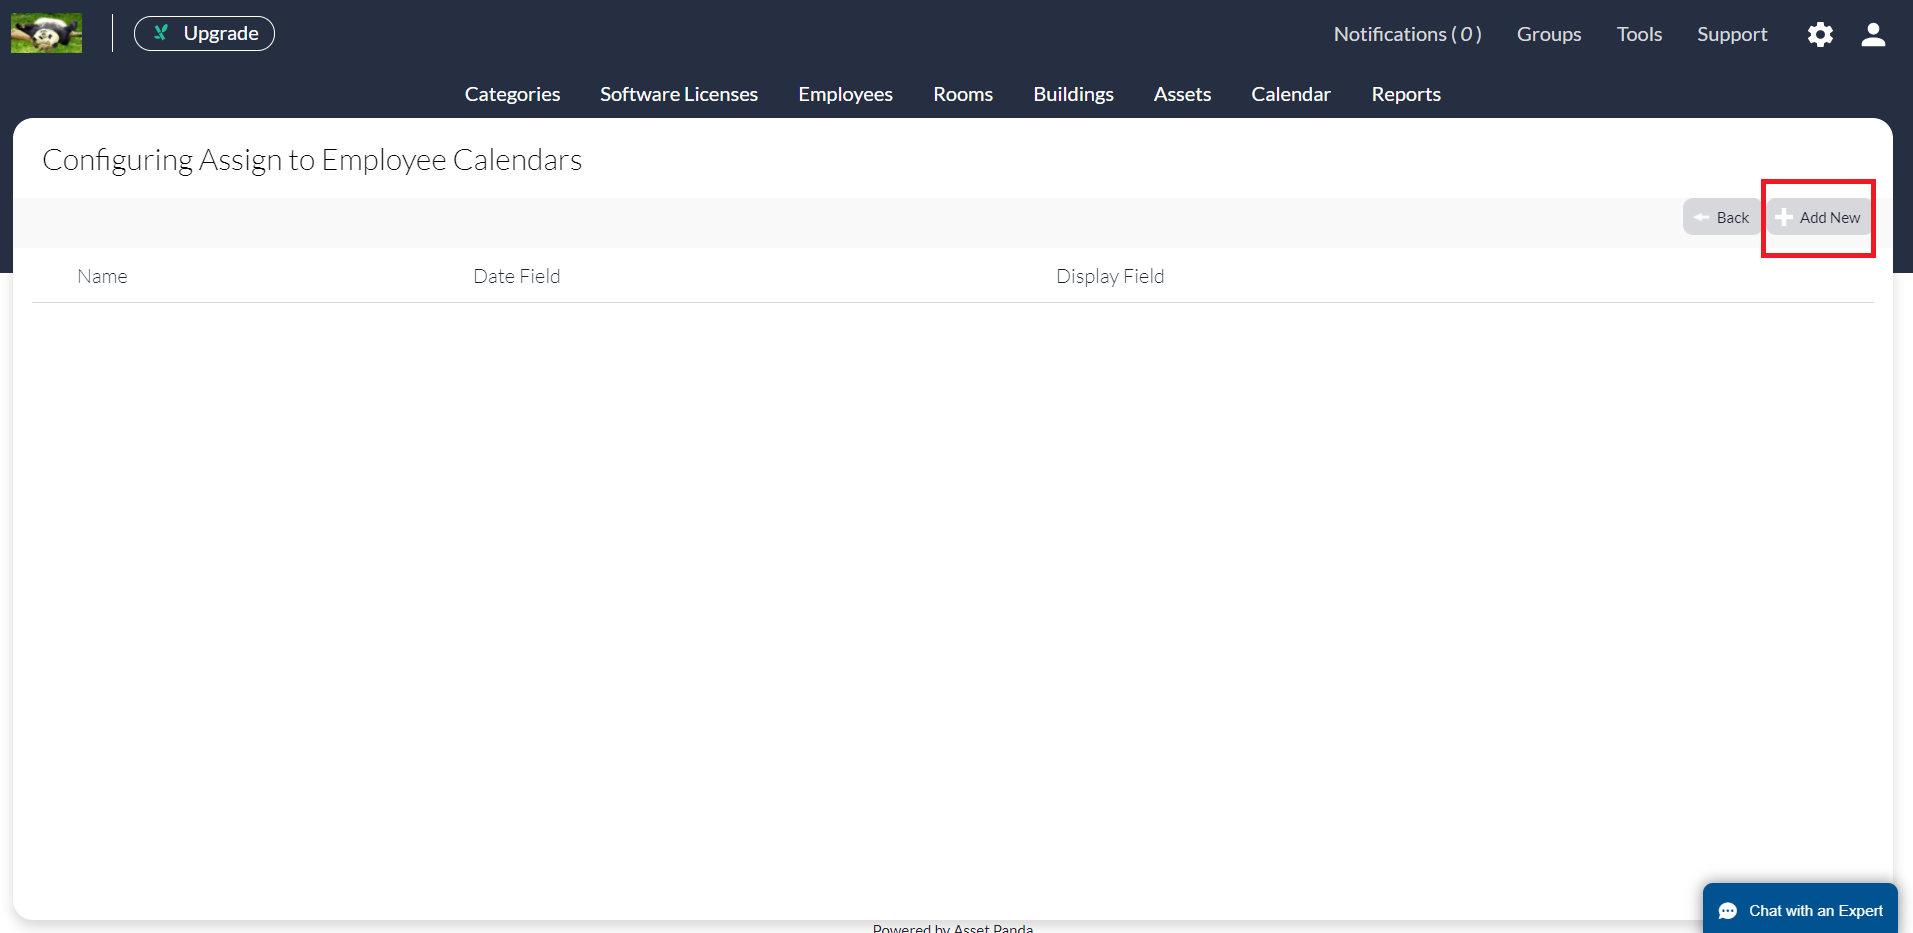
2. Click Add New.
3. Manually enter your applicable information.
4. Click Save. All required fields must be completed before the system will allow you to save. Required fields are denoted by an asterisk (*).
Related Topics
About Fields