Microsoft Intune
This guide will help you successfully integrate your Microsoft Intune with your Asset Panda account.
NOTES: You will be copying and pasting values between Microsoft Intune and Asset Panda during this integration. It is recommended that you paste all values into a text (.txt) file so you do not lose them if your system times out.
We’d also recommend that you open both of your accounts in separate tabs. This will make it easier to navigate back and forth between your accounts for the setup.
Asset Panda Integration
Use the following steps to successfully prepare your Asset Panda account for your Microsoft Intune integration.
1. Open a new tab, and then navigate to Asset Panda at https://login.assetpanda.com.
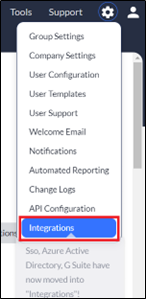
2. Log into your account, click the settings  icon, and then select Integrations.
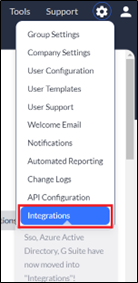
3. Select Microsoft Intune from your menu of Integrations.
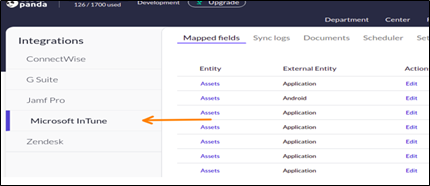
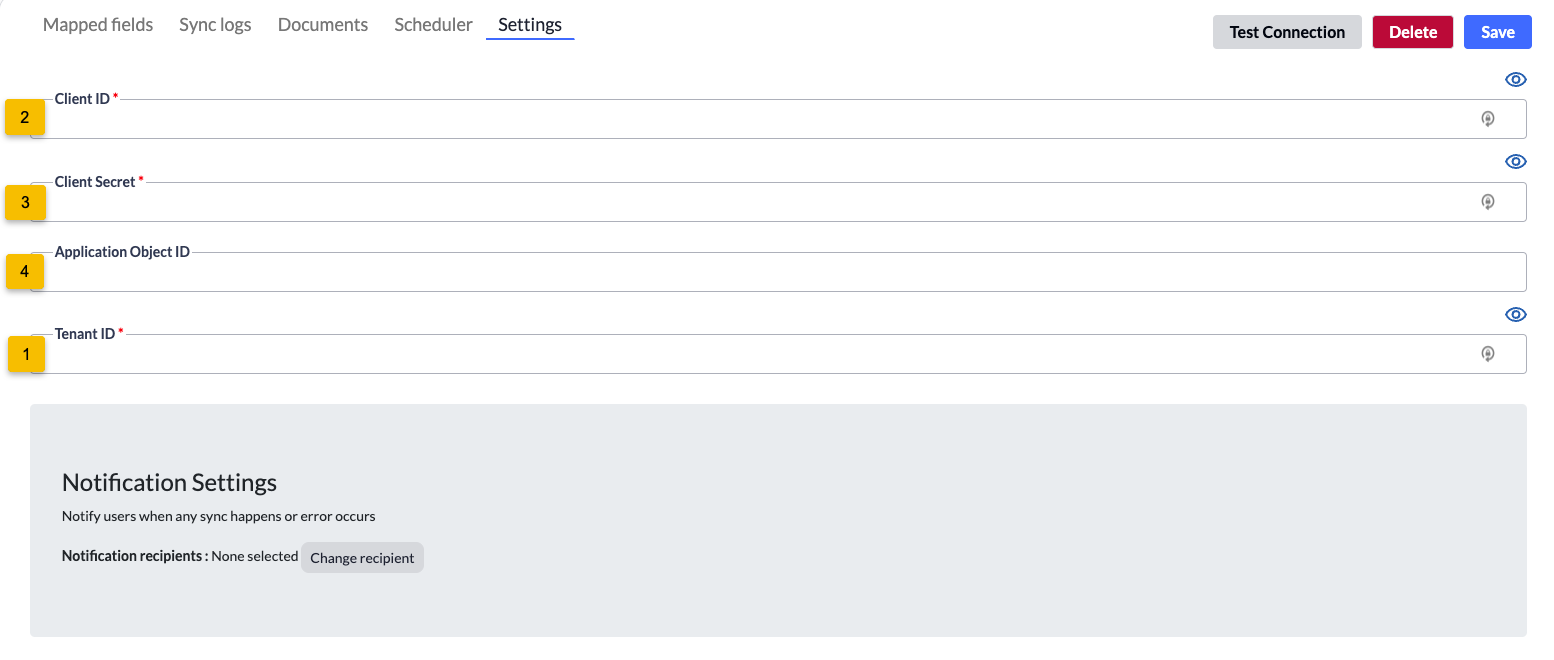
4. The Microsoft Intune API Credentials page displays. Keep both this page and tab open, as you will refer to it again within the following steps. (Click the Settings tab if it doesn’t automatically display.)
5. Proceed to the Microsoft Entra ID Integration section below.
Microsoft Entra ID Integration
We recommend leaving both your Asset Panda and Microsoft Azure accounts open (in separate tabs) because you’ll be navigating back and forth between the two for a successful Microsoft Intune integration.
1. Open a second tab, and then navigate to Azure at https://portal.azure.com.
2. Log into your account, and then click Microsoft Entra ID.
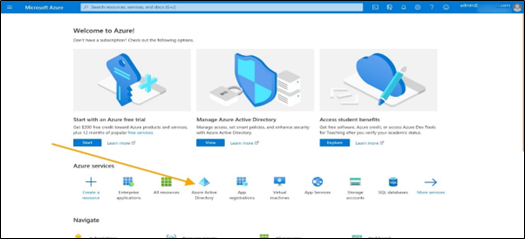
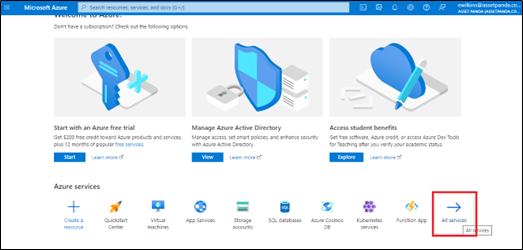
NOTE: Click on More services if you cannot initially find Microsoft Entra ID Integration (as shown below).
View Tenant
1. Navigate back to or log into your Azure Account. (If you’re already logged in, click Home, located within in the top, left corner of your screen.)
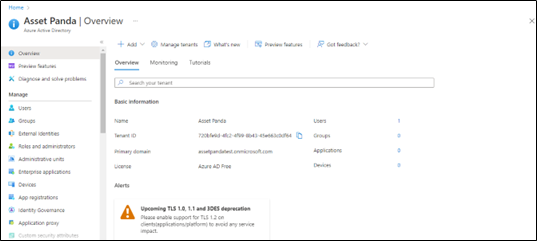
2. Select Microsoft Entra ID.
Your default tenant is displayed.
3. Click the copy icon to copy the Tenant ID.
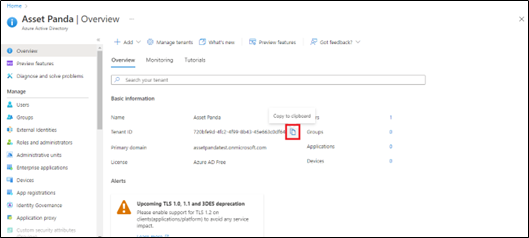
4. Navigate back to Asset Panda, and then paste the Tenant ID into the Tenant ID field.
5. Proceed to Step 6 if you need to view a different tenant or to get a different tenant ID. If not, proceed on to the App Registration section.
6. If you wish to view a different tenant or select a different tenant ID, click on Manage tenants.

7. Click anywhere on the tenant you wish to view, and then click to select.
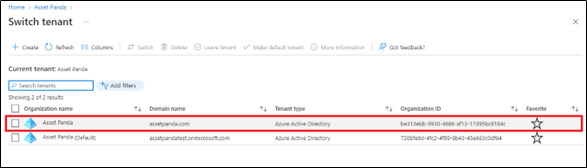
The selected tenant is displayed on the right side of your screen.
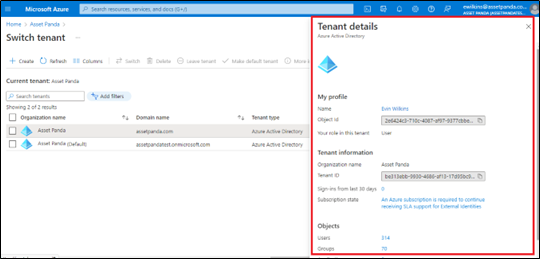
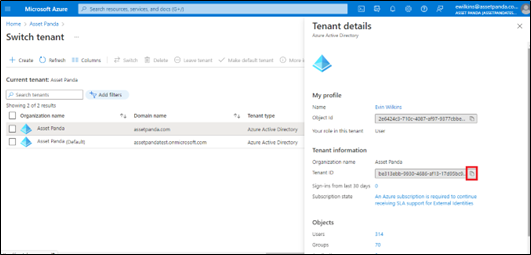
8. Click to copy the tenant ID, and then follow Step 4 above.
App Registration
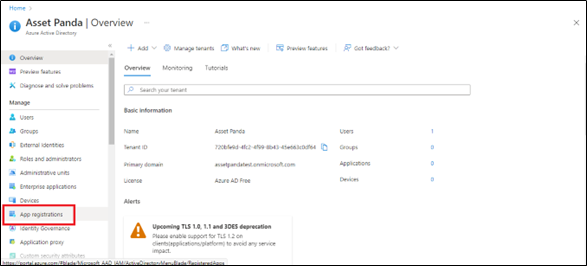
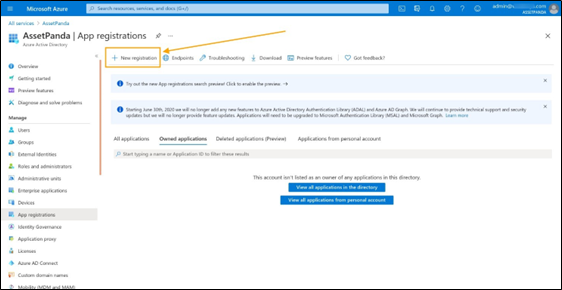
1. Navigate back to your Azure account, and then click App registrations.
2. Click New registration.
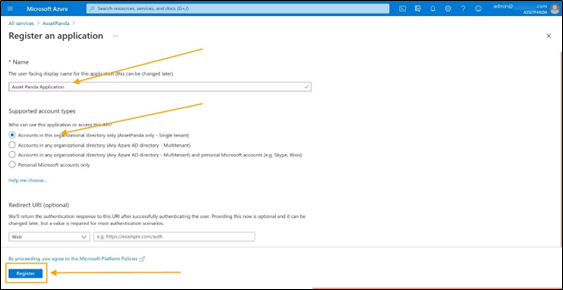
3. Complete the following fields:
- Name
- Supported account types – Select Accounts in this organizational directory only (AssetPanda only – Single tenant)
4. Click Register.
5. Copy the Application (client ID).
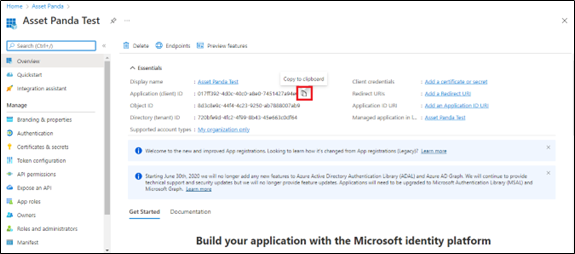
6. Navigate back to your Asset Panda account, and then paste the Application (client) ID into the Client ID field.
Add API Permissions
Complete the following steps to add your API permissions.
1. Navigate back to your Azure account.
2. Click API Permissions.

The User.Read permission should already be contained within the list.
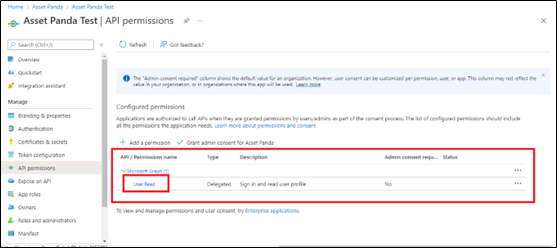
3. From the Configured permissions section, select Add a permission.

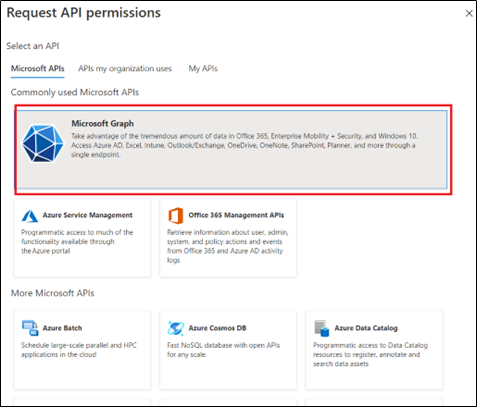
4. From the Request API permissions page, select Microsoft Graph to add more permissions.
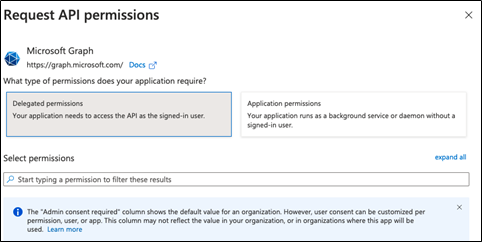
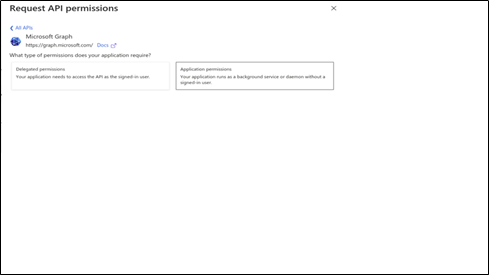
5. Select Application permissions.
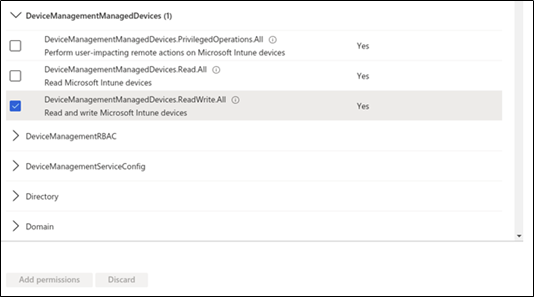
6. Expand DeviceManagementManagedDevices, and then select the following values:
- DeviceManagementManagedDevices.PrivilegedOperations.All
- DeviceManagementManagedDevices.ReadWrite.All
7. Expand DeviceManagementApps, and then select the following values:
- DeviceManagementApps.Read.All
8. Click Add permissions.
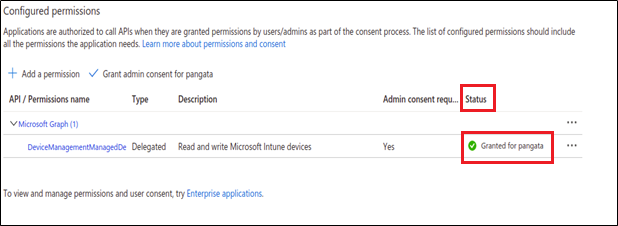
The Configured permissions section is displayed again.
9. Click Grant admin consent to confirm that all permissions have admin consent.

10. Select Yes to grant consent.

11. Confirm that the Status column displays the Granted status.
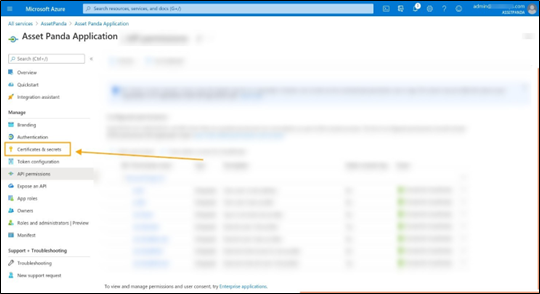
Create Application Secret
This section will guide you through the steps of creating an application secret that will be used within Asset Panda.
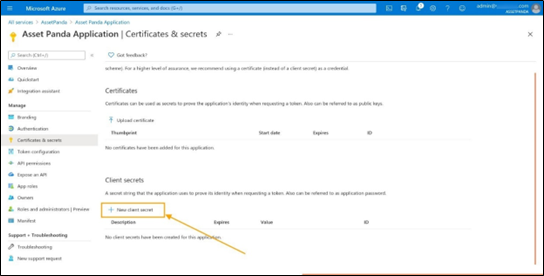
1. Click Certificates & secrets.
2. Click New client secret.
3. Enter the following details within the Client secrets window:
- Description
- Expires - Select the maximum expiration option.
4. Click Add.
5. Copy the Value shown on your screen. You will not be able to do this again after this step.
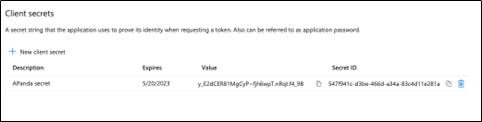
6. Navigate back to your Asset Panda window, and then paste the Value within the Client Secret field.
Enterprise Application
To enable Asset Panda to sync with Active Directory users, you must first enable the application within Azure.
1. Navigate back to your Azure account.
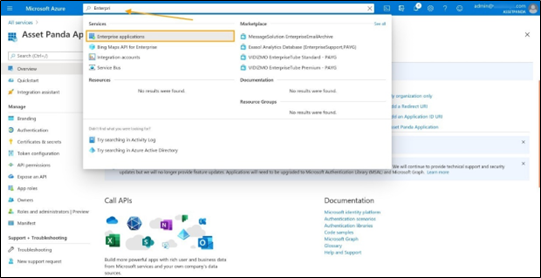
2. Begin to type Enterprise within the Search box, and then select Enterprise Applications.
3. Locate your application, and then copy the Object ID.
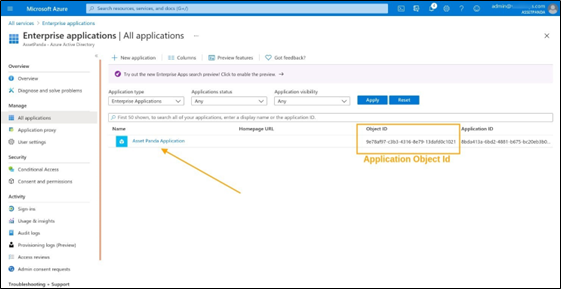
4. Navigate back to your Asset Panda account, and then paste the Object ID within the Application Object ID field.
Final Settings Steps
The following fields should now contain information from the previous steps:
- Client ID
- Client Secret
- Application Object ID
- Tenant ID
To complete the setup process:
1. Click Save.
2. You can also click Test Connection to see if your credentials are correct after saving.
Microsoft Intune is now ready to use with your account. You can now copy users, create field maps, and set schedules.
Mapped Fields
Complete the steps in this section to map (and sync) to specific groups.
NOTE: To prevent the duplication of records, the following fields must be defined as unique and not include a blank value:
- Android, iOS, Mac OS, Windows, Windows phone - link with the Serial Number field
See Unique Rule for more information about unique fields.
1. Click the settings  icon, select Integrations, and then select Microsoft Intune from the list of integrations on the left side of the page.
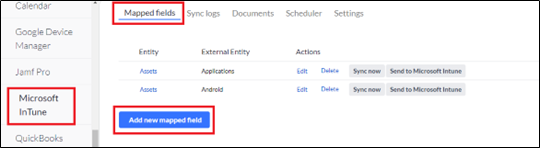
2. Select Mapped Fields, and then click Add new mapped field.
Use the following drop-down menus to:
3. Select the Entity (from within Asset Panda) and External Entity (from within Microsoft Intune).
4. Select your Organization Unit.
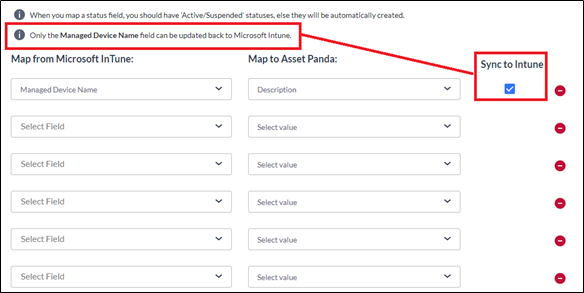
5. Select the groups you wish to Map from Microsoft Intune and Map to Asset Panda.
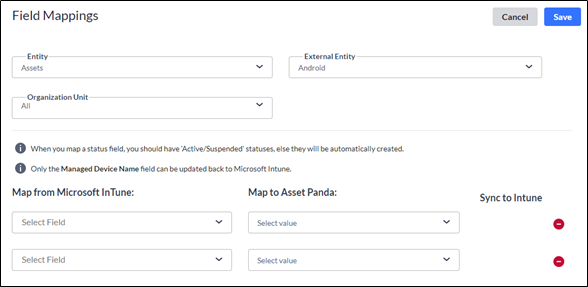
Note that selecting the Managed Device Name field provides a checkbox within the Sync to Intune section. This only occurs with this selection, as the Managed Device Name field is the only field that can be synced and updated back to Microsoft Intune. This box must be checked for you to send to Microsoft Intune, using the Send to Microsoft Intune button (as shown in Step #7 below).
6. Click Save.
You are redirected back to the Microsoft Intune page.
7. Scroll back to the Mapped Fields section, and then click Sync Now. (This pulls your Microsoft Intune information into Asset Panda, whereas Send to Microsoft Intune pushes your Asset Panda information into Microsoft Intune.)
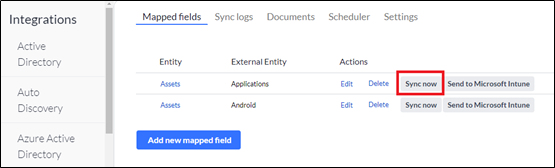
8. Your items begin to synchronize and you will receive an email once it is complete.
NOTE: All sync information can be viewed through the Sync Logs at the bottom of the Microsoft Intune page.
Sync Logs
Your Sync Logs store all your syncing information and are divided by year and month.
1. Click the Sync Logs tab, and then select your desired year and month to expand your logs for the specified timeframe.
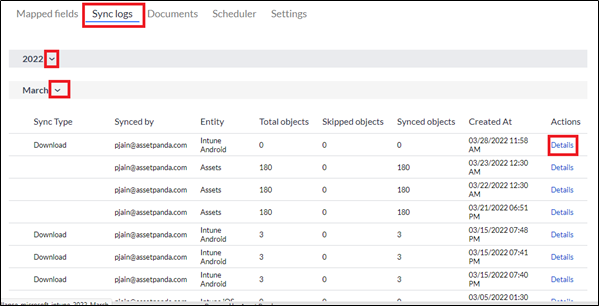
2. Click the Details link to view a more detailed log of sync information.
Schedulers
Use the Schedulers feature to set up automatic sync schedules. (You can choose when and how often your syncs occur.)
NOTE: A maximum of two schedules may be added at any given time. At least one must be deleted if you find the need to setup new schedules.
To begin:
1. From the Microsoft Intune page, click the Scheduler tab.
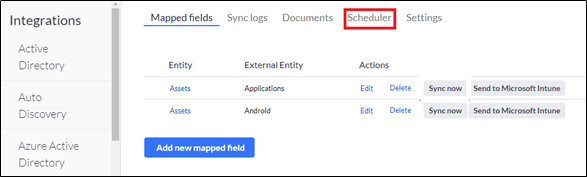
2. Click Add new schedule if you do not currently have any existing schedules.

The Add Microsoft Intune Schedule page displays.
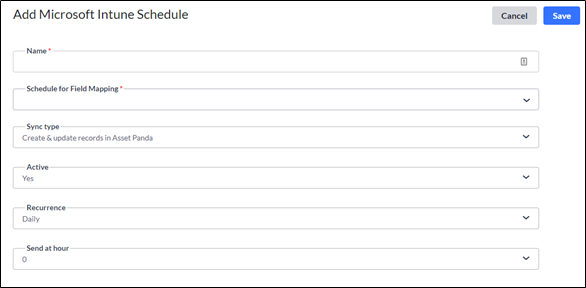
3. Enter your preferred scheduler name into the Name field.
This is a required field.
4. Use the Schedule for Field Mapping drop-down menu to select the group you wish to sync to.
The groups included within this drop-down menu are pulled from fields you mapped within the Mapped Fields section. This is a required field.
NOTE: You must create a schedule for each group.
5. Use the Sync type drop-down menu to select your preferred sync type.
6. Use the Active drop-down menu to select Yes, and to activate your scheduler.
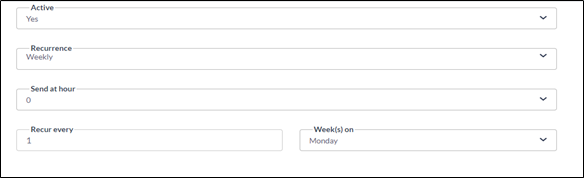
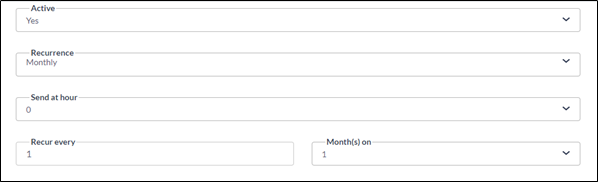
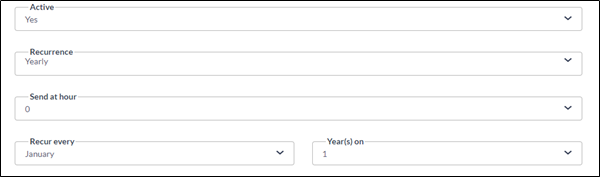
7. Use the Recurrence to select:
- Daily – Select Daily, the hour, and day of the week.

- Weekly – Select Weekly, the hour, the frequency, and day of the week.
- Monthly – Select Monthly, the hour, and the frequency (includes the frequency of the month such as every month, every other month, etc., and the day of the month).
- Yearly – Select Yearly, the hour, and the frequency (includes the specific month and day of the month you wish to schedule).
8. Click Save.
Your new schedules display.
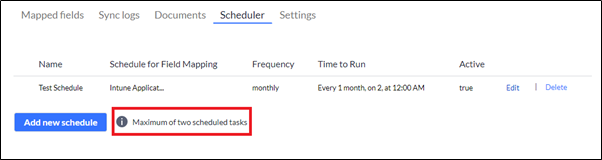
NOTE: There is currently a maximum of two scheduled tasks.
Sync Actions
Sync actions are actions you can perform with your Microsoft Intune devices on the Asset Panda side. These actions result in a mapped action on the Microsoft Intune side as well. See Microsoft’s, Remove devices by using wipe, retire, or manually unenrolling the device to learn more about the following Microsoft sync features:
- Retire
- Wipe
- Delete
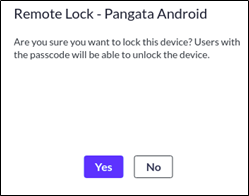
- Remote Lock
To access and complete these sync actions within Asset Panda:
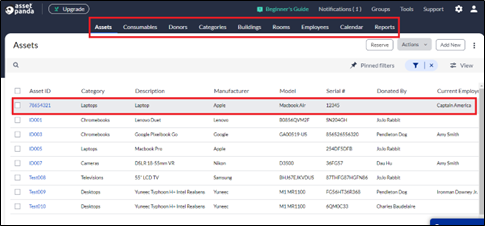
1. Select the group in which you wish to sync your actions.
2. Select your asset from within that group. You must be within the asset detail page for the Intune menu (shown below, in Step #7) to display.
3. Click the Intune menu.

4. Select your sync option. (See the following step for a description of these options.)

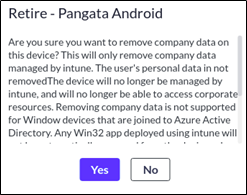
5. Follow the prompts for the option you select. (Your device may be different than the device shown in the examples below.)
- Retire: (Archives the device within Asset Panda.)
- Wipe: (Removes all data.)

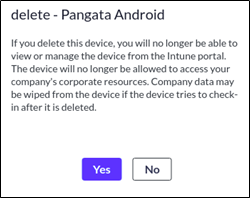
- Delete: (Completely removes the device.)
- Remote Lock: (Users with the passcode are unable to unlock the device.)