Microsoft Entra ID (Formerly Microsoft Azure Active Directory) and SAML Authentication Setup
Complete the following steps to successfully set up your Entra ID and SAML (Security Assertion Markup Language) authentication.
See the Troubleshooting section if you experience errors during your setup.
Microsoft Entra ID Setup
- Navigate to and log into your Asset Panda account.
- Open a second tab, and then navigate and log into the Microsoft Entra ID admin center: https://entra.microsoft.com/#home.
NOTE: You must have an administrative account to complete these setups.
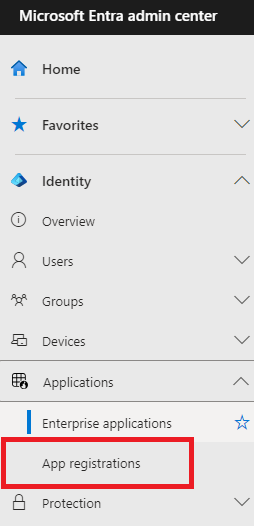
- From the navigation bar on the left of the window under Identity, select Applications, then App registrations.
- Select New registration.

- Fill in the fields and selections:
- Name
- Supported account types
- Redirect URI (optional)
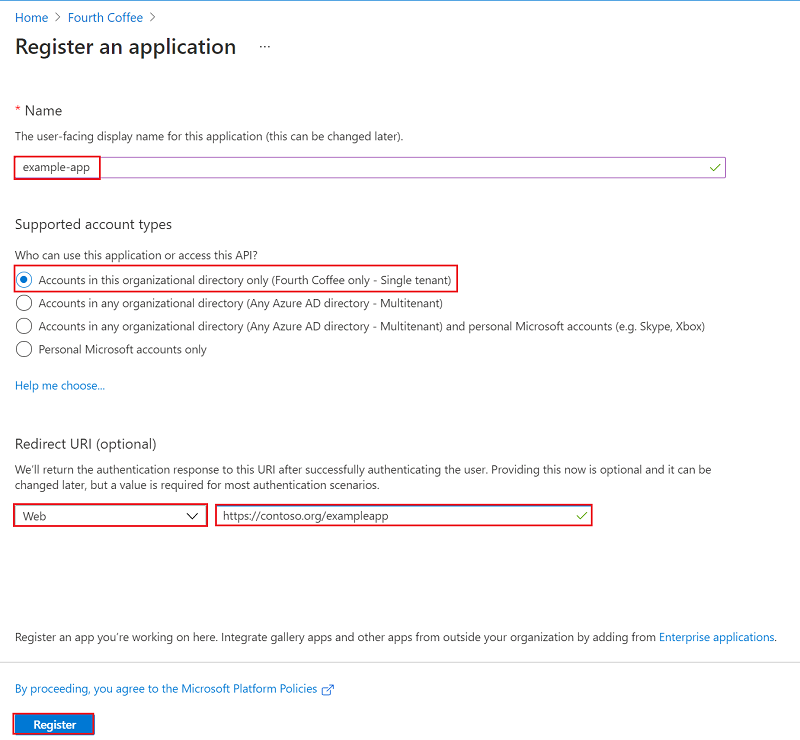
The application and service principal are created. - Name
SAML Authentication Setup
- In the left navigation bar, under Applications, select Enterprise registrations.
- Choose your application from the list.
- Select Assign users and groups.
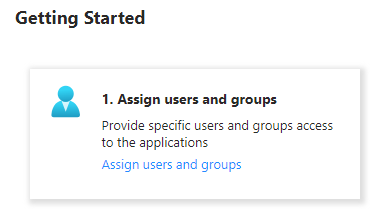
NOTE: Users and groups must be added so they can be added to SSO. - Select Add user/group.

- On the Users and groups page, select Users or Groups, depending on your needs.
NOTE: You can add either Users, Groups, or both. - Select the user(s) or group(s) you wish to assign, and then click Select.
- Select Assign.

You are returned to the Users and groups page.
Enable Single Sign-on with SAML
- Sign in to Microsoft Entra Admin Center as a Cloud Application Administrator or a higher privileged role with the ability to manage application proxy.
For more on privileged roles, see Microsoft Entra built-in roles - In the left navigation bar, select Identity, then Applications, next Enterprise applications.
-
Select your application.
- In the left navigation menu under Manage, select Single sign-on.
- Select SAML to open the SSO configuration page.
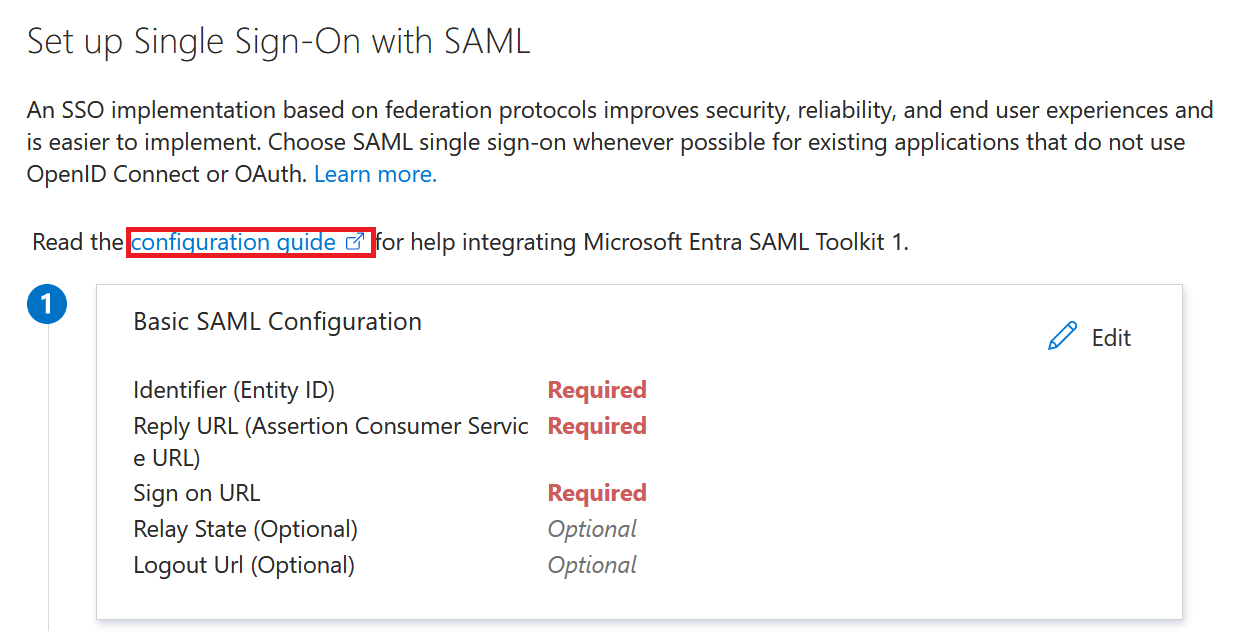
- The process of configuring an application to use Microsoft Entra ID for SAML-based SSO varies depending on the application. For any of the enterprise applications in the gallery, use the configuration guide link to find information about the steps needed to configure the application. The steps for the Microsoft Entra SAML Toolkit 1 are listed in this article.
- In the Set up Microsoft Entra SAML Toolkit 1 section, record the values of the Login URL, Microsoft Entra Identifier, and Logout URL properties to be used later.
Configuration
To configure authentication:
- Navigate to App registrations.
- Choose your application.
- Select Authentication from the Manage navigation bar.
See Troubleshooting below if you experience errors during your setup.
Troubleshooting
Complete the troubleshooting steps below if you encounter any of the following:
- Test failure - Review all steps above to make sure all links and settings match exactly and were saved correctly.
- Too many redirects - If you receive this error while accessing your SSO login page, check the SSO URL within the Asset Panda SSO configuration to confirm that it is correct.
- User must be assigned a role or needs permission - Use the Microsoft Entra ID troubleshooting documentation for further assistance with this issue Quickstart: Create and assign a user account.