Jira ITSM
This guide will help you successfully integrate a two-way sync between your Jira Service Management (ITSM) and Asset Panda accounts. This integration includes:
(We recommend following these processes sequentially if this is your first-time integrating Jira ITSM and Asset Panda.)
- Jira ITSM Implementation
- Asset Panda Implementation
- Create a Jira ITSM Ticket
- Perform Actions from Within Asset Panda
- Review Actions and Jira ITSM Tickets
- Sync, Link and Perform Actions from Within Jira ITSM
NOTE: You will be copying and pasting values between Jira ITSM and Asset Panda during this integration. It is recommended that you paste all values into a text (.txt) file (such as Notepad) so you do not lose them if your system times out.
We’d also recommend that you open both of your accounts in separate tabs. This will make it easier to navigate back and forth between your accounts for the setup.
Getting Started
You must first download the Asset Panda app from the Atlassian Marketplace.
1. Navigate to and then log in to the Atlassian Marketplace at: https://marketplace.atlassian.com/.
2. Enter Asset Panda into the search box, and then select the Enter key on your keyboard.
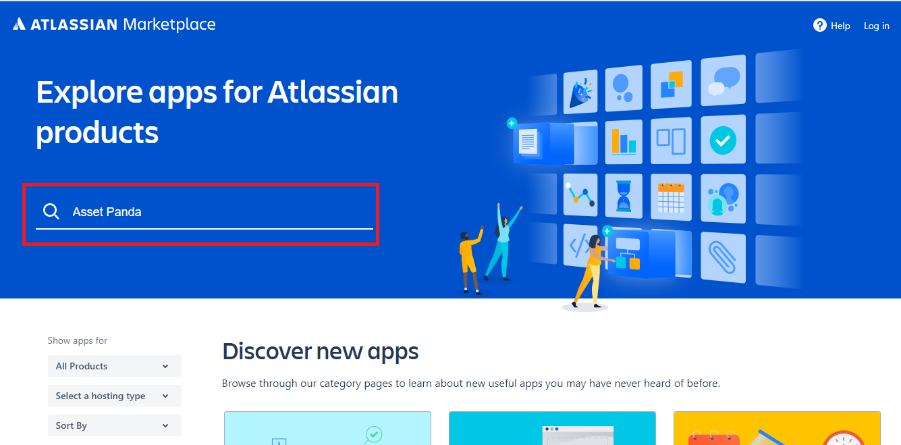
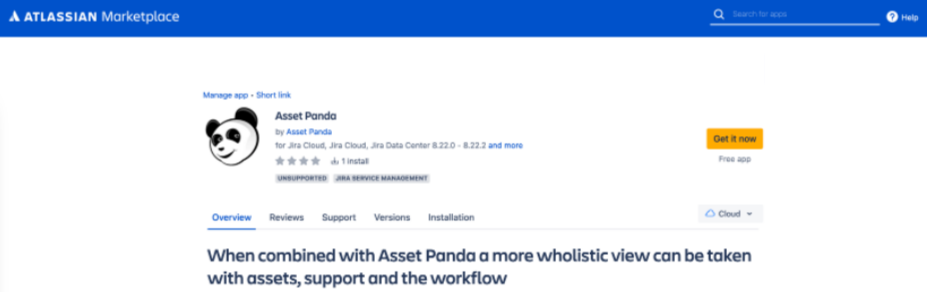
3. Select the Asset Panda app.
4. Click Get it now to download the app.
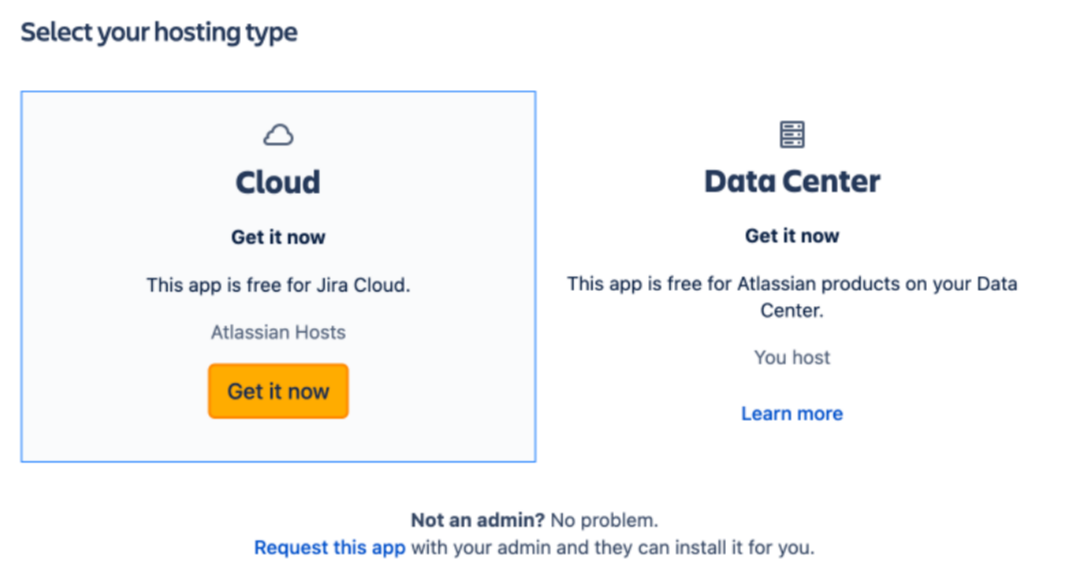
5. Select Cloud for your hosting type, and then click Get it now.
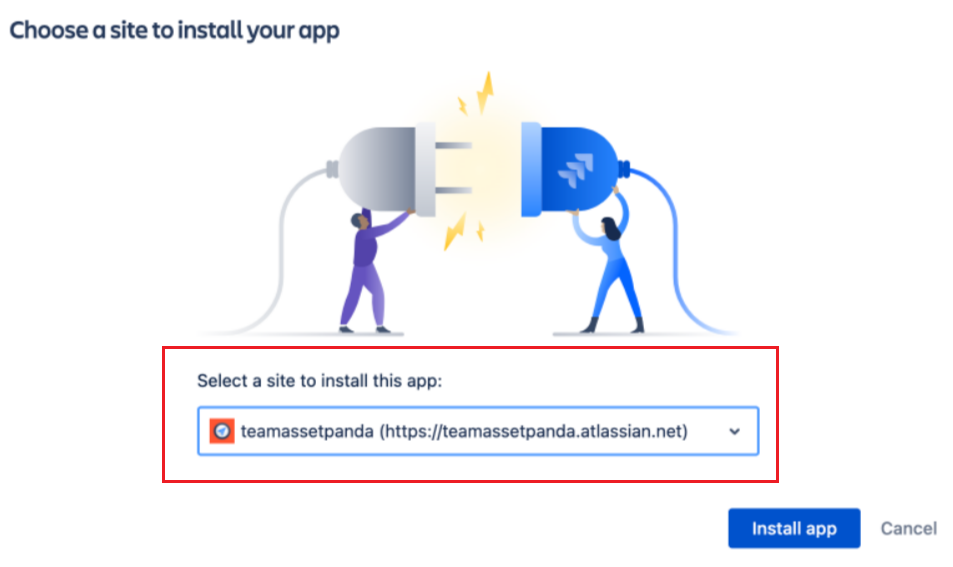
6. Use the Select a site to install this app drop-down menu to select your installation site, and then click the Install app button.
Jira ITSM Implementation
To complete your integration on the Jira ITSM side:
1. Click your profile icon (shown below) and then select Account settings. Once clicked you will be redirected to the Account settings page.
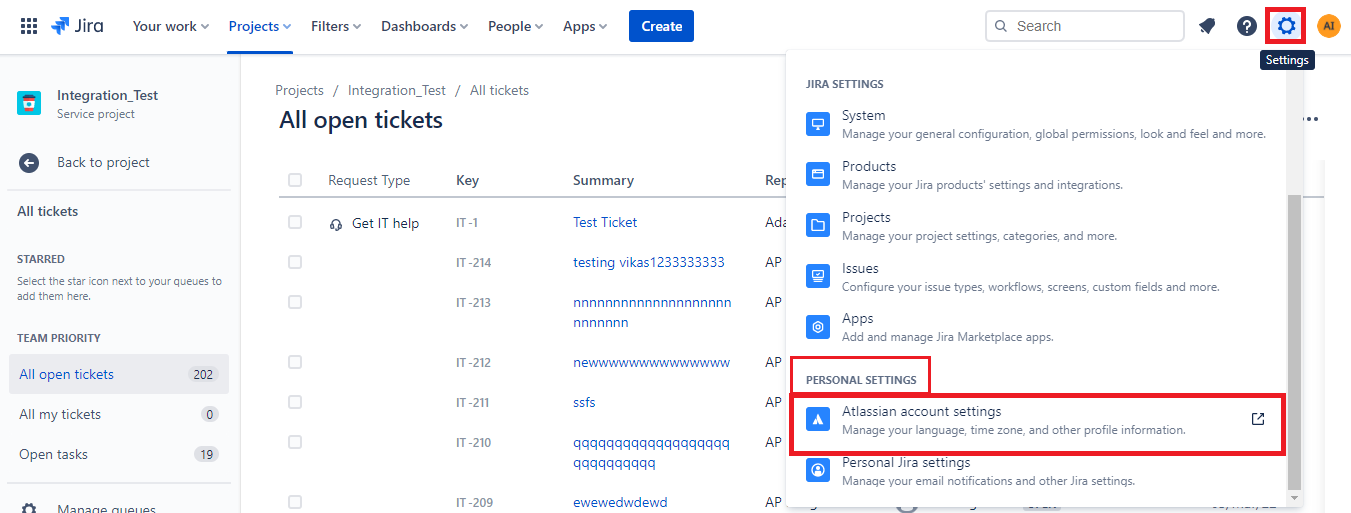
2. Select Security from the menu on the top side of your screen, locate API token, and then select Create and manage API tokens.
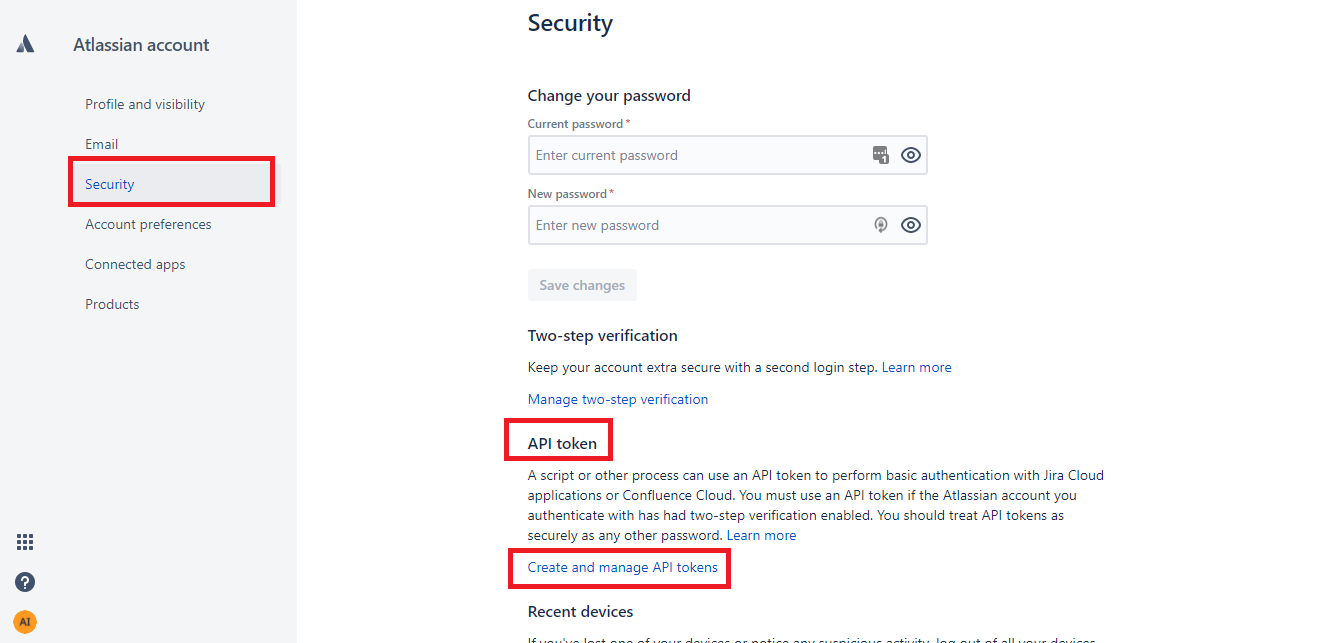
3. Click Create API token.
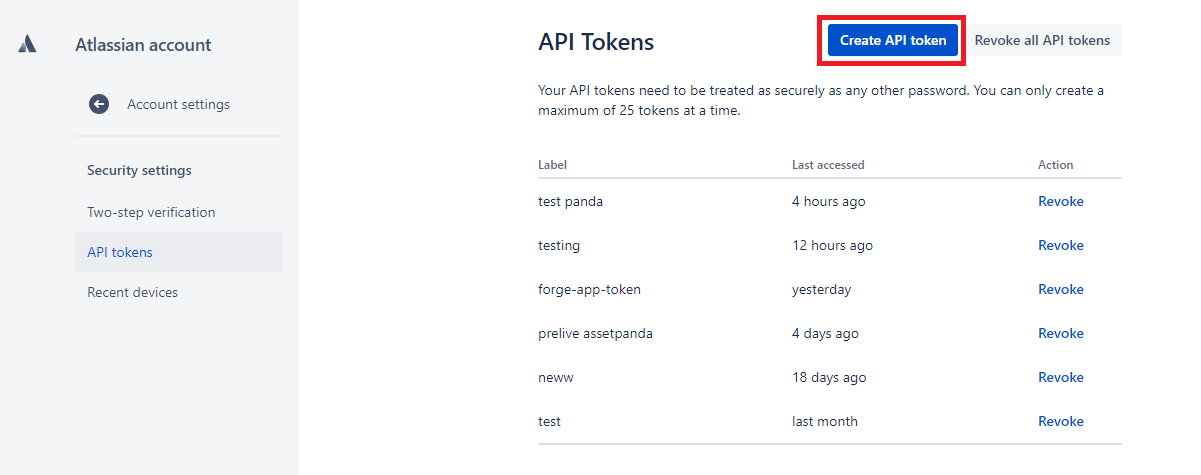
4. Enter Asset Panda into the Label field for your API token, add an Expiration date in the Expires On field and then click Create. Ideally, set the expiration date to be 1 year from the current date so the integration can work seamlessly.
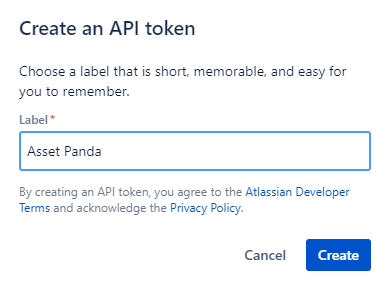
The Copy your API Token screen displays.
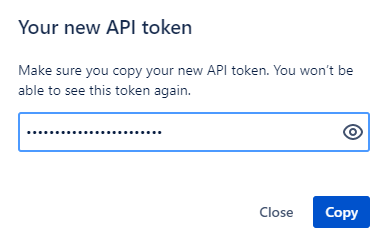
NOTE: Do NOT close out this screen without first copying your token as you will not have access to it again. See Steps 5 and 6 below to make things a bit easier.
5. Click the eye icon to view your actual token.
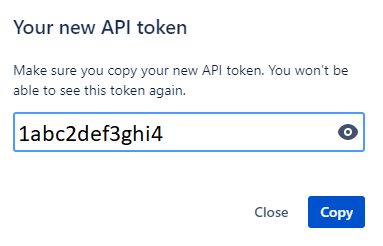
6. Click Copy to copy your API token, and then paste into your .txt file (Notepad, or another, similar application).
7. Navigate back to Asset Panda, and then follow the steps within the Asset Panda Implementation section.
Asset Panda Implementation
To complete your integration on the Asset Panda side:
1. Click the settings  icon, and then select Integrations.

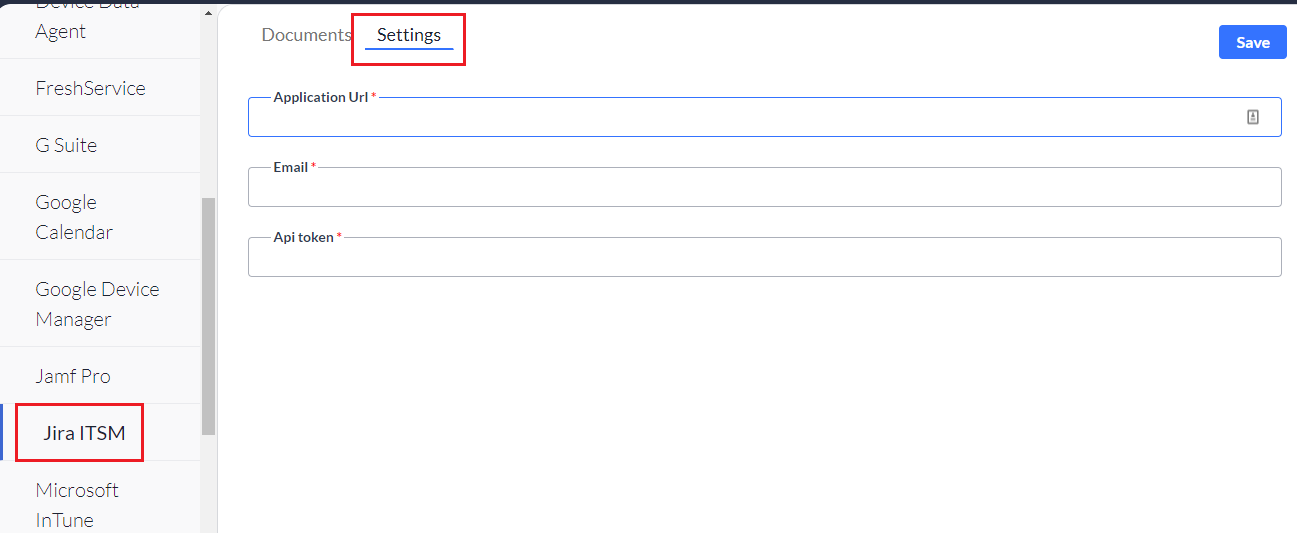
2. Select Jira ITSM from your available list of integrations, located on the left side of your screen, and then click the Settings tab.
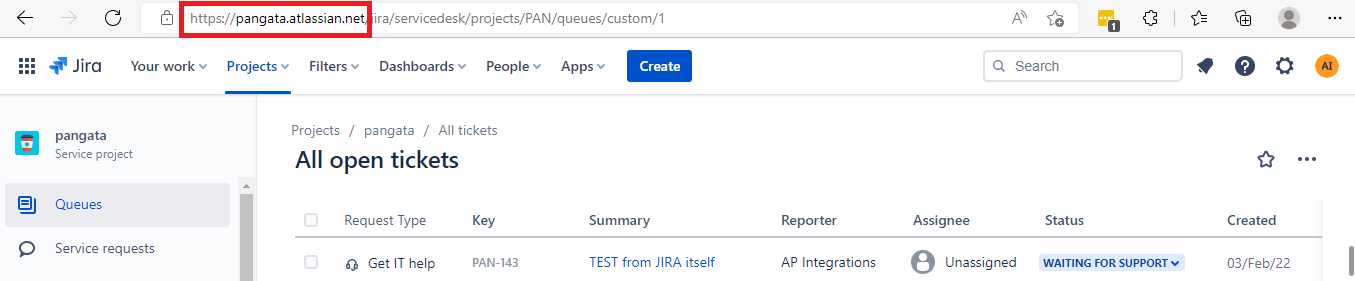
3. Navigate back to your Jira ITSM account, and then copy your application URL.
NOTE: Do not copy anything beyond .net within the URL. For instance, let’s say your Jira ITSM application URL is www.myurlapplication.net/123456. You would only copy www.myurlapplication.net.
4. Navigate back to Asset Panda, and then paste your Jira ITSM application URL into the Application Url field.
5. Enter the email address you use to log into Jira ITSM into the Email field.
6. Paste the API token you copied from the Jira ITSM application into the API token field (see step #6 in Jira ITSM Implementation).
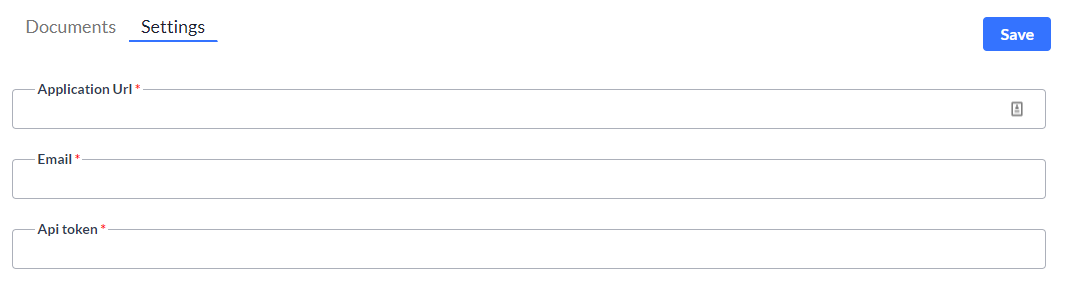
7. Click Save.
Your Asset Panda and Jira ITSM accounts are now linked.
Create a Jira ITSM Ticket
You can create a Jira ITSM ticket from Asset Panda any time you create or update an action (once Jira is implemented with your account).
NOTE: You cannot search for tickets assigned to certain employees or assets from within Jira. This must be accomplished via Asset Panda.
To create your Jira ITSM ticket from Asset Panda:
1. Create or update an action as you normally would. (See Create or Modify an Action if you need help with creating or modifying an action.)
2. Slide the Create Jira ticket toggle to Yes.
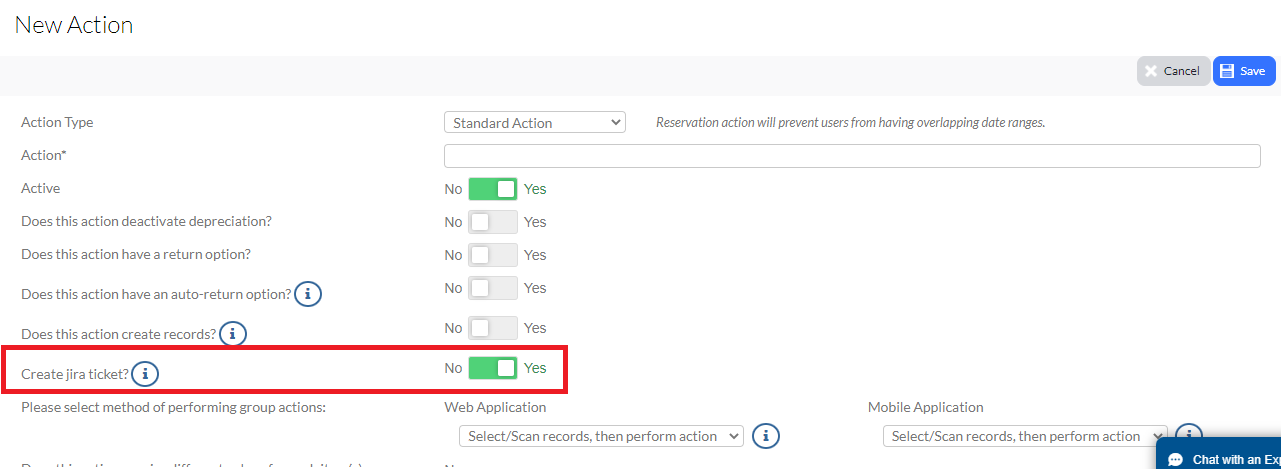
3. Click Save.
This action will now be available within your list of actions and will create a Jira ticket when selected. (See either Perform an Individual Action or Perform a Group Action depending on your needs.)
Perform Actions from Within Asset Panda
This section will help you perform both individual and group Jira-based actions, from within Asset Panda.
Perform an Individual Action
To perform an individual action from within Asset Panda:
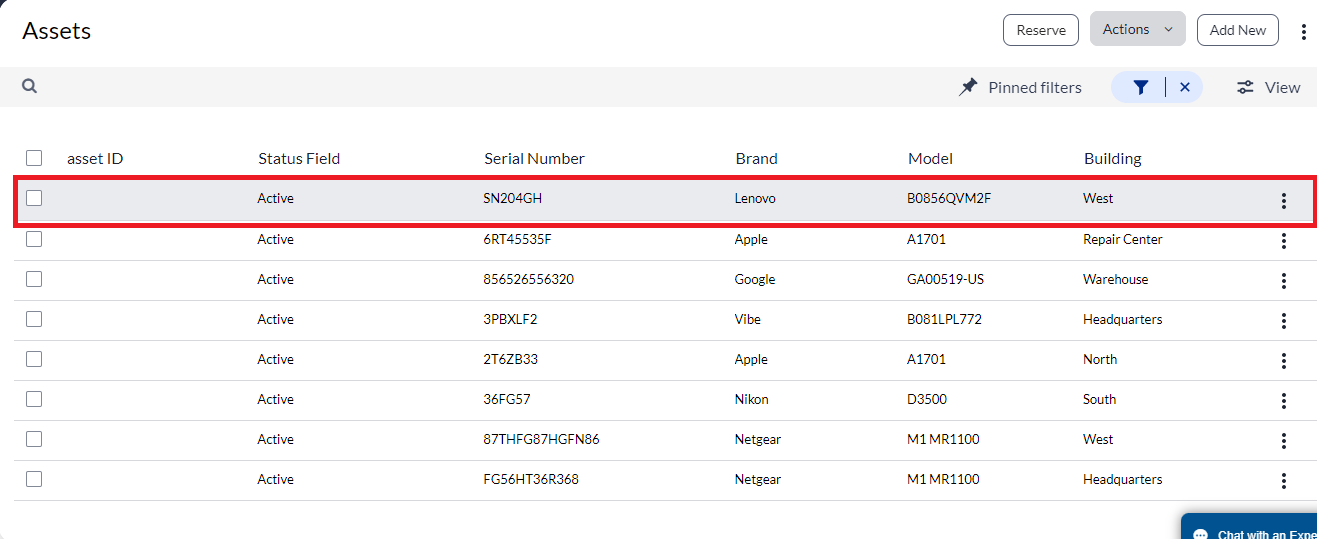
1. Navigate to the group you wish to perform the action from within, and then click to select your asset.
NOTE: Select individual assets by clicking on the asset (anywhere within the gray box shown below), rather than by clicking the checkbox.
2. Click the Actions drop-down menu, and then select the action you wish to perform.
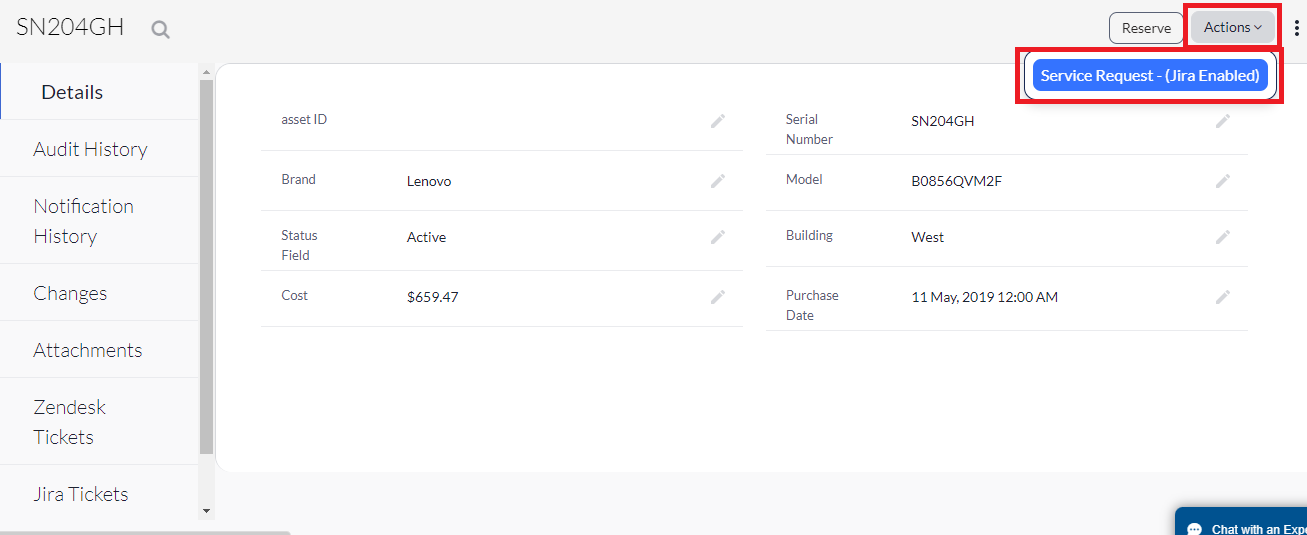
You will notice those actions with an attached Jira ticket are notated as such (see Example of Jira-enabled action below) and contain additional fields for your Jira sync. (See the Create a Jira ITSM Ticket section for more information.)
Example of Jira-enabled action
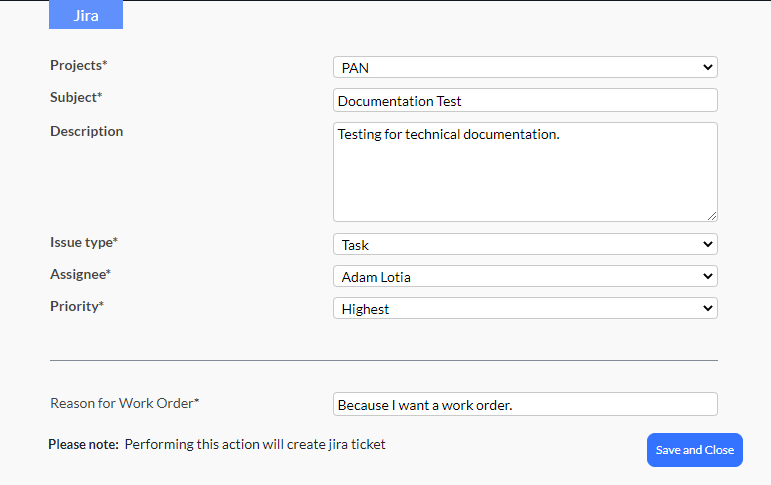
3. Verify that your action appears as the example shown in Example of Jira-enabled action below (see Create a Jira ITSM Ticket if it does not) and then enter the required information into the appropriate fields (all fields except for the Description field are required):
- Projects: Use this drop-down menu to assign to a specific project (if you have more than one).
- Subject: The subject line of your ticket.
- Description: Use this field to provide a more in-depth description (optional).
- Issue type: Use this drop-down menu to assign a specific issue type to your ticket.
- Assignee: Use this drop-down menu to assign the ticket to a specific person.
- Priority: Use this drop-down menu to assign a priority to your ticket.
- Any customized fields: You will notice that we have a customized field titled, Reason for Work Order within our screenshot. This field is pulling from our action fields. Yours will likely vary depending on your fields.
4. Click Save and Close.
Your new ticket now displays within your Jira ITSM account.

Perform a Group Action
You can also perform group actions from within Asset Panda. Note that a group action creates one Jira ticket for all the assets that you select. For example, let’s say you select three assets, and then choose an action. All three of those assets will be included on one Jira ticket.
To perform a group action from within Asset Panda:
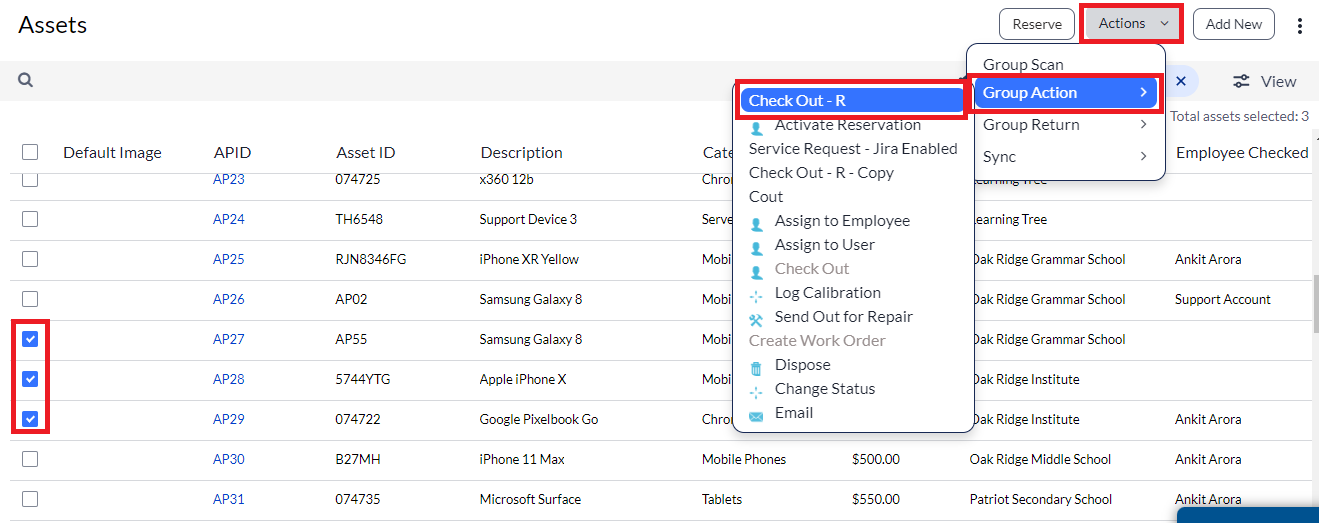
1. Navigate to the group you wish to perform the action from within, and then select your assets.
NOTE: Select multiple assets by clicking the checkboxes located next to each asset, as shown below.
2. Click Actions, select Group Action, and then select the action you wish to perform.
Like with individual actions, you’ll notice that those actions with an attached Jira ticket are notated as such (see the screen shot examples within the Perform an Individual Action section above) and contain additional fields for your Jira sync.
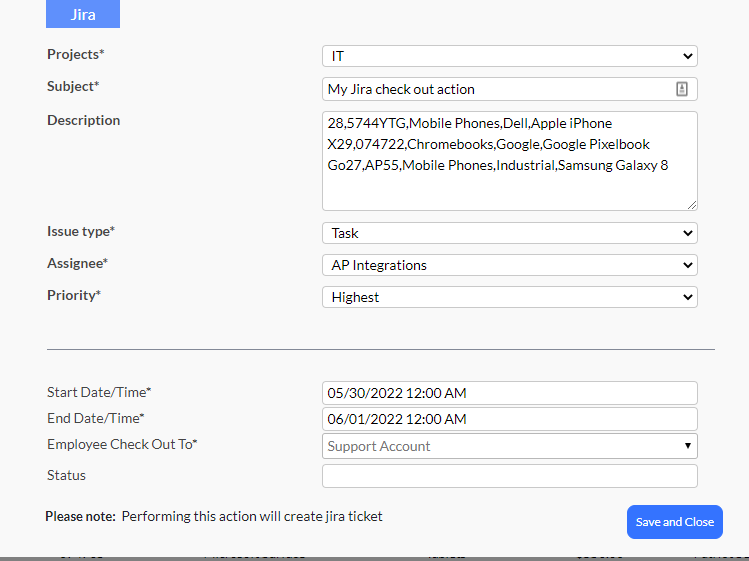
3. Enter the required information into the appropriate fields.
4. Click Save and Close.
Review Actions and Jira ITSM Tickets
You’ll also want to review the Jira ITSM tickets and actions that you create for specific assets, while within Asset Panda.
To do this (we are using the action we performed in the Perform a Group Action section above):
1. Select the asset in which you have performed a Jira action.
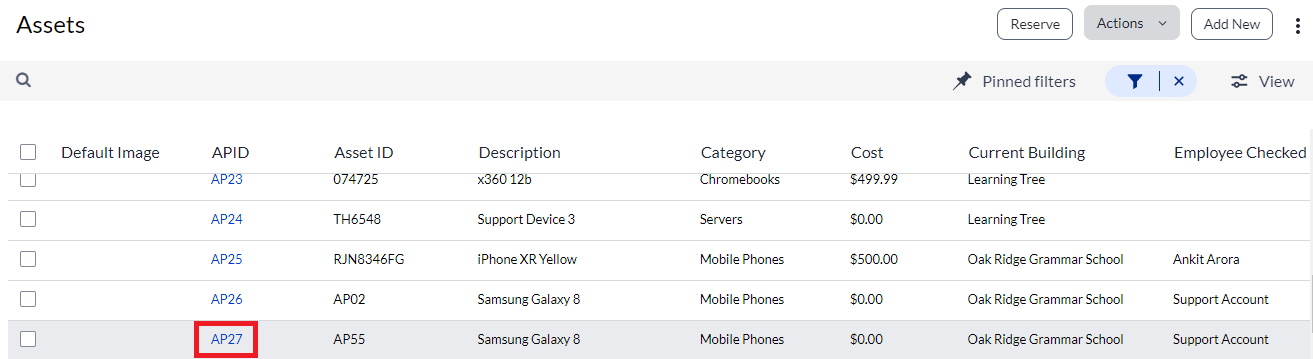
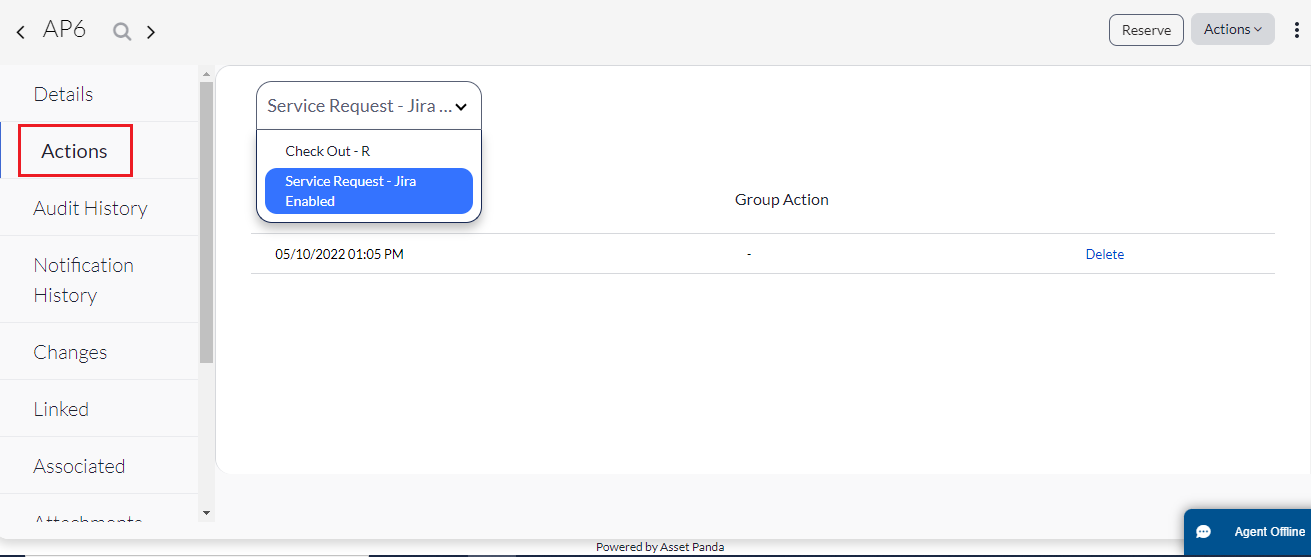
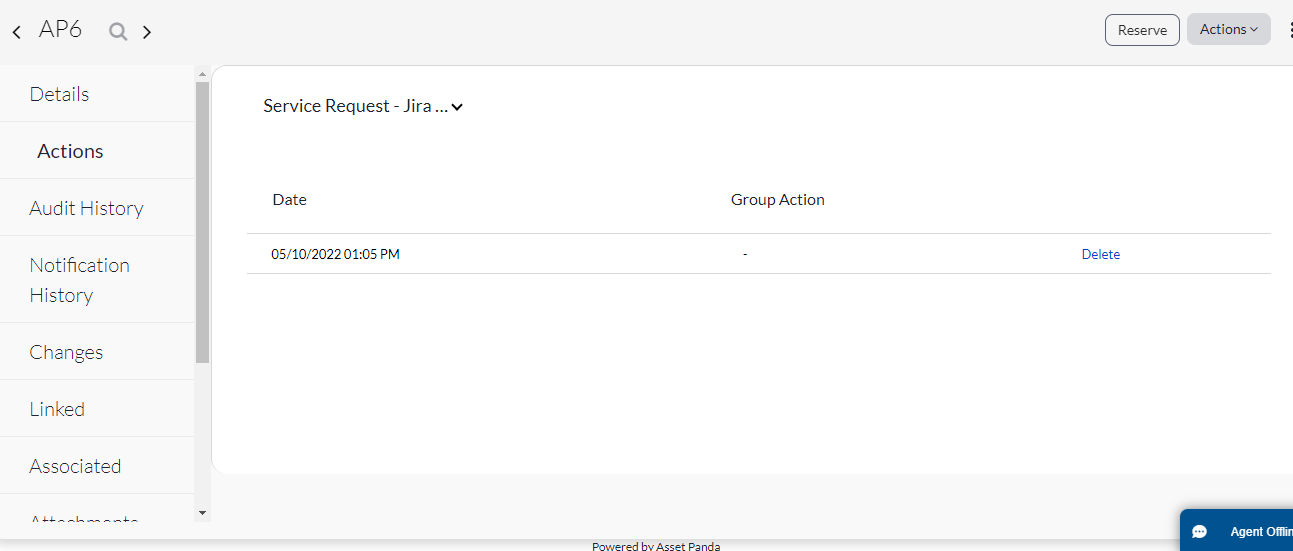
2. Select Actions from the navigation menu on the left side of your screen, and then use the drop-down menu to select the type of Jira action you wish to view.
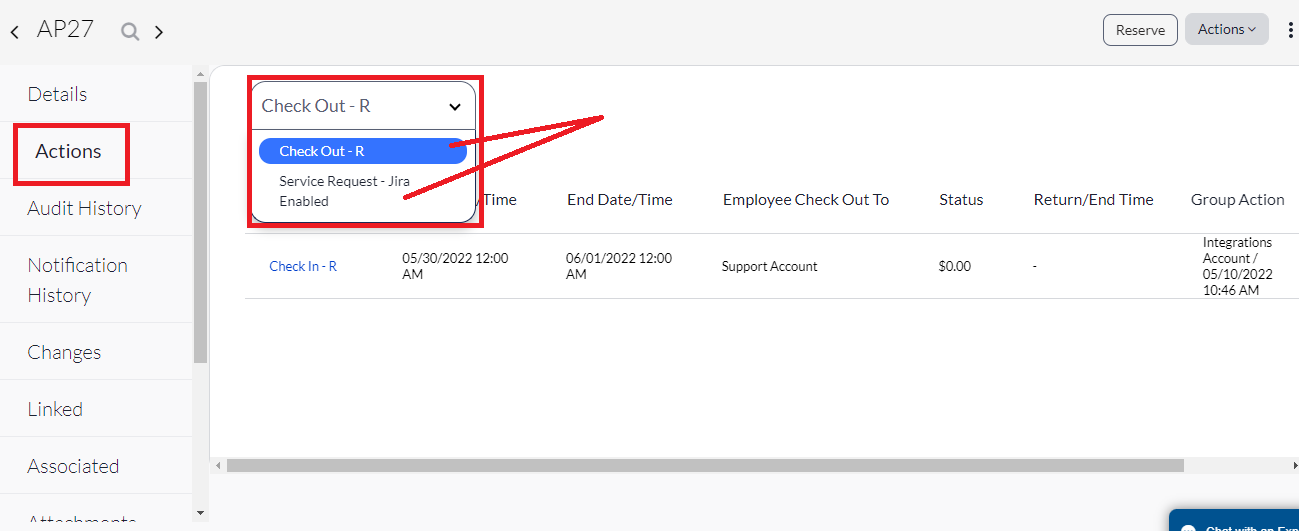
You’ll see a list of all actions and applicable details for that specific asset.
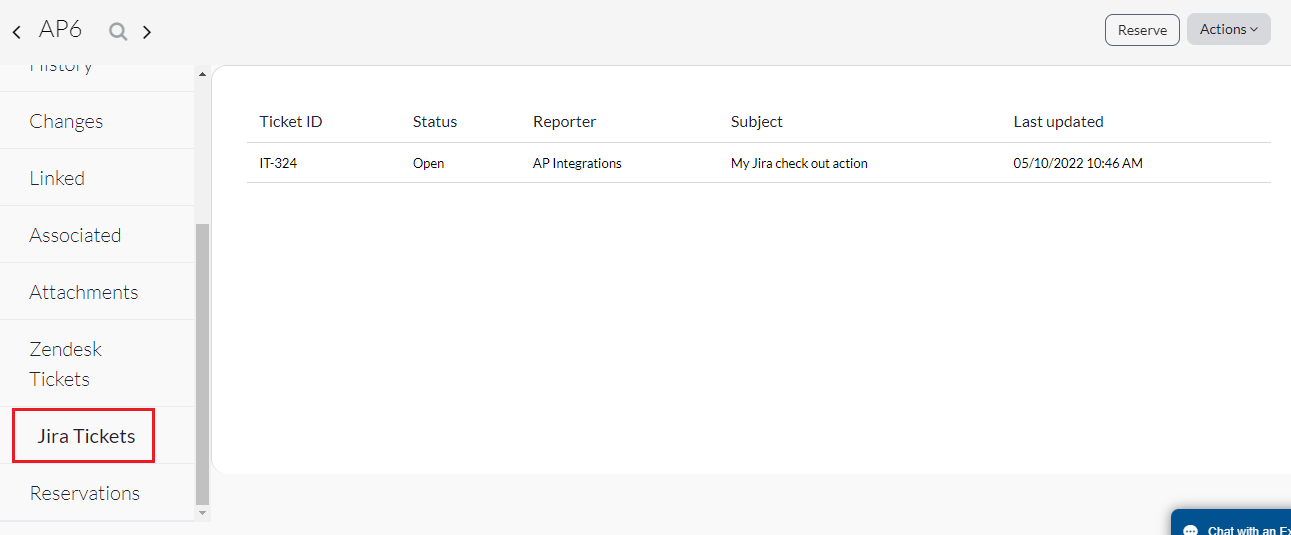
3. Also, from the navigation menu on the left side of your screen, navigate to and select Jira Tickets.
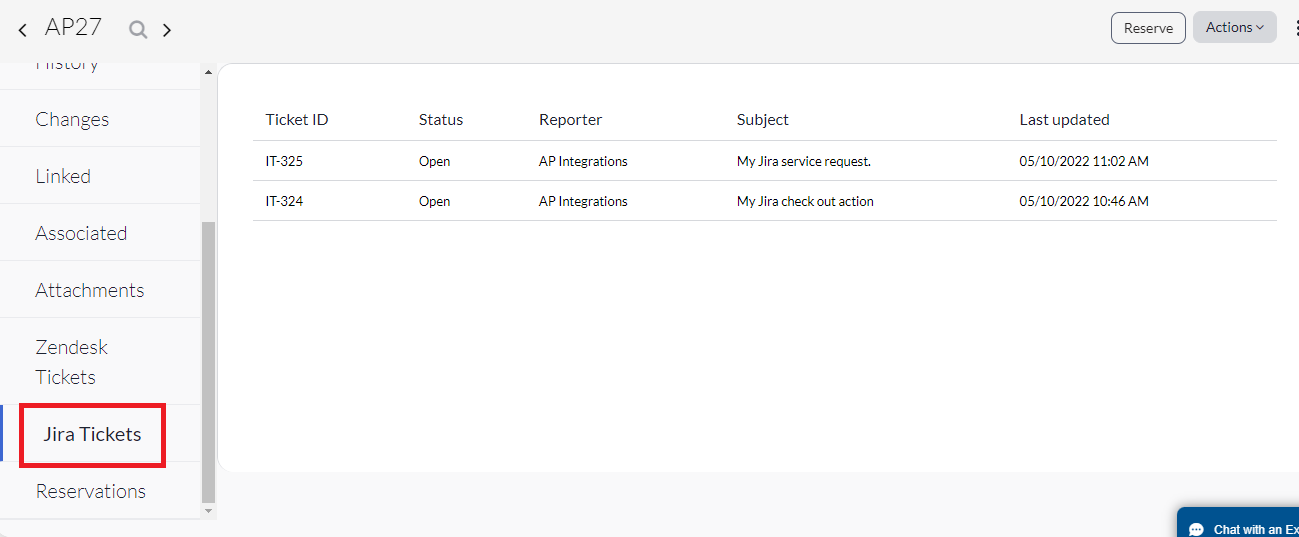
This list displays all Jira tickets that have been created for this asset.
Sync, Link and Perform Actions from Within Jira ITSM
This section covers the Jira ITSM side of things regarding the Jira ITSM and Asset Panda integration.
Let’s sync, link a ticket, and create an action from within Jira ITSM, while linking everything back into Asset Panda.
Sync with Asset Panda
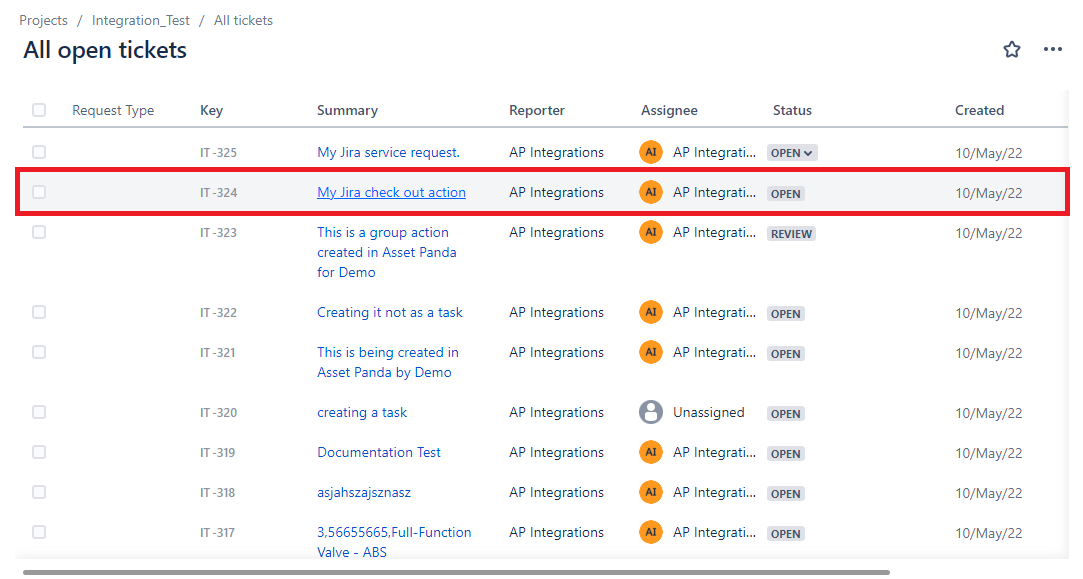
1. Log into your Jira ITSM account, and then click to open the ticket you wish to link to.
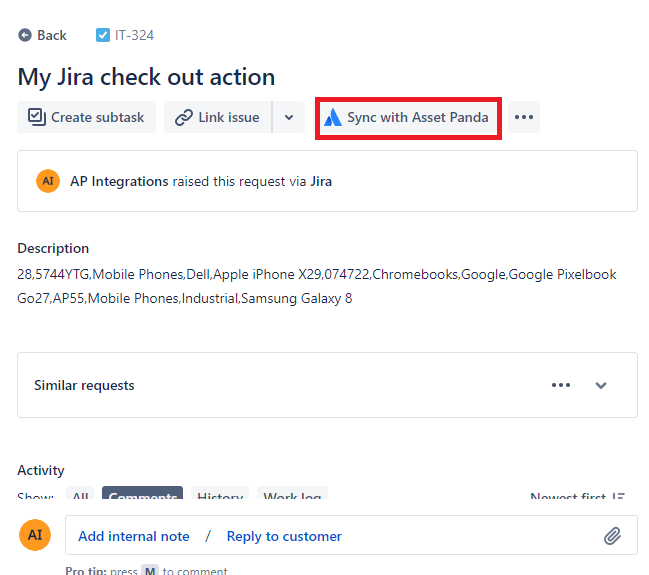
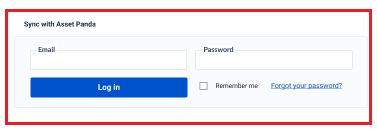
2. Click Sync with Asset Panda.
3. Log into Asset Panda when prompted (if not already logged in).
Now that we’re synced with Asset Panda, let’s link a ticket and perform an action.
Link to the Ticket
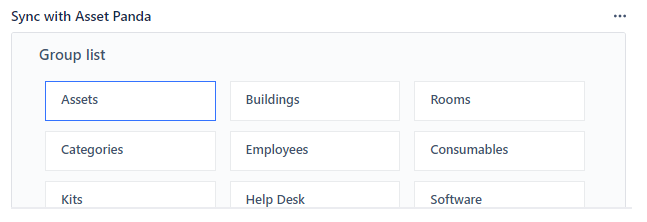
1. Use the Group list to select the group that contains the asset(s) you wish to link to the ticket. (We’re using the Assets group for our example.)
2. Select the asset(s) you wish to link to the selected ticket.
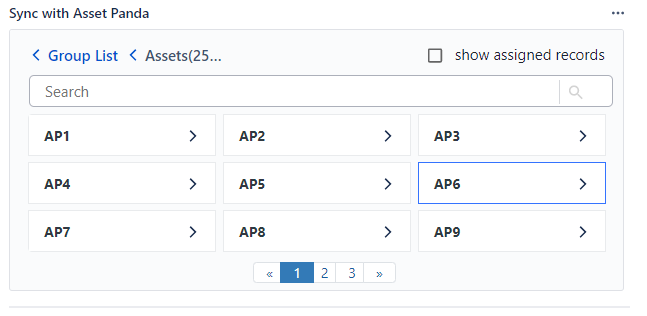
You’ll notice that 10 fields display for your selected asset. These fields are those that are set as the list fields within your groups and can be changed by updating your personal settings list fields.
You may notice (as shown in the example below) is how the Action menu is grayed out. It remains grayed out until you link the asset to a ticket. If you attempt to click it prior to linking, you’ll see a message letting know that you must first link.
3. Click the Link to the ticket button.
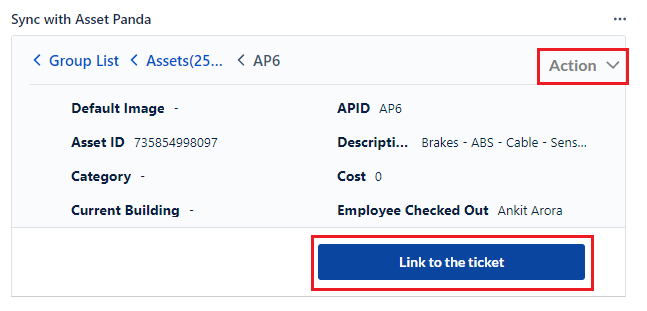
The asset is now linked to this specific ticket (the Link to the ticket button changes to the Remove from the ticket button and the Action menu is blue and ready to use.)
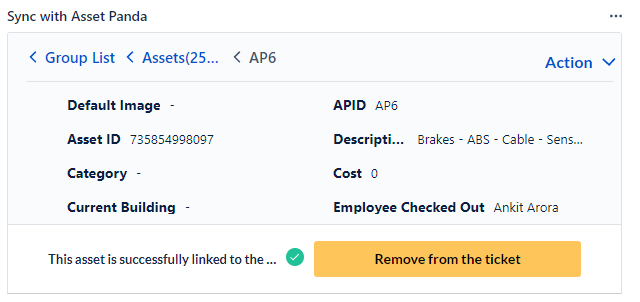
One other thing to note…you’ll notice that your linked asset now contains a blue dot when you view your list of assets. This lets you know that the asset is successfully linked to this specific ticket.
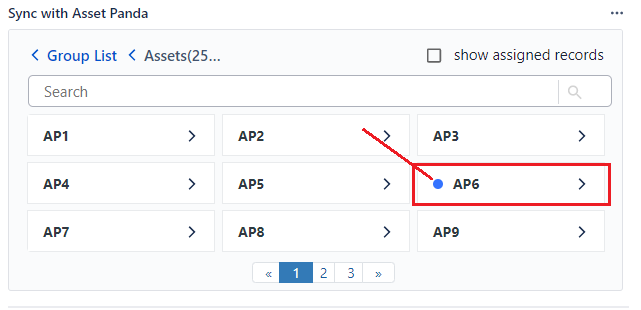
NOTE: You may find other assets that also contain the blue dot, letting you know that they too, are linked to this specific ticket.
Now that you’ve linked to a ticket, you can perform an action.
NOTE: You cannot perform an action without first linking to a ticket.
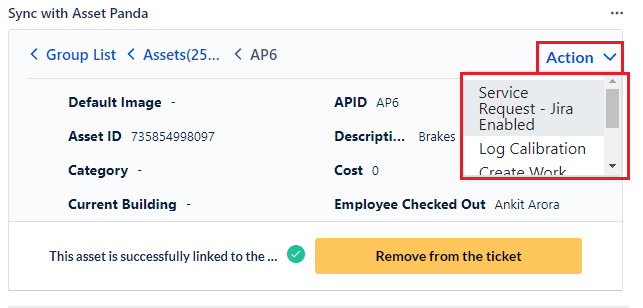
Perform an Action
1. From within the linked asset, use the Action drop-down menu to select the action you wish to perform.
2. Complete any required fields (fields will differ depending on the action you select), and then select Perform action.
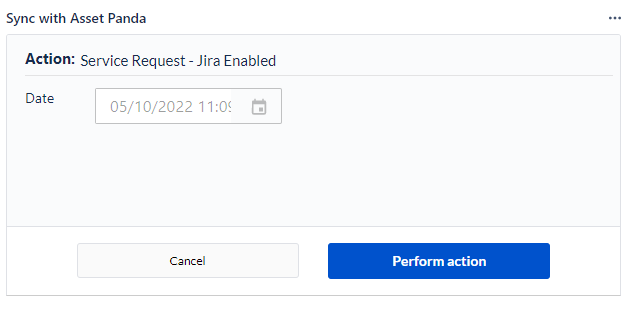
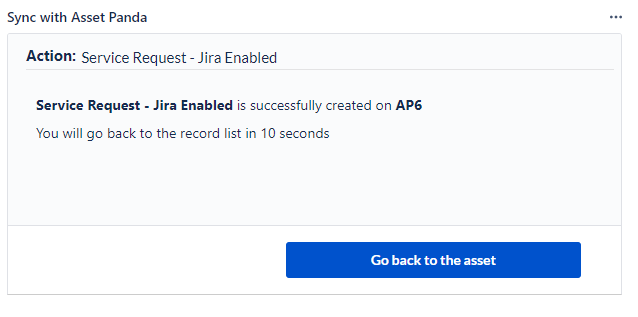
You’ll see the following screen, letting you know that the action was successfully performed.
3. Click the Go back to the asset button or wait 10 seconds to be automatically returned back to the asset.
Final Steps
Let’s now navigate back to Asset Panda to view the Jira ticket you linked to, along with the action you performed from within Jira ITSM.
1. Navigate back to Asset Panda, and then select Jira Tickets from the left side of your screen.
You’ll find the Jira ticket you linked to displays here (see Link to the Ticket section).
2. Select Actions from the left side of your screen.
3. Use the drop-down menu to select the action type you performed in the Perform an Action section.
You’ll see the action listed within your list of actions (for that action type).
And….that’s it!