Google Device Manager
Complete the following steps to integrate your Google Device Manager (GDM) with your Asset Panda account. (Note that you may also see instances within the Google platform where GDM is also referred to as Google Workspace.)
NOTE: Google is a third-party application and Asset Panda does not control updates made by Google. As a result, your screens and options may vary from those you see in our examples below. See Google's documentation for the most up-to-date technical information.
1. Log into your Google account.
NOTE: You must be logged in as a Google administrator.
2.Navigate to the following URL: https://console.developers.google.com.
3. Select Enabled APIs & services from the menu on the left side of your screen, and then select Enable APIs and Services.
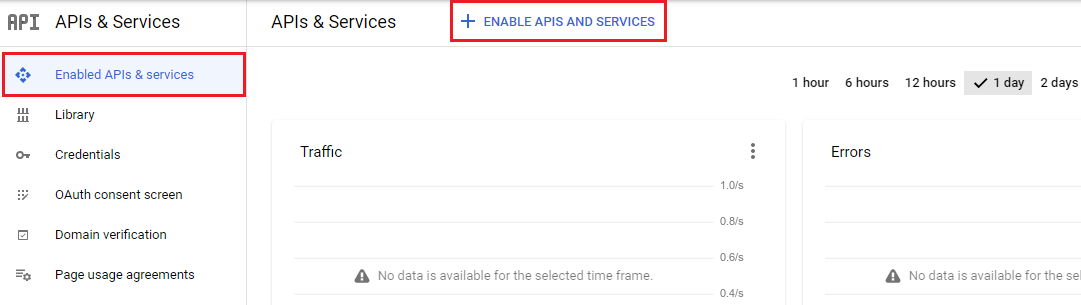
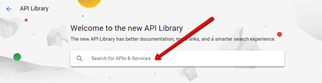
The API Library displays.
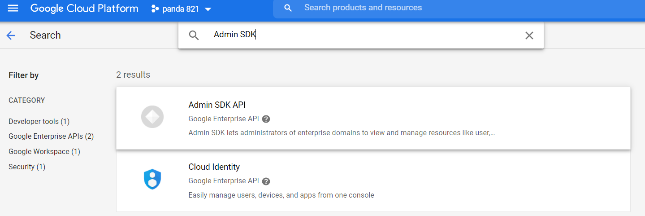
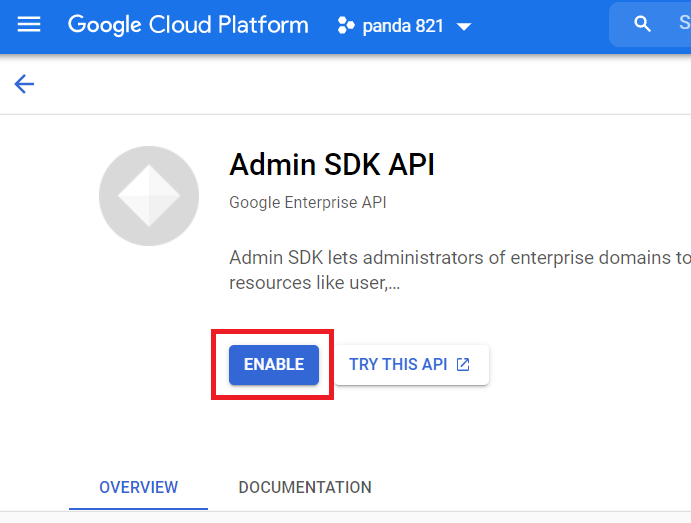
4. Search for Admin SDK API within the search field and then click Admin SDK API to select it.
|
|
|
|
|
|
5.
6.
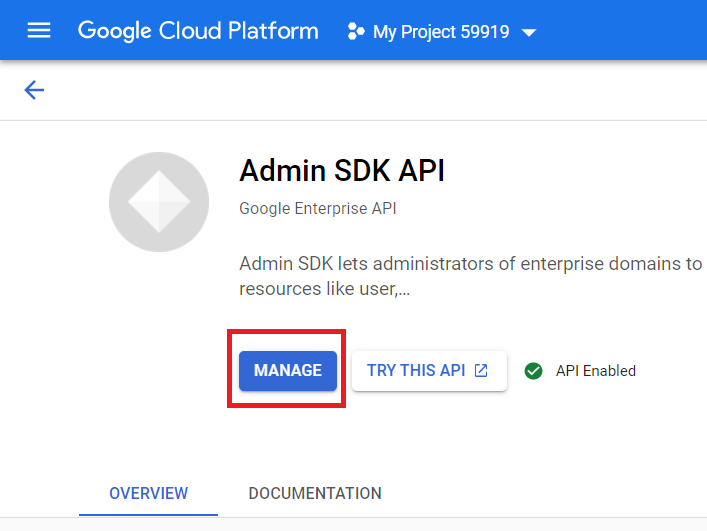
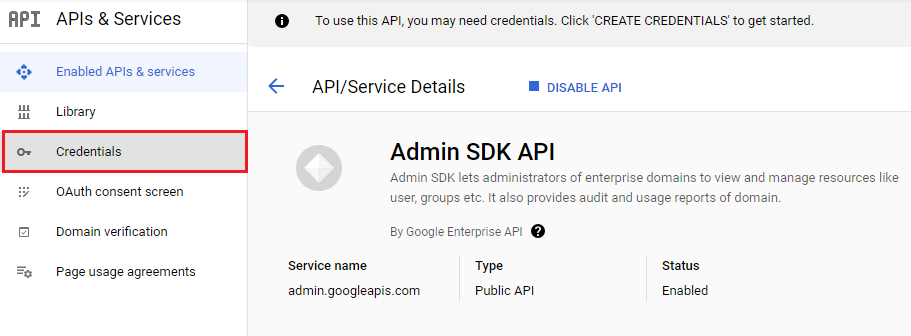
7. Select Credentials.
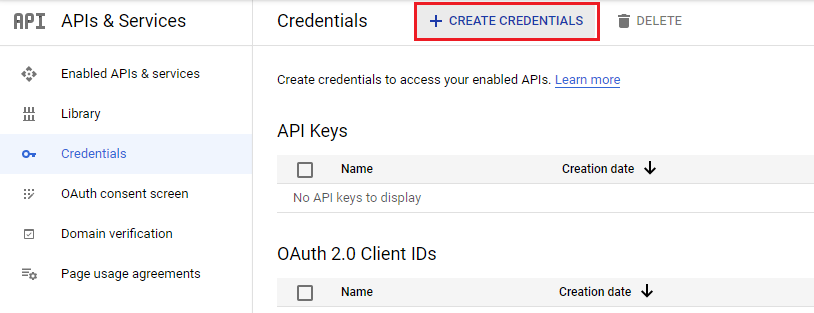
8. Select Create Credentials.
9. Select OAuth client ID.
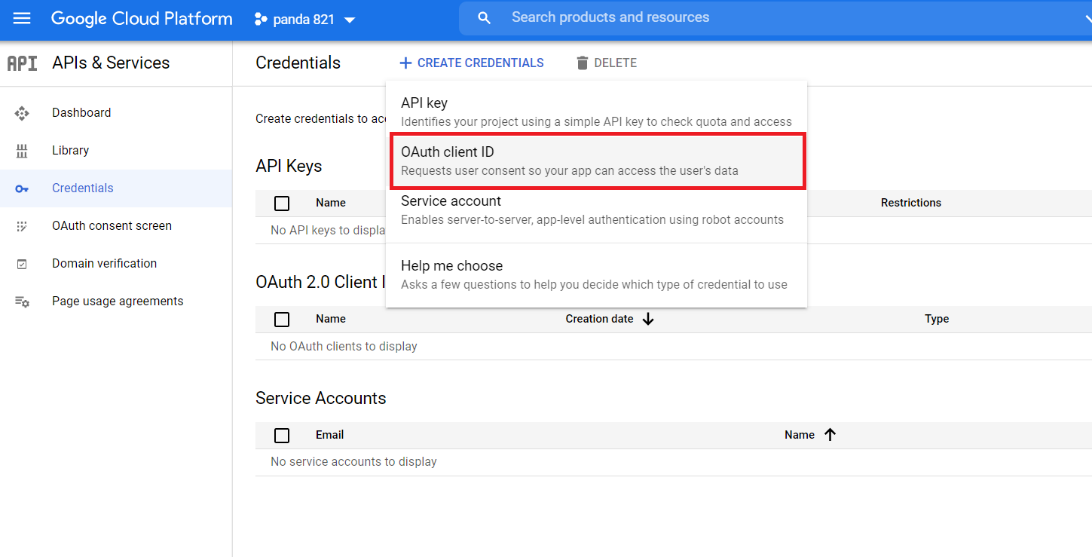
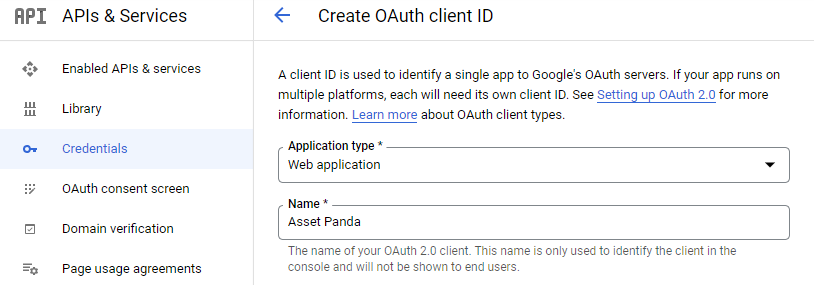
The Create OAuth client ID screen displays.
10. Select Web application for the Application type, and then enter Asset Panda for the Name.
11. Scroll down to the Authorized redirect URIs section, and then select Add URI.

12. Enter the following link into the URIs field:
https://login.assetpanda.com/integrations/gdm_oauth2callback
13. Scroll to the bottom of the page, and then select Create.
14. Click the copy icons for both Your Client ID and Your Client Secret. They will both automatically copy to your clipboard but you may also wish to open a text (.txt) file and paste them there as you will use them to create your Asset Panda account in later steps.
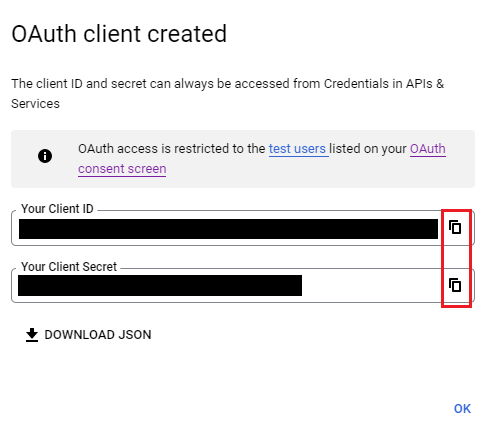
15. Click OK.
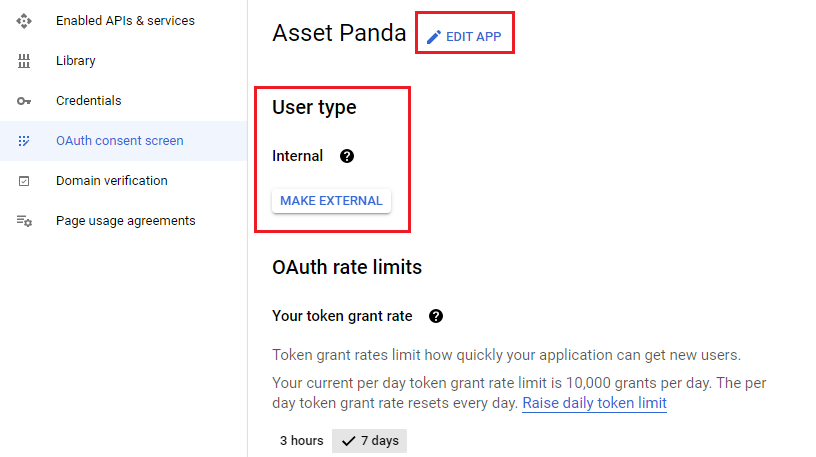
16. Select OAuth consent screen.

17. Confirm that your User type is set to Internal, and then click Edit App (located at the top of the page, next to your application name).
18. Complete the following to edit your app registration. (This information is optional. If you choose to not enter this information at this time, you can skip to step # 19.):
- App information: Includes your App name and contact information.
- App domain: Enter links to your home page, privacy policy, and terms of service into the applicable fields.
- Authorized domains: Add your authorized domain(s). Click the Google Search Console link to find out if your domains are authorized.
- Developer contact information: Enter your contact email address. This is the address that Google will use to contact you regarding changes to your project.
19. Click Save and Continue.
The Scopes page displays.
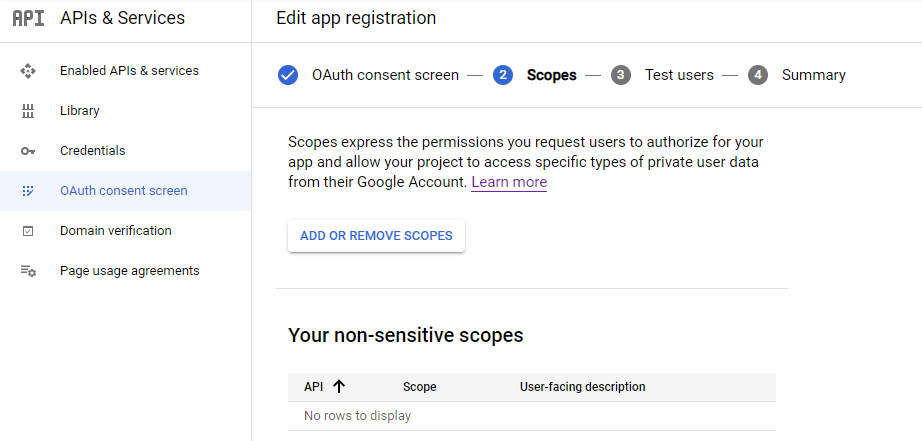
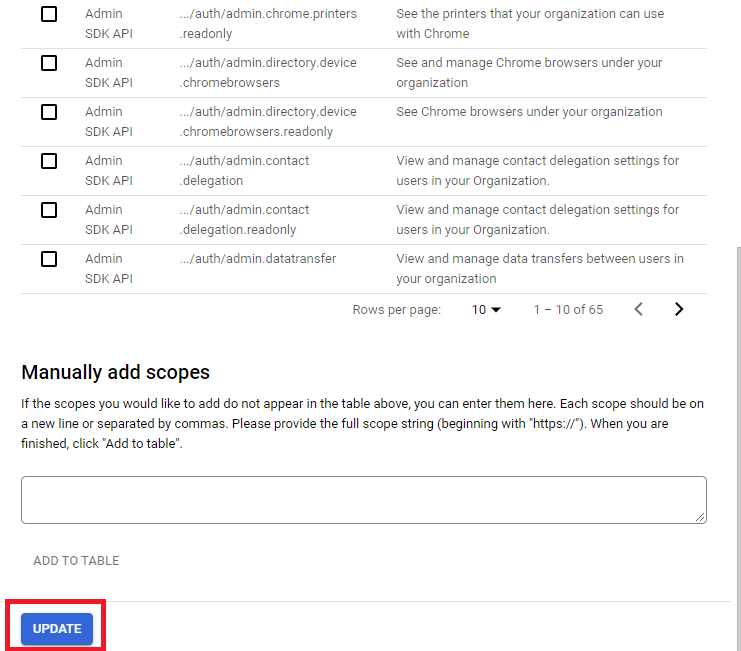
20. Click Add or Remove Scopes to add or remove your desires permissions and authorizations. (See the Scopes Table below for assistance with the scope types and what they do and click the Learn more link to learn more about scopes and your Google Account.)
Scopes Table
|
Scope |
Function |
|
admin.directory.device.chromeos |
View and manage the metadata of your Chrome OS device(s). |
|
admin.directory.device.mobile |
View and manage the metadate of your mobile device(s). |
|
admin.directory.user |
View and manage the provisioning of users on your domain. |
|
admin.directory.userschema |
View and manage the provisioning of user schemas on your domain. |
|
admin.directory.group |
View and manage the provisioning of groups on your domain. |
|
admin.reports.audit.readonly
|
View audit reports for your G Suite domain. |
|
admin.directory.orgunit |
View and manage organization units on your domain. |
NOTE: You do not need to submit verification when using restricted scopes within Asset Panda, as they are for internal use. To indicate (if needed) that the application is for internal use:
- Select the OAuth consent screen.
- Click the Project selector drop-down at the top of the page.
- On the Select from dialog that appears, select your project.
- Under User type, select Internal, and then click Save.
21. Once completed, click Update, located at the bottom of the Update selected scopes page.
22. Review your scopes, then click Save and Continue at the bottom of page.
The Summary page displays.
23. Review your OAuth consent information for accuracy. Click Edit to make any changes.

24. Once you have reviewed and are ready to proceed, scroll to the bottom of the page, and then click Back to Dashboard.
25. Open a new browser tab, and then log into your Asset Panda account.
26. Select the settings  icon, and then Integrations.
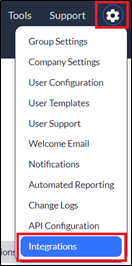
27. Select Google Device Manager (Google Workspace) from your integrations menu, located on the left side of your screen.

28. Click the Settings tab.
29. Paste both your Client ID and Client Secret into their fields, and then select Save.
30. Select Authorize.
31. The Send email to create password is optional. Select this checkbox if you wish to send an email to users notifying them of their account and to let them set their password.
32. Log into your Google account as prompted.
Mapped Fields
Complete the following steps to successfully map groups and fields between Asset Panda and Google Device Manager.
NOTE: To prevent the duplication of records, the following fields must be defined as unique and not include a blank value:
- Users - link with the Email field
- Computer - link with the serial_number field
- Chrome OS Devices - link with the serial number field
See Unique Rule for more information about unique fields.
Note that the following fields can be updated from Asset Panda to Google Device Manager, Chrome OS devices:
- Annotated User
- Annotated User Location
- Asset ID
- Notes
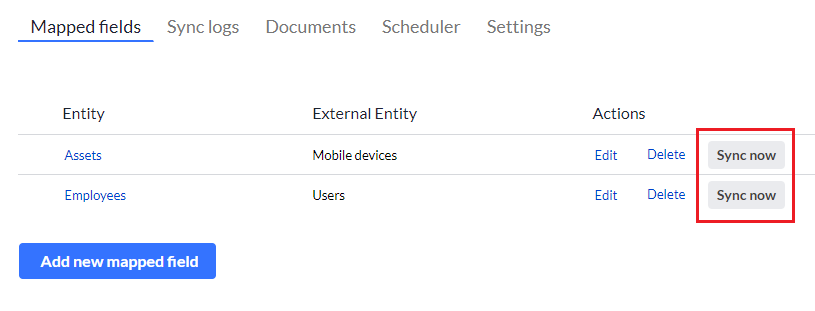
1. Click the Mapped Fields tab from your Google Device Manager page, and then click Add new mapped field.
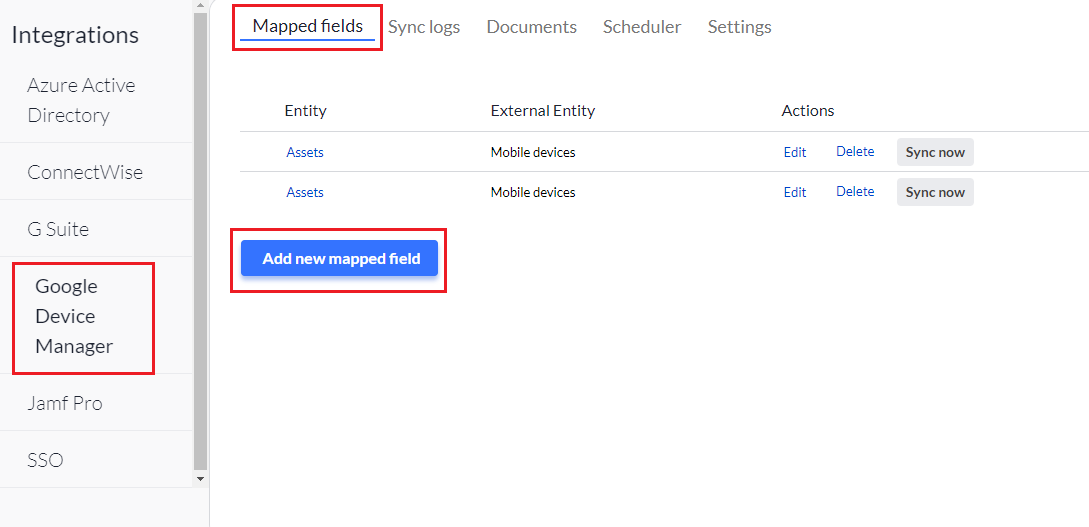
2. Select the Entity (Group) and fields you wish to map from within Asset Panda. (The Entity column is your Group from within Asset Panda, and the External Entity column is from your Google Device Manager.)
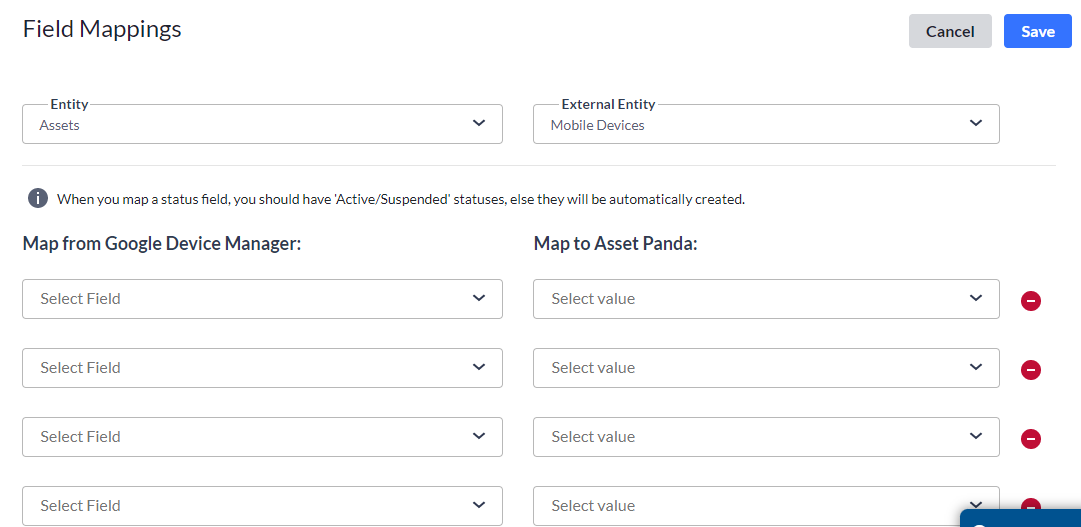
3. Click Save.
Once completed, you are redirected back to the Google Device Manager page, letting you know that the mapping was successful.
Syncing
After mapping your fields:
Navigate back to the Mapped Fields page (if not already there), and then click Sync Now to sync your new fields. (See the Sync Individual Record section below if you wish to sync an individual record rather than a group.)
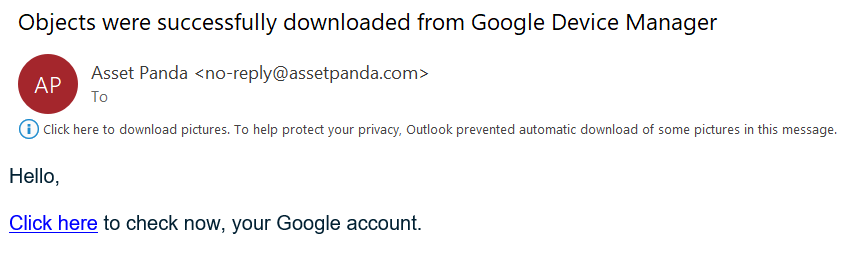
Your items begin to synchronize, and you will receive an email once it is complete.
NOTE: All sync information can be viewed through the Google Device Manager Sync Logs, via the Sync Logs tab (discussed in the Sync Logs section below).
Sync Individual Records
Complete the following steps if you wish to sync individual records.
1. Click the ellipses  when viewing a record.
2. Select Sync, and then select one of the following actions:
- Download from Google Device Manager: Pulls information in from Google Device Manager.
- Delete from Google Device Management: Deletes a specific record if the record is synced. (Note that this option is available even if the specific record is not synced.)
- Approve: Allows device to sync Google data.
- Disable: Temporarily disables the device, but the device stays enrolled within your system.
- Re-enable: Re-enrolls a previously disabled device.
- Deprovision: Retires device and removes all data completely.
(See Google documentation for more information regarding these sync options: Google Workspace Admin Help and Chrome Enterprise and Education Help.)

You will receive a success message when the record has successfully synchronized. See the Sync Logs section for information on how to view your sync logs.
Sync Logs
Complete the following steps to view logs (a history) of your syncs.
1. Click the Sync Logs tab (from your Google Device Manager page).
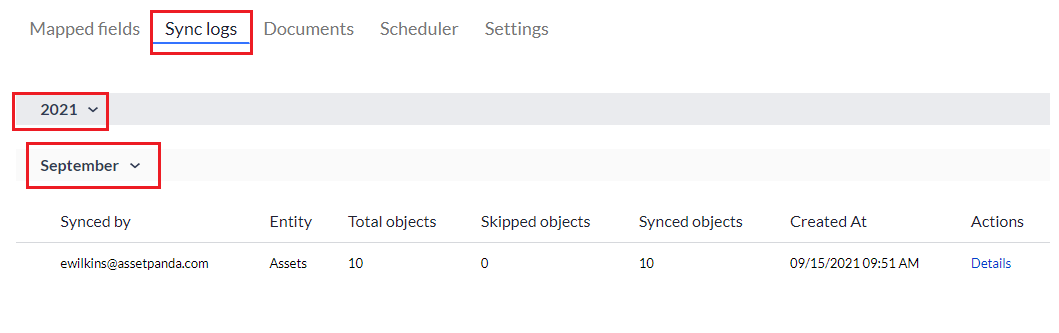
2. Click the arrow  icon next to the year you wish to view, and then drill down by month to view individual logs.
3. Click the Details link if you wish to view specific details about any specific sync.