Filters
Filters are useful in just about anything you can imagine. From oil changes to managing your assets, filters are useful. We also kind of like them here at Asset Panda which is why we have implemented this useful feature. (We also want to do whatever we can to make your job easier.)
So let's talk about the filters in your account and how you can effectively use them. (See View Pinned Filters for information on pinned filters.)
First, you may ask the question, "How do Asset Panda filters make my life easier?" Well, some of our users (and you may be one of them) have lots and lots of assets. Scrolling through these assets to find the one you need can be a tedious process. Filters help remove the tediousness by narrowing the field, enabling you to hopefully find what you need (and much faster than scrolling asset by asset).
Perform a new filter search
1. To find these filters, navigate to one of your groups.
You'll see your Filter button on the top, right side of your page.
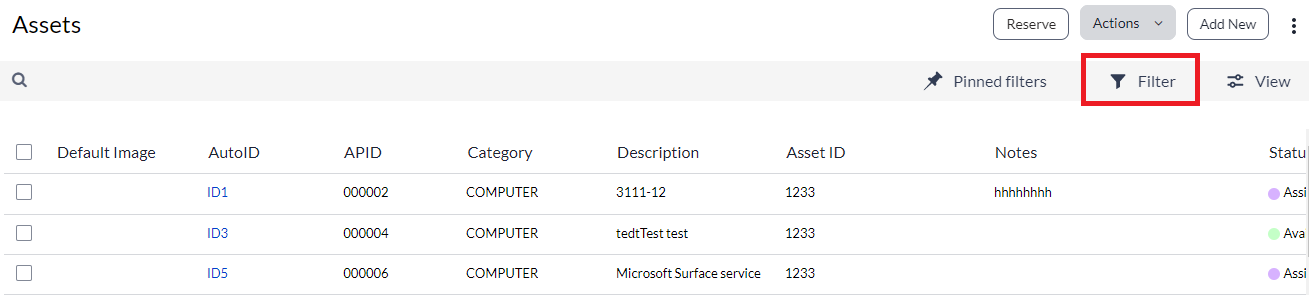
It may appear as Default filters if you have default filters set. You can click the X to clear them out for now, if you wish to conduct a brand new filter search. See Default Filters for more information.

2. Click the Filter button.
You'll notice that your fields display on the left side of this screen.
3. Select your desired field, and then use the search feature to add the values you wish to add. (You can manually enter the values you seek into the Search values bar, scroll through the list, or select them all with the Select All option.)

4. You can also go back to Fields and select more fields, then more values from those fields and so forth. The choices here are just about unlimited!
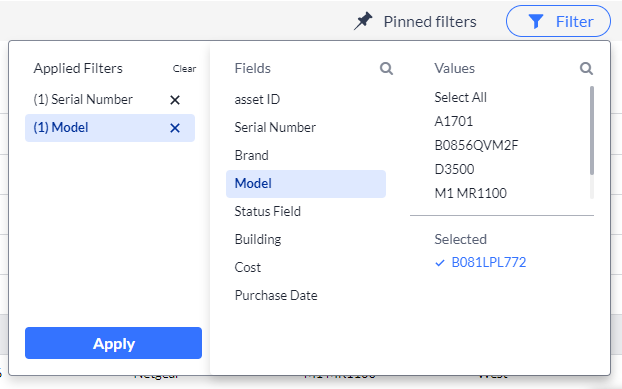
You'll notice that the filters you build begin to appear within the Applied Filters section. You can delete any at any time by clicking the X next to the filter you wish to delete.
6. Click the Apply button when you're finished building. (We know it's fun, but you must stop at some point!)
Your filter results will be filtered more to specifically what you need. You'll also likely see that the filter button looks a bit different. Don't worry. That's the way it's supposed to work!
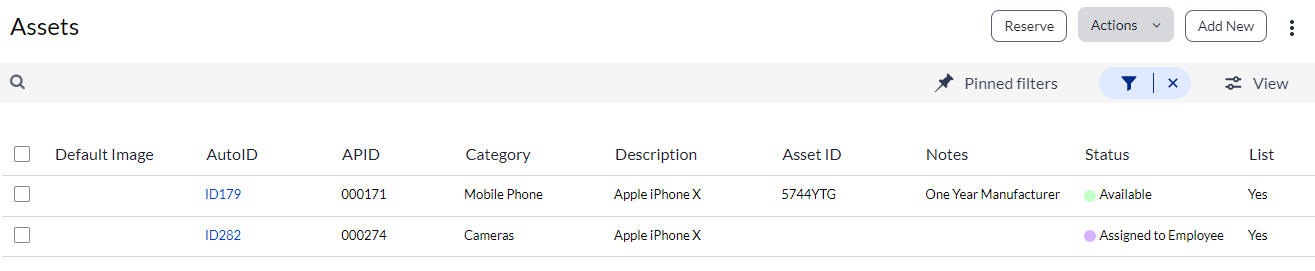
You can also re-click the filter  button again at any time, to add or delete the applied filter.
Default filters
One thing you may notice when you navigate to a group is that the filters button is set to Default filters (if you have them set). This means that you have selected default fields, statuses and so forth, to automatically default.
These filters automatically display each time you log back in to your Asset Panda groups. This is fine if this is what you are looking for, but there may be times where you want to change them, or remove them completely. (These may have also been set by your company admin.)
Note that unless you clear them, you will not be able to see all of your available assets (or whatever group you happen to be in). You will only see those that the default filter is set to display.
Let's chat a bit about default filters and what you can do with them, depending on your permissions.
1. Click the Default filters button to display the selected options.
2. Locate the Applied Filters section, and then select the Clear link to completely clear the filters for this search.
Or...
3. Click the X next to Default filters to clear out the defaults entirely.

Change default filters
We've now talked a lot about default filters. You may find yourself asking, "Okay, I get how to clear them out for my search but, where do they come from in the first place?"

First thing to know is that they may be set by your company administrators and as such, you may not be able to change them. Depending on your permissions:
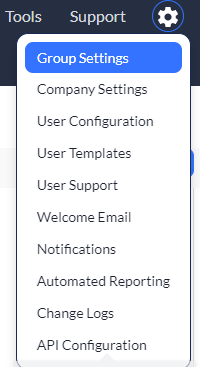
1. Click your settings ![]() icon, and then select Group Settings.
icon, and then select Group Settings.
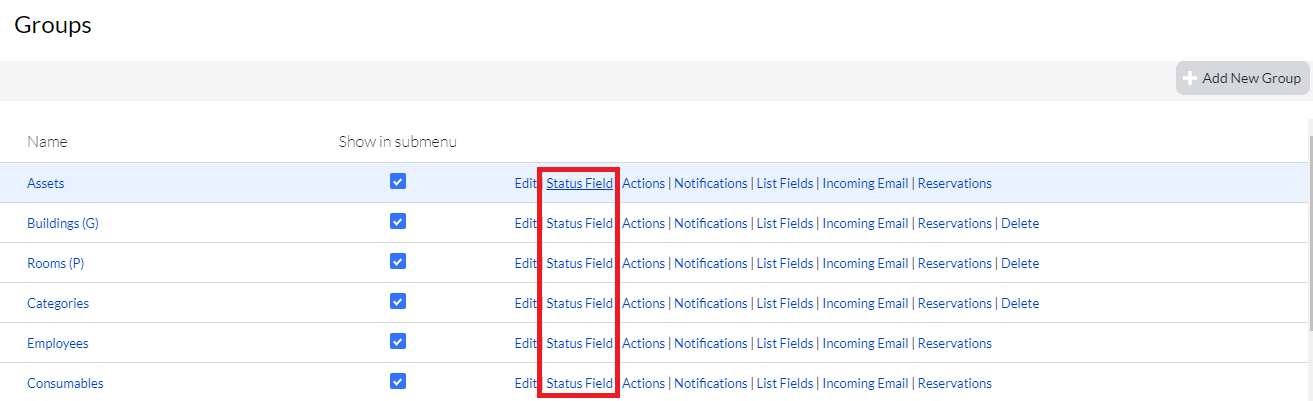
2. Select the Status Field link from the group you wish to change.
3. Locate the Default for listing column. Those selected are where the default filters are pulling from. You can remove the check from those you no longer want to see included.
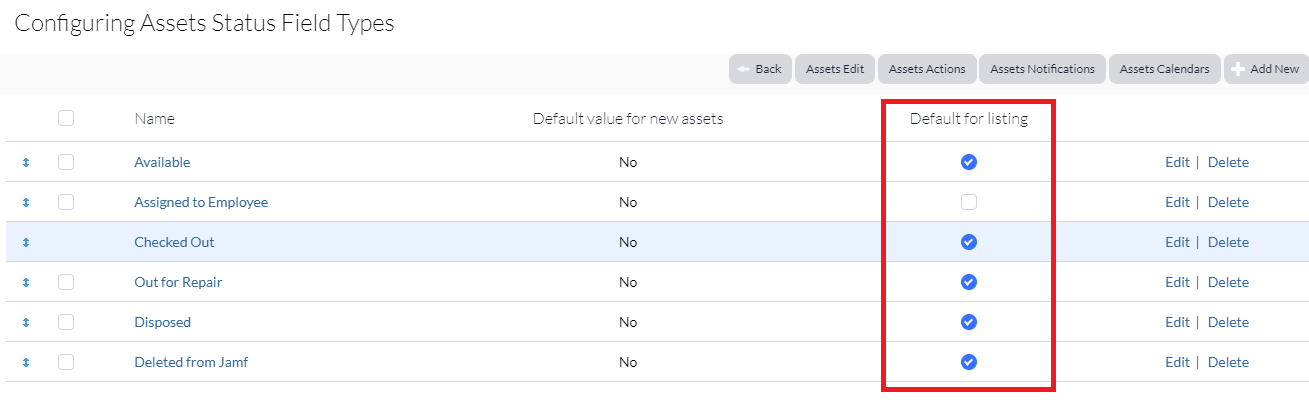
They will no longer automatically show in your default filters.