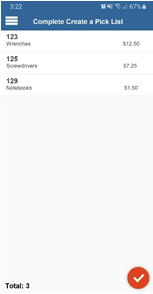
Variable Action Picklist for Mobile
Variable actions allow you to configure actions within a multi step process.
Group actions apply the same changes to several records, while variable actions allow you to configure specific fields within an action to apply different values per each record scanned or selected on either web or mobile platforms.
Create a picklist action
Account changes must be completed through the web application. Our steps below build an action that needs variable values per each record performed upon. (We'll be using an Inventory group.)
To do this:
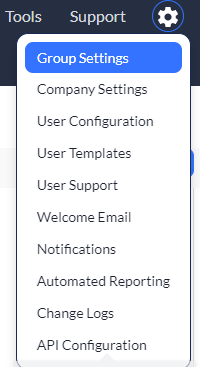
1. Click to select your settings ![]() icon, and then select Group Settings.
icon, and then select Group Settings.
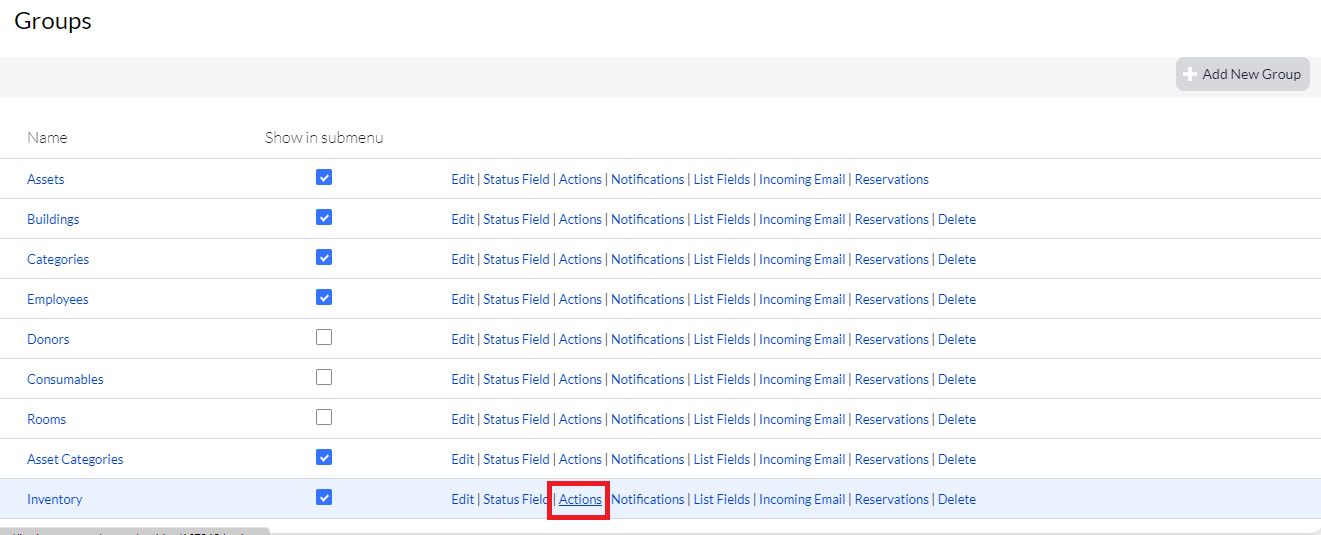
2. Navigate to the group you configure, and then select Actions.
3. Select Add New to create a new action.
4. Name your new action Create as Picklist.
5. Select the Select action, then select/scan records for the Please select method of performing group actions for both the web and mobile options.
6. Select Yes for Does this action require different values for each item(s) scanned or selected.

7. Click Save and proceed to the next section to create your fields.
Create picklist action fields
We'll now guide you through the process for creating fields for your new picklist action.
1. Scroll down to the Fields section, and then click Add New within your Open Field section. (See Add New Fields for more information on adding new fields.)
2. Create the following open fields for your new picklist action:
- Date Picked (field type: Date)
- Pick List Number (field type: Numeric Auto Increment)
- Logged By (field type: Userstamp)
- Quantity Needed (field type: Numeric). This field needs to contain variable fields. To do this, select the Does this field differ for every item action is performed on box.

3. Proceed to the Use picklist on mobile section.
Use picklist on mobile
We'll now begin to use our new picklist on our mobile app.
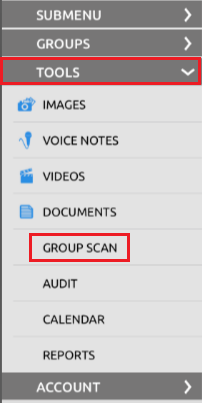
1. Open your mobile app, select Tools, and then select Group Scan.
2. Click the Click to select group option to select the group that contains your new picklist.
3. Click the Create as Picklist action.
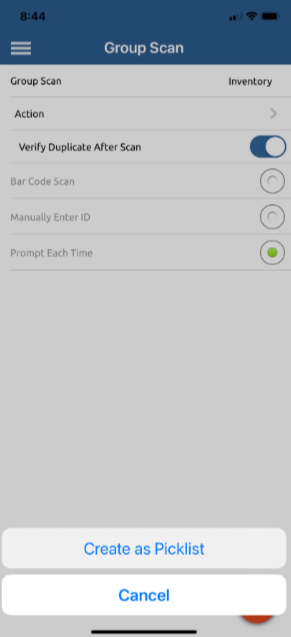
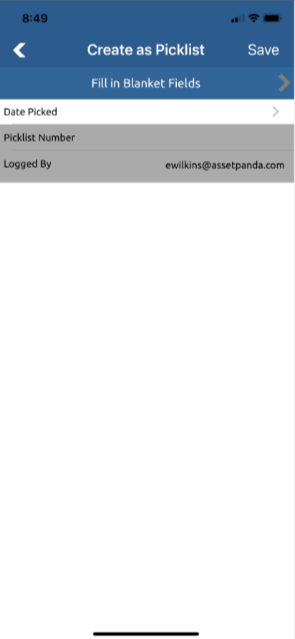
4. Complete the blanket fields that will apply to all records scanned. (We would select Date Picked for our example below.)
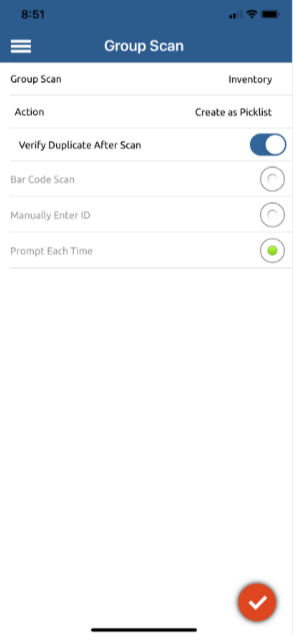
5. Click the red, checkmark icon, and then scan your items. (The camera on your phone opens, allowing you to scan your items. If a scanned item does not exist within the system or does not meet the criteria of the action, the app will display applicable messages.)
6. Once all items are scanned, click Cancel or Save to stop the camera. The app displays the first item scanned, allowing you to fill in the variable fields.
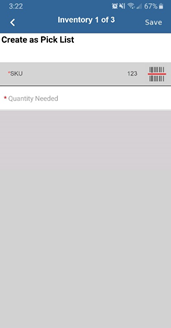
7. Click Save to move on to the next item.
Once the final item has been saved, the app moves to a screen where all the scanned items are summarized, allowing you to close and complete the action.
