Color Coded Date Fields
You stare at many of the same things throughout your work day. The same screens. The same applications. The same people (hopefully this is a good part of your day!) We get it. What if we told you that we could brighten your day?
Good, because we can (at least a little bit). We do this through our color coded date fields. Color coding your date fields also offers more than just visual appeal. It can also help you to easily be able to detect when an asset is upcoming or past due. It also helps you to highlight important date fields so that you can find them faster. See? Lots of cool benefits with this feature.
Let's talk about how to set these cool fields:
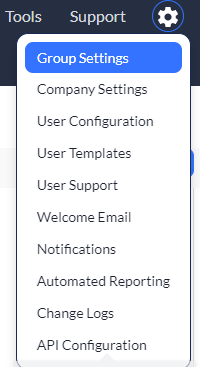
1. Click to select your settings ![]() icon, and then select Group Settings.
icon, and then select Group Settings.
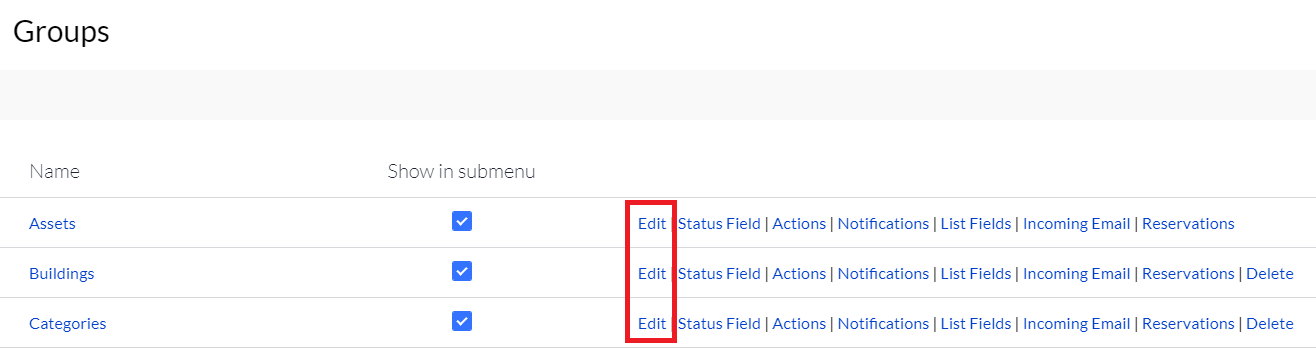
2. Select the Edit link from within the group you wish to modify.
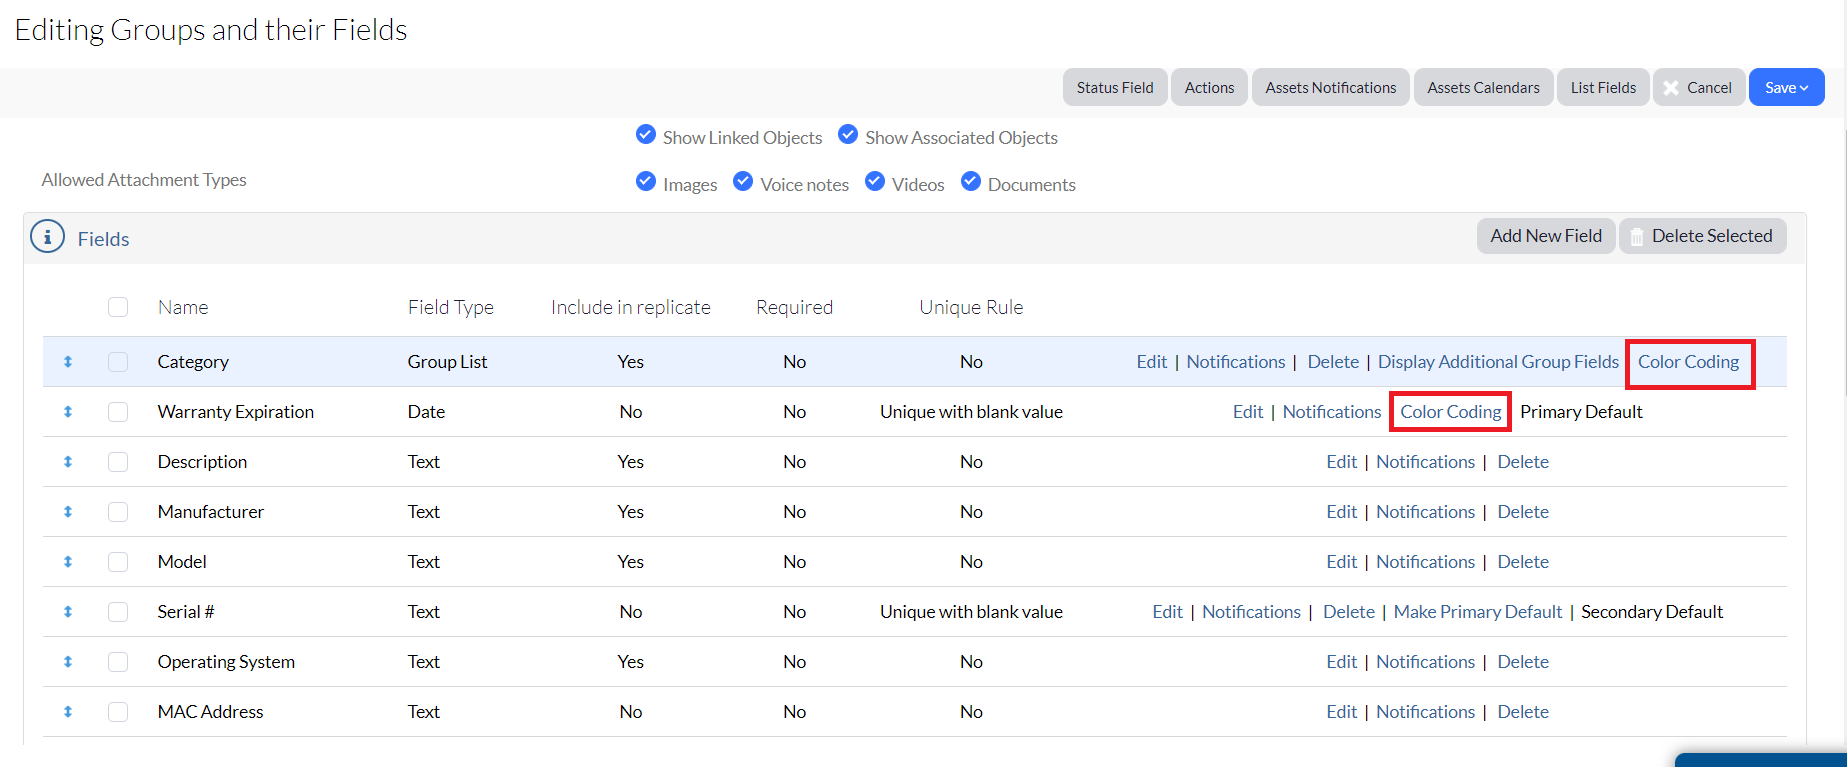
3. Scroll down to your Fields section. (Check out our About Fields article if you need assistance with building one...or a few!)
4. Locate the field you wish to color code, and then click Color Coding to the right of the field.
Only field types that allow this feature will contain this link, so don't panic when you don't see the option within all of your fields. That's completely normal!
Also note that the color coding option differs, depending on the field type:
Category field example
The Category field above is a Group List field type. Just click within the field to display the color coding box, and then select Save and Close.

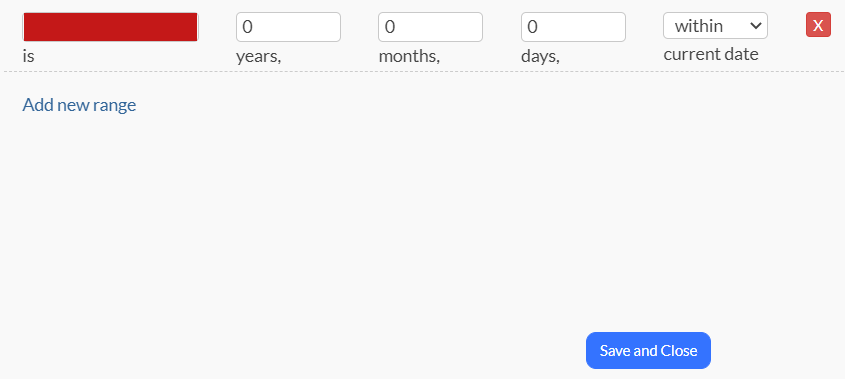
Warranty Expiration field example
The Warranty Expiration field is a Date field type. Just click within the first field to display the color coding box.
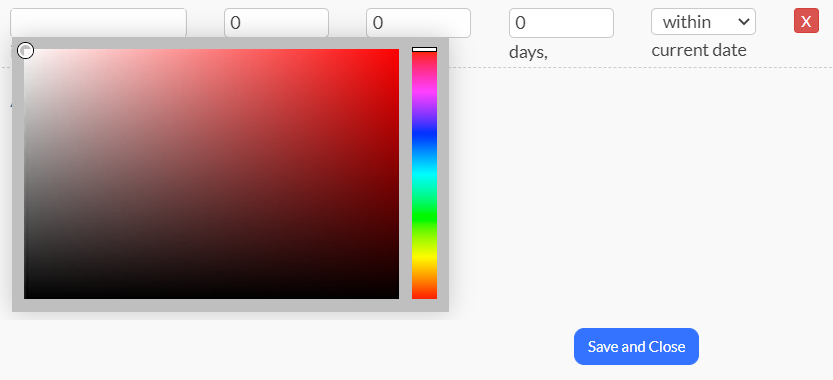
Set the other options as applicable for your organization, and then click Save and Close.