Calibration Actions
The Asset Panda calibration action is a standard action making it easy for you perform routine calibrations on your equipment.
Create calibration actions
To create a calibration, you must first make sure that you include two Date fields within the group that will contain your calibration action; Last Calibration Date and Next Calibration Date.
![]()
Not sure how to create these fields? Don't worry. We've got you covered! (But of course, you knew we would!)
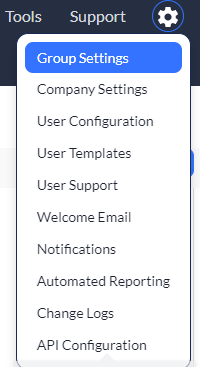
1. Click to select your settings ![]() icon, and then select Group Settings.
icon, and then select Group Settings.
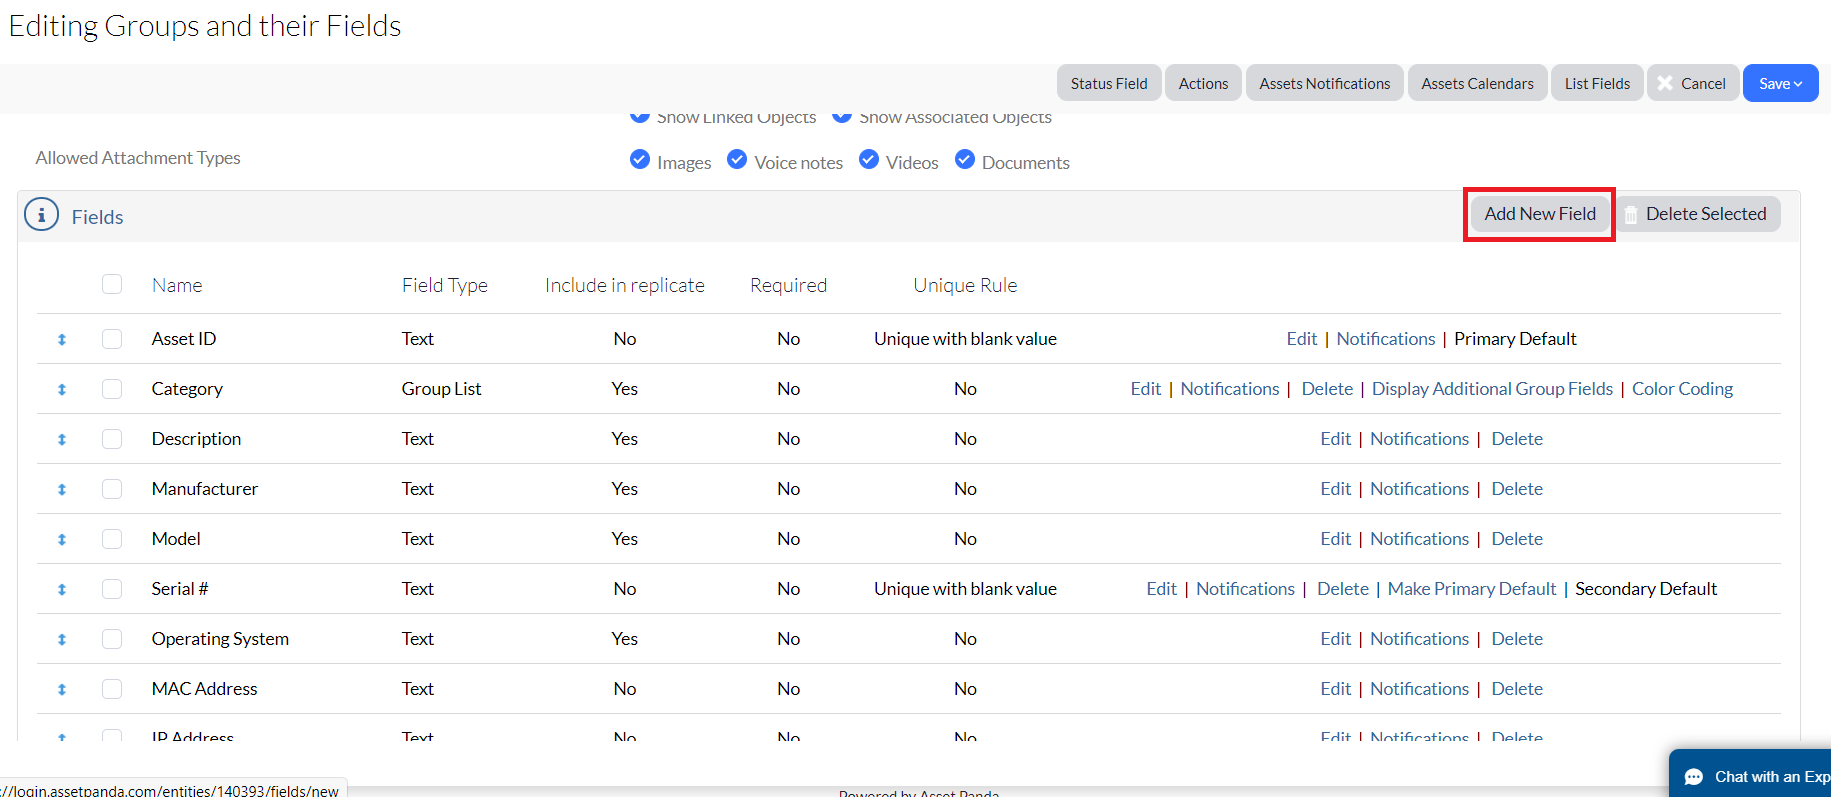
2. Click the Edit link for the group you wish to configure, and then click Add New Field within the Fields section.
3. Name your Last Calibration Date, select Date from the Type drop-down menu, and then click Save and Close to save your new field.
4. Repeat the process for creating your Next Calibration Date field. (Make sure you select Date as the Type for this one too.)

Your new fields will contain the dates for the last calibration you performed, as well as when the next calibration is due.
Let's now move on to creating the actual calibration action:
1. Click your settings ![]() icon, and then select your Group Settings once again.
icon, and then select your Group Settings once again.
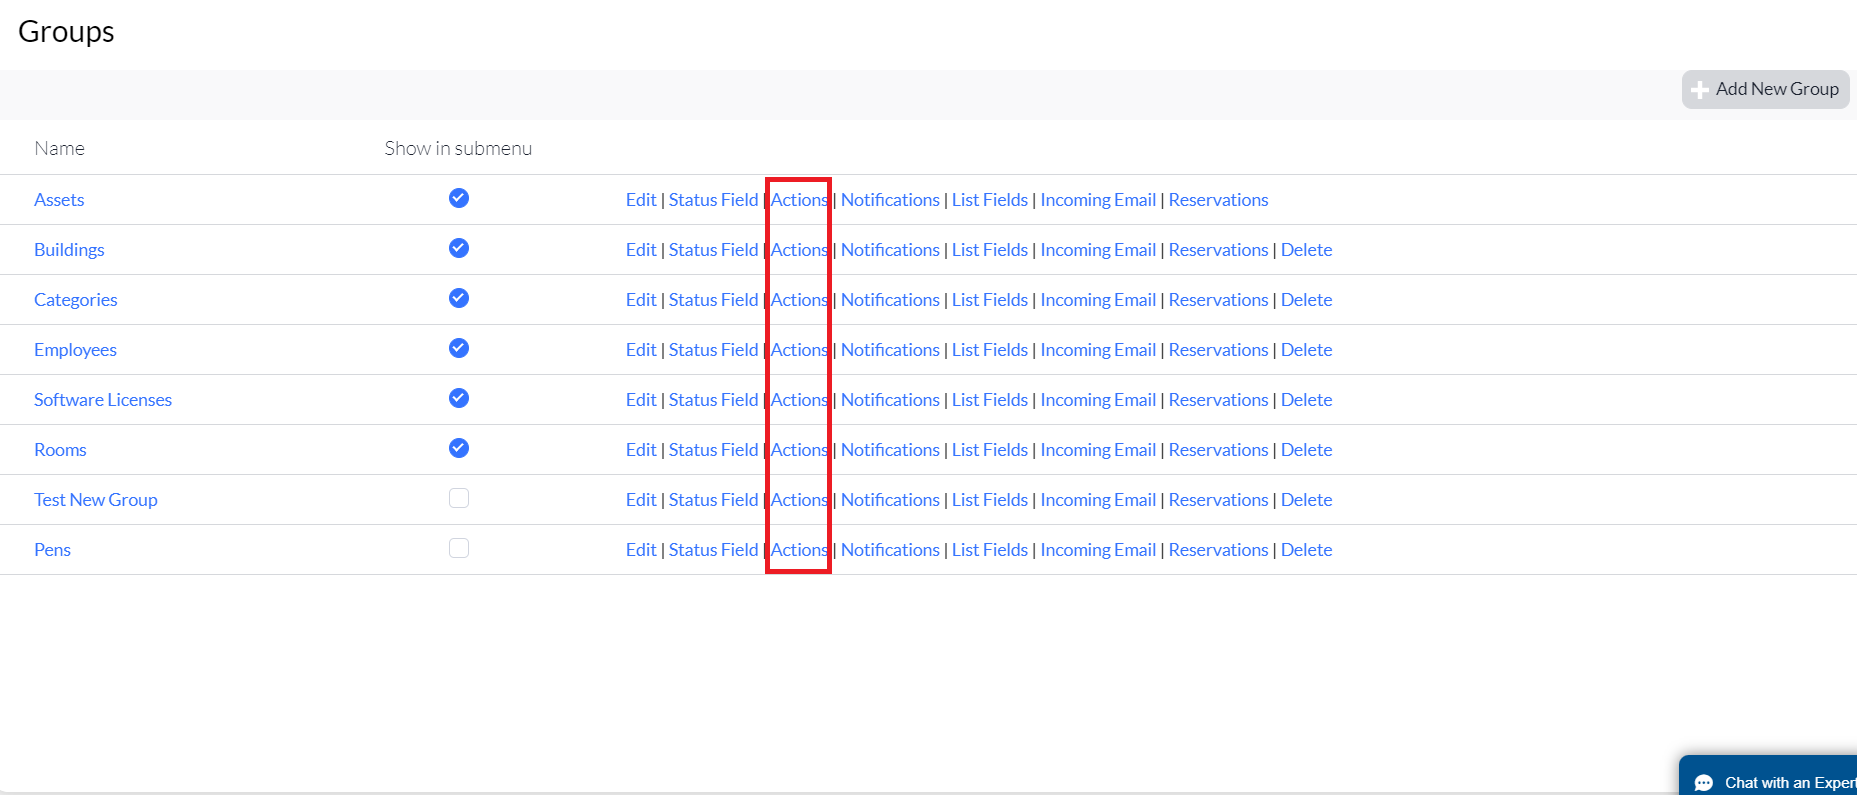
2. Click the Actions link from the desired group.
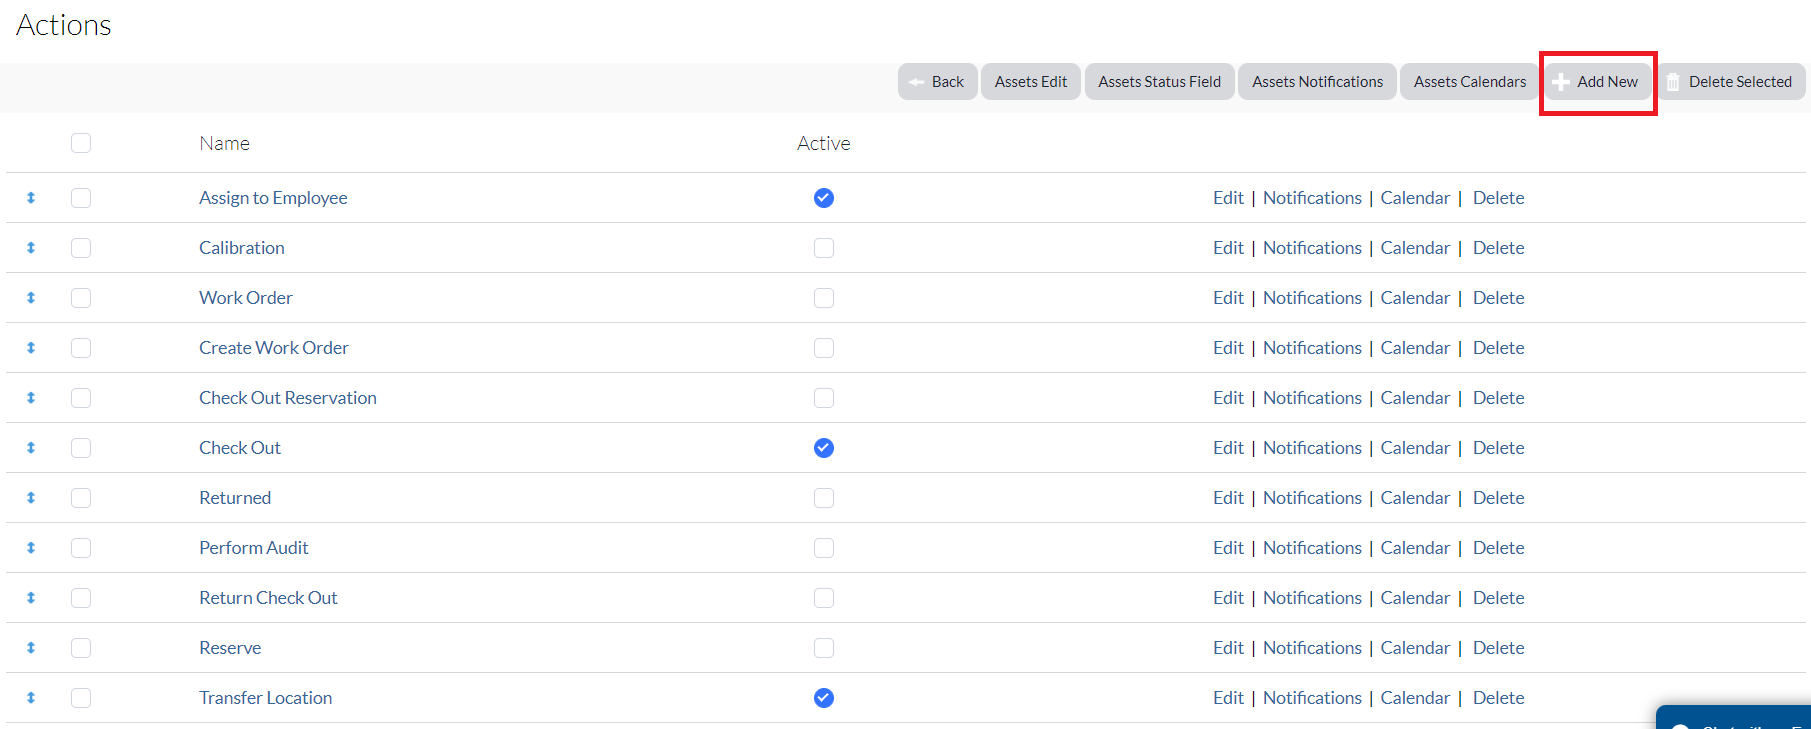
3. Click Add New, because we're creating a new action, of course!
Let's now have fun with some basic settings.
4. Select Standard Action as the Action Type.
5. Let's also applicably name our action. In other words, what fits? What name would obviously set the action apart from others? Allow yourself to get creative here.
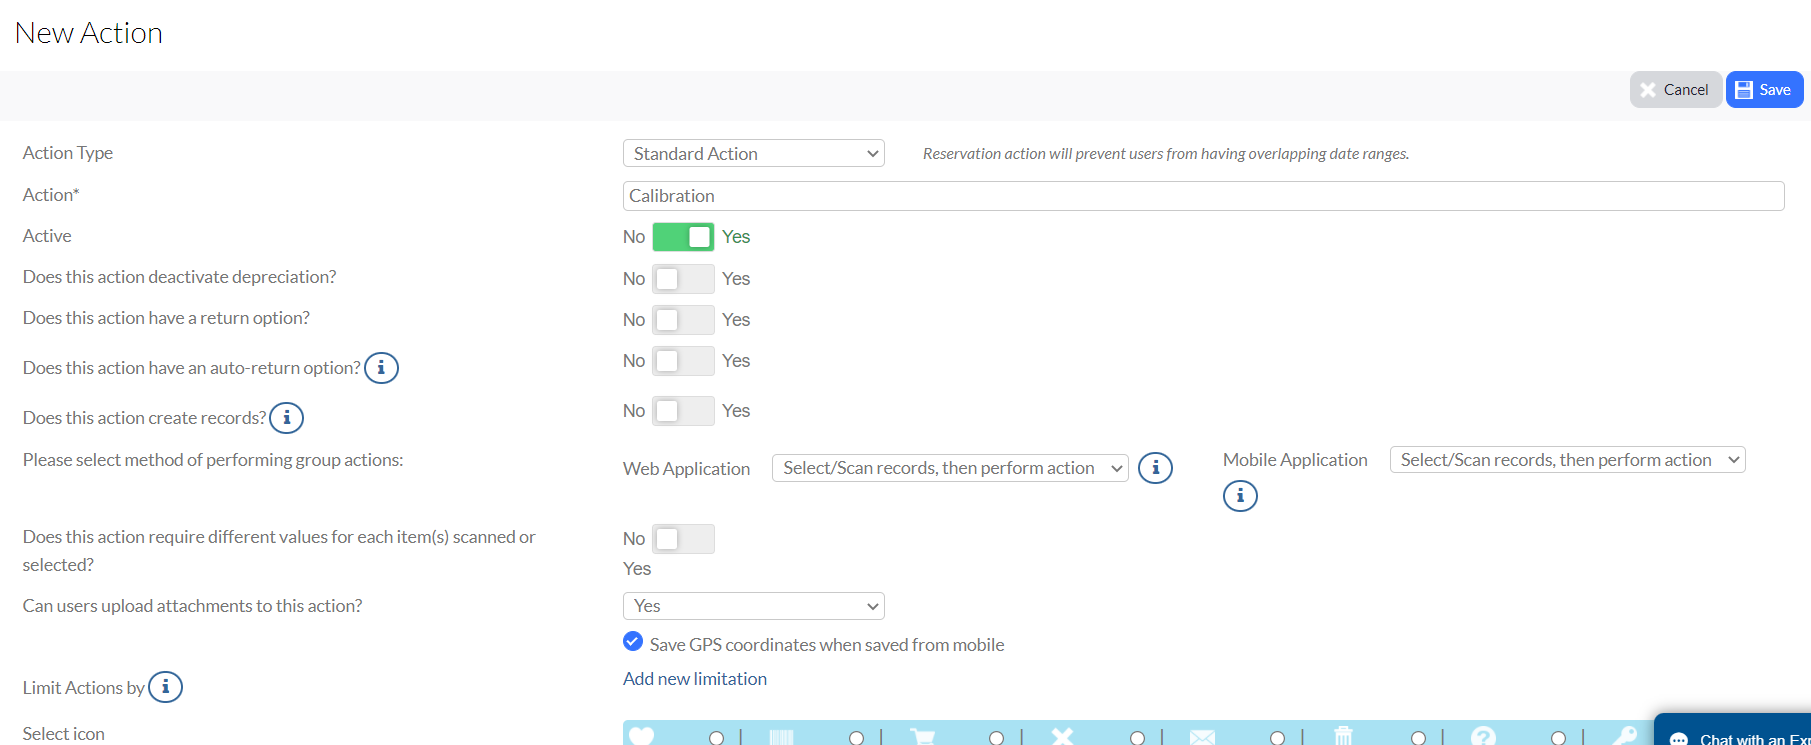
6. Leave the No and Yes toggles as they are (except for the Active option of course, which should be set to Yes).
7. Select Yes for the Can user upload attachments to this action question.
8. Use the Select icon section to select an icon if you wish (they're kind of fun but not required).
9. Click Save and just like that, you have a new calibration action!
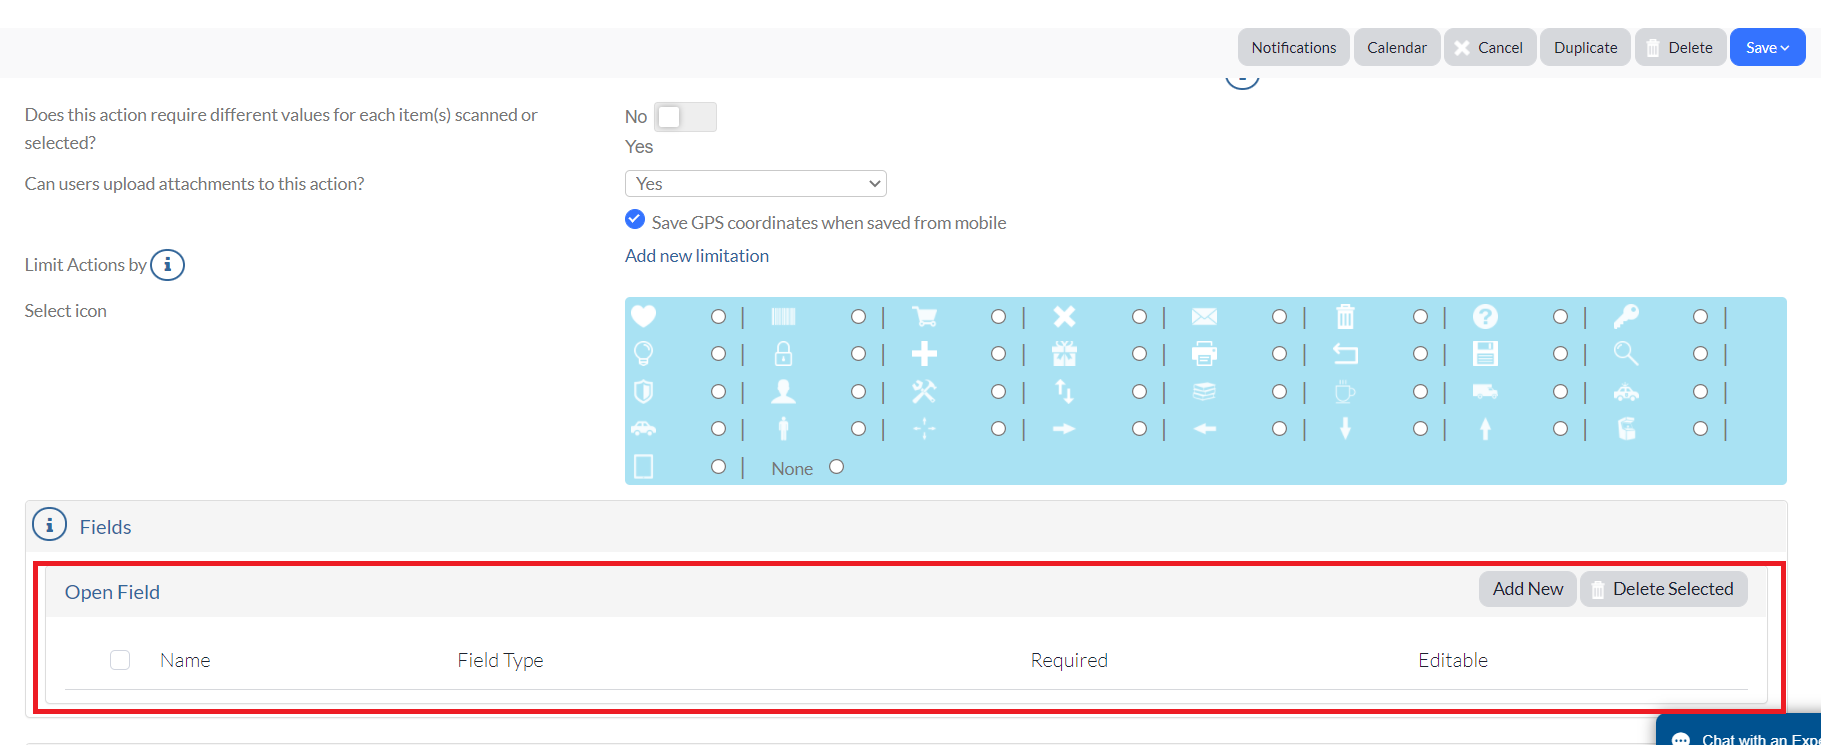
Create fields for calibration actions
Open Fields
We've created our action. Now, it's time to create some fields so we can put this action to good use. We'll first begin with Open Fields. (See Open Fields to learn more about creating open fields.)
1. While in your new action, scroll down to the Open Field section, and then click Add New.
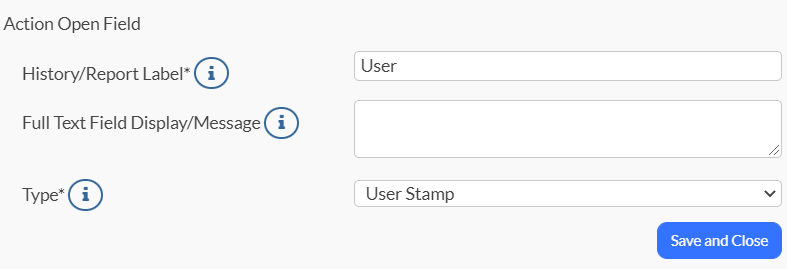
2. Let's begin by adding a User Stamp field type.
This field will be useful in tracking the users who perform the calibrations.
3. Provide an applicable label name and display/message, and then click Save and Close.
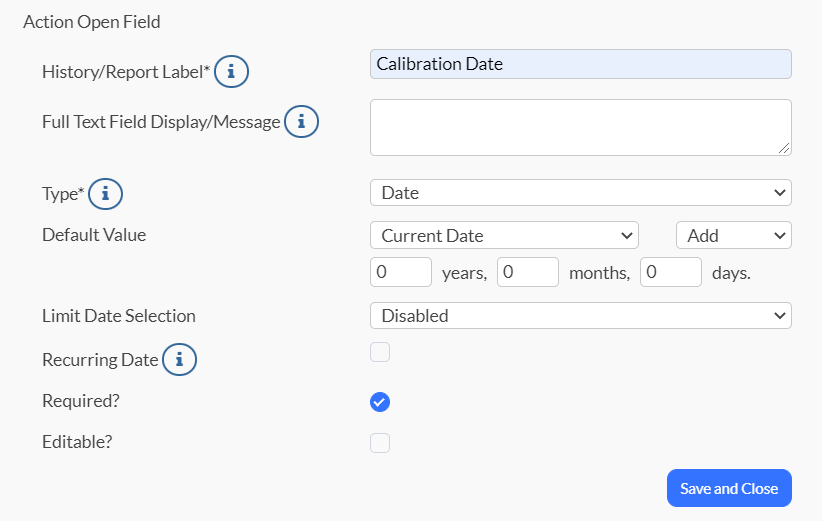
You'll also want to include two date fields; one for when the calibration was completed and another for when the next calibration will be due.
4. Scroll once again to your Open Field section and click Add New once again.
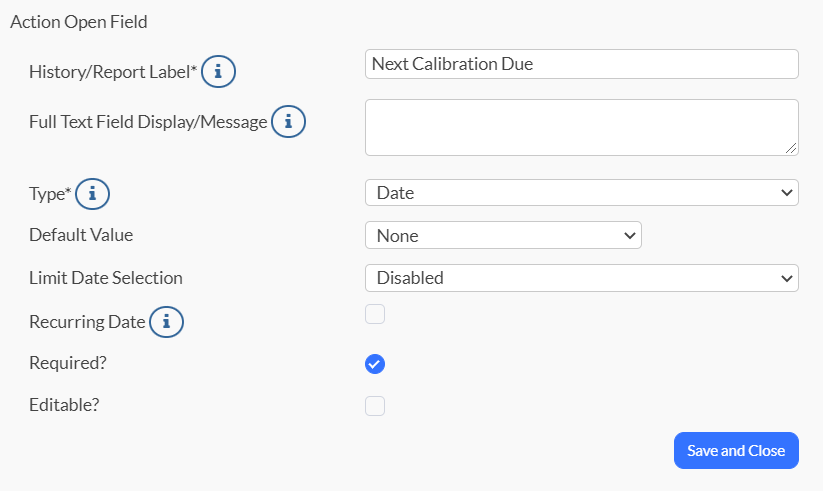
5. Create your new Date field with the settings shown below.
These settings automatically set the date to today's date but you will still be able to change the date of the calibration if you need to.
6. Click Save and Close to save.
7. It's now time to set the calibration date field.
You have some options with this one. One option is that you set this field to automatically calculate the date. For example (shown in the screenshot below), the system will take the date in the Last Calibration field and simply add three months to it.
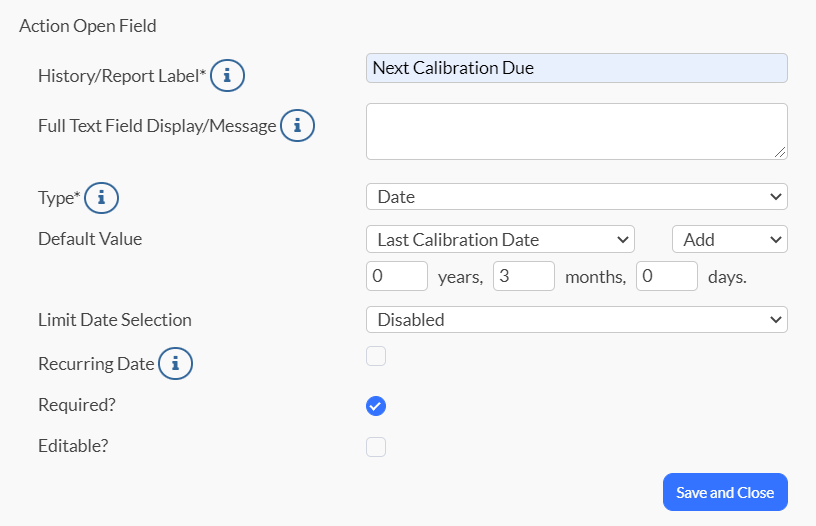
Another option is that the field is left completely open, available for user input.
Finally, we'll create a Notes field so that we can enter any necessary calibration notes.
8. Click Add New (yes, again!).
9. Let's name the field Notes, and select Memo as the type.
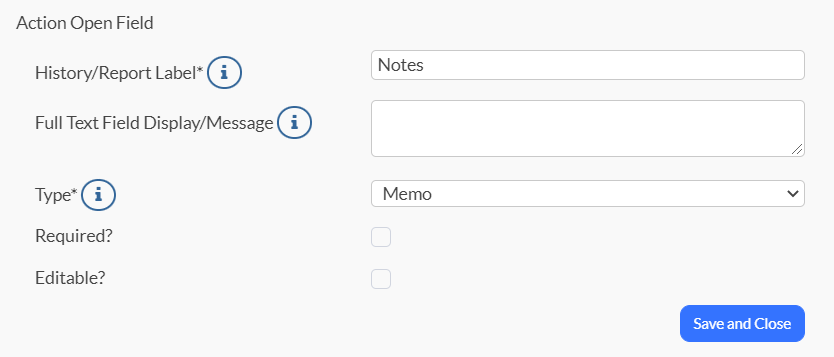
10. Click Save and Close and there you go!
You can continue to add as many open fields as you need however, those above are the minimum required for the calibration action.
Change Fields
Let's now move onto another field type; Change Fields. (See Change Fields for more information about change fields.)
Once you perform an action, change fields take your open fields information and use it to update existing asset fields. Let's now use the two fields we setup in the very beginning (see Create Calibration Actions); our Last Calibration Date and Next Calibration Date fields.
To start, let’s create a Change Field for your Last Calibration Date field.
1. Scroll down to your Change Fields section, and then click New Change Field.
![]()
2. Create your new change field by using the screenshot below as a guide.
Selecting the Update with value from Action field as the Change Type advises the system to take whatever is in the Change field to field, and to use that to update the Last Calibration Date field.
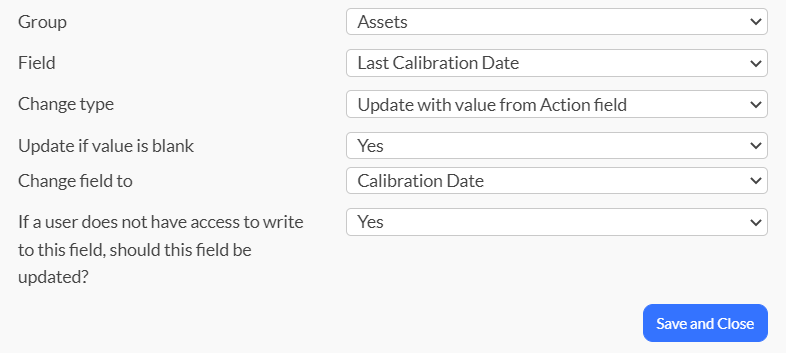
The If a user does not have access to write to this field, should this field be updated should always be set to Yes.
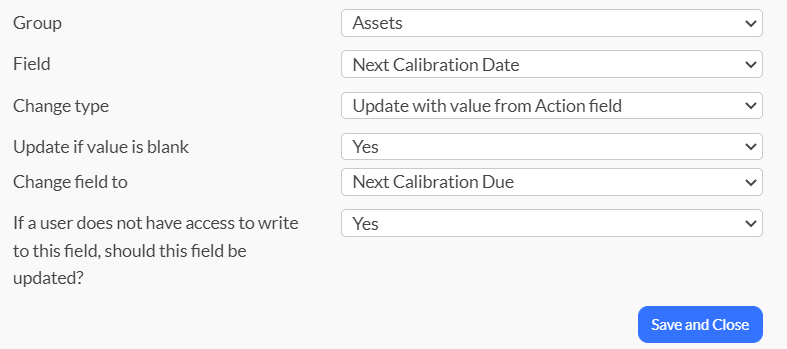
3. Repeat for the Next Calibration Due change field, yet change the Change type and Change field to, to match the screenshot below.
That’s it! Using the calibration action will help you to keep track of your current and future calibration dates.
Related Topics