Add and Edit Status Fields
Need to know how to add and edit your statuses? Let's get started!
Add New Statuses
Use the following instructions to add new statuses to your account.
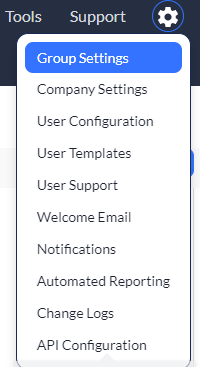
1. Click to select your settings ![]() icon, and then select Group Settings.
icon, and then select Group Settings.
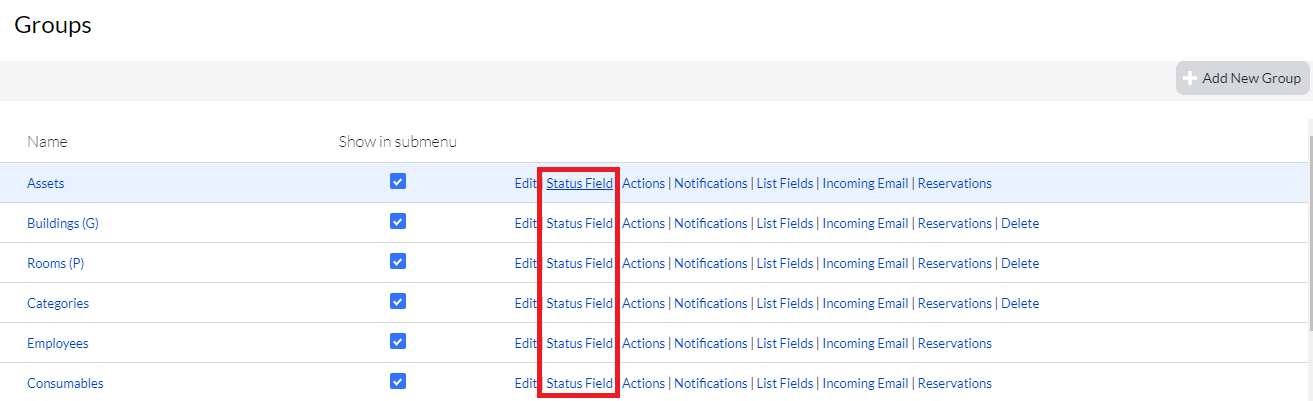
2. Select the Status Field link from the group you wish to configure.
3. Select the Add New button from the top, right side of the page.

4. Enter the following:
- Status* - Name of the new status (must be unique). This is a required field.
- Is default for listing
- Yes – Records with this status will show on the listing page by default.
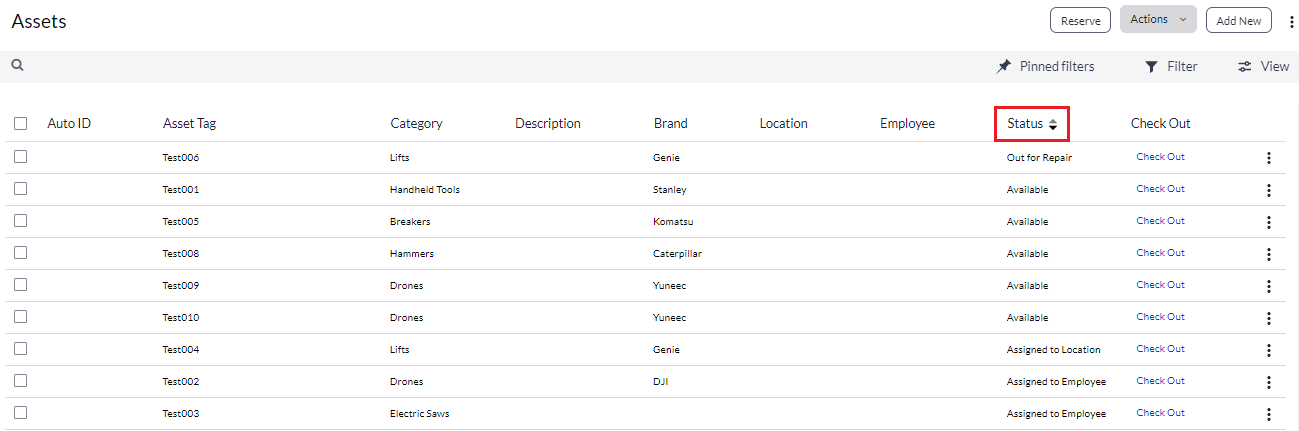
- No – Any records with this status will automatically be filtered out of the listing page and you will only be able to view these records by using the Status Filter on the listing page (see screenshot below).
- Is default for new assets
- Yes – Automatically assigned to any new records.
- No – Status will be an option within the status drop-down menu, but not the default.
NOTE: Make sure you have a status field type in your group settings that points to the statuses created in within your Status Fields.
Find and Edit Statuses
Use the following instructions to find and edit existing statuses for a group.
1. Click to select your settings ![]() icon, and then select Group Settings.
icon, and then select Group Settings.
2. Select the Status Field link from the group you wish to configure.
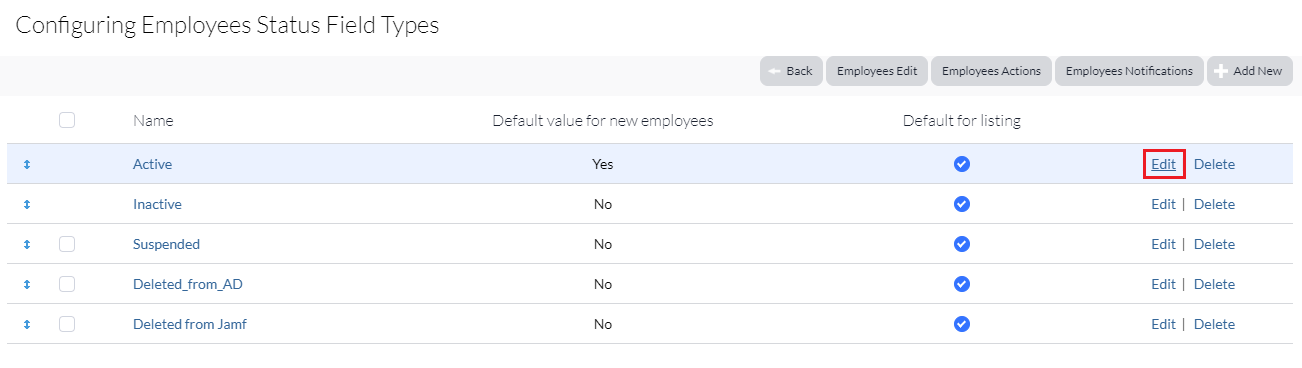
All of your status fields display.
3. Click and hold any of the fields to drag to a new location (or use the arrows next to the status). This rearranges the order of your status fields.
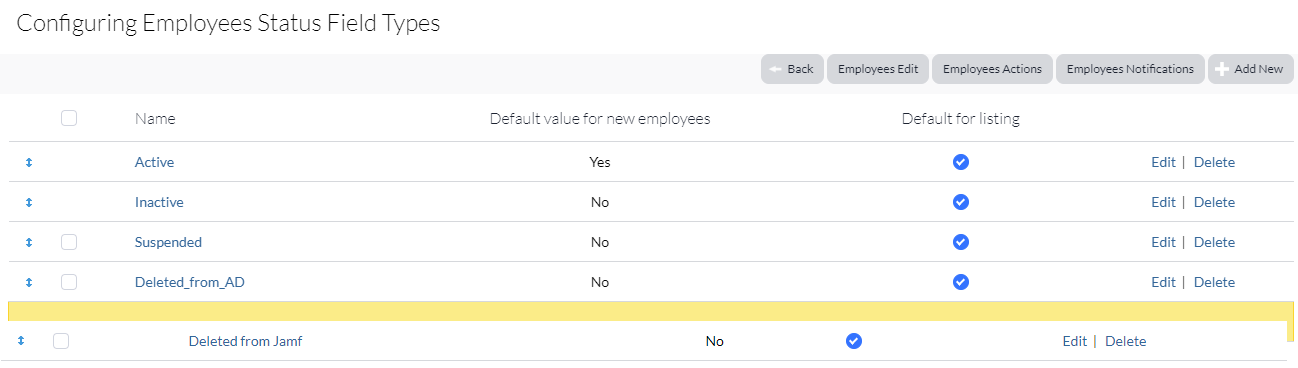
4. Click the Edit link of any status to make changes to that particular status.
Related Topics