ADFS SSO Setup
Active Directory Federation Services (ADFS) is a service provided by Microsoft as a standard role for Windows Server that provides a web login using existing Active Directory credentials. Asset Panda supports single sign-on (SSO) logins through a self-hosted ADFS server.
This article will take you through the steps to successfully set-up SSO using Active Directory with the ADFS.
Requirements
There are two versions of this integration:
- ADFS SSO (covered in this article)
- ADFS SAML Setup
Active Directory SSO is the recommended version but you can contact our Support team at support@assetpanda.com. They will be able to enable the SAML version for your account.
Verify you have all of the basic requirements before getting started:
- An Active Directory instance where all users have an email address attribute.
- A server running Microsoft Server 2008 or greater. (This guide uses screenshots from Server 2012R2 but the steps should also be applicable for other versions.)
- A SSL certificate to sign your ADFS login page, along with the fingerprint for that certificate.
- An Asset Panda account with an enabled ADFS SSO service. If this ADFS SSO is activated on your account, you will see it within your integrations menu.
- A metadata.xml file provided by Asset Panda.
Once you have met the basic requirements above, you must install ADFS on your server. Configuring and installing ADFS is beyond the scope of this guide, but is detailed in Microsoft's database of online help.
Once you've completed the full ADFS installation, copy the value for the SAML 2.0/W-Federation URL within the ADFS endpoints section.
Add Relying Party Trust
The connection between ADFS and Asset Panda is defined using a Relying Party Trust (RPT). To add this trust:
(The instructions below belong to Microsoft, but have been customized to contain information (where applicable) for you to successfully use with Asset Panda. Please click here for further details and to view the source.)
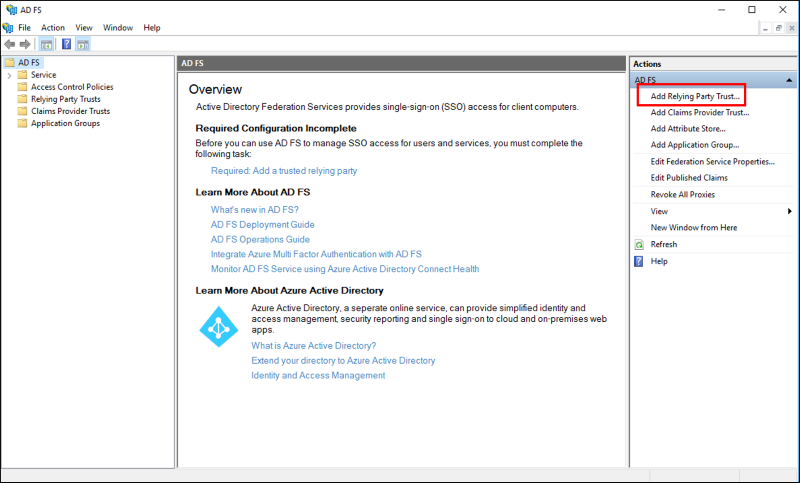
1. In Server Manager, click Tools, and then select ADFS Management.
2. Under Actions, click Add Relying Party Trust.
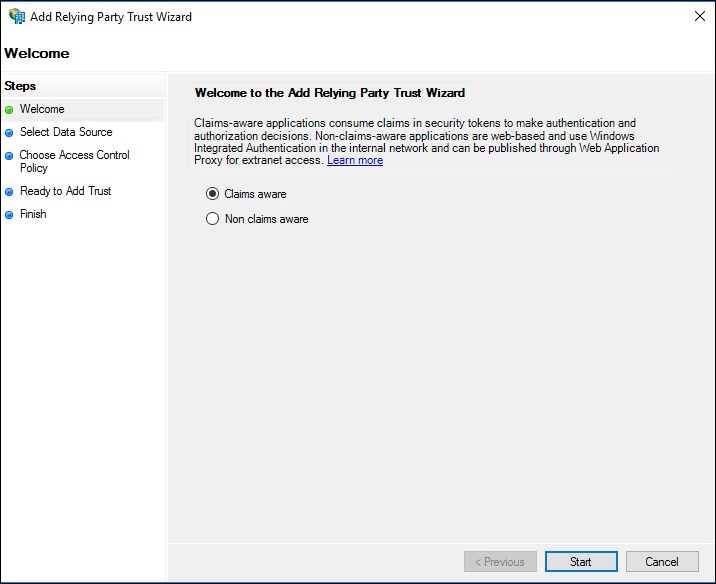
3. On the Welcome page, choose Claims aware, and then click Start.
4. On the Select Data Source page, click Import data about the relying party from a file. In Federation metadata file location, click Browse to upload the metadata.xml file provided by Asset Panda.
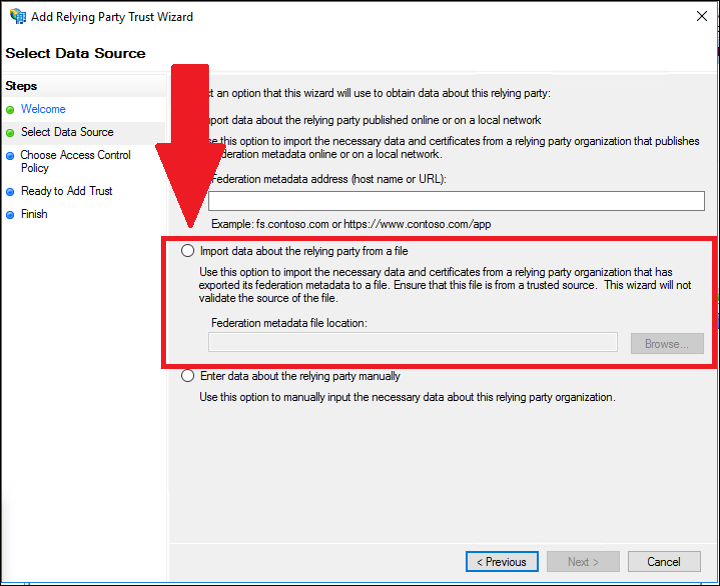
5. Click Next.
6. On the Specify Display Name page type a name you'll recognize within Display name, under Notes type a description for this relying party trust, and then click Next.
7. You may configure multi-factor authentication on the next screen, but this is beyond the scope of this guide.
8. Click Next (whether you configure multi-factor or not).
9. On the Choose Issurance Authorization Rules screen, select Permit all users to access this relying party, and then click Next.
Over the next two screens, the wizard displays an overview of your settings.
10. Click Close on the final screen to exit and open the Claim Rules editor.
Create Claim Rules
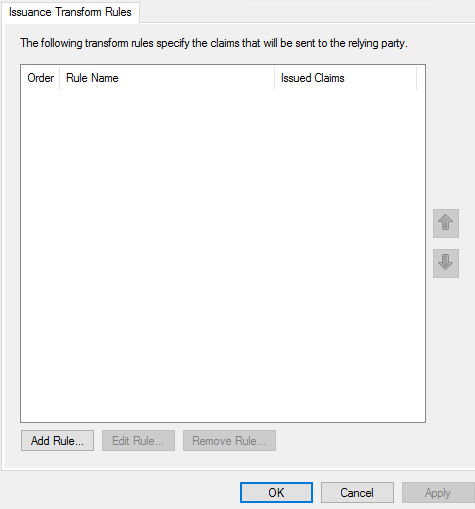
Once the relying party trust has been created, you can create the claim rules and update the RPT with minor changes that aren't set by the wizard. By default, the claim rule editor opens once you created the trust.
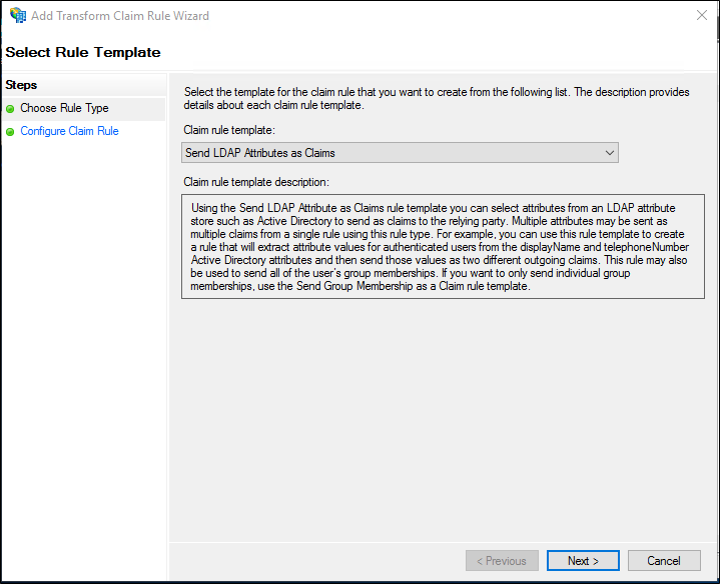
1. Click Add Rule.
2. Select Send LDAP Attributes as Claims from the Claim rule template drop-down menu, and then click Next.
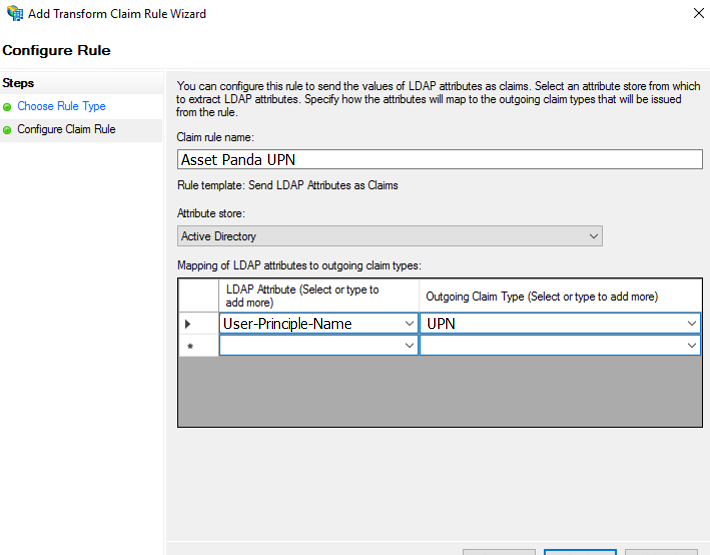
3. Create the following rule:
- Claim rule name: Asset Panda UPN (or something descriptive)
- Attribute store: Select Active Directory.
- Mapping of LDAP attributes to outgoing claim types:
- LDAP Attribute: User-Principal-Name (Select E-mail Address if the User-Principal-Name is not the Email address.)
- Outgoing Claim Type: UPN
4. Click Finish when complete.
5. In the Edit Claim Rules dialog box, click OK to save the rule.
Get Certification Fingerprint
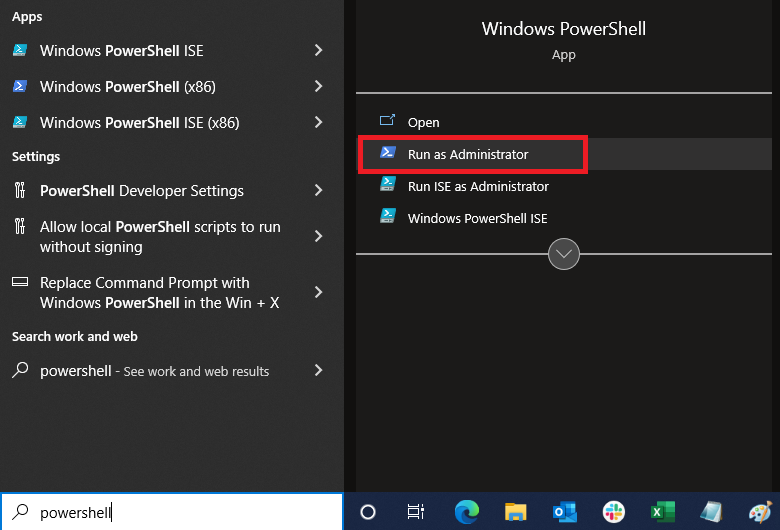
1. Navigate to Windows PowerShell on your machine, and then select to Run as Administrator.
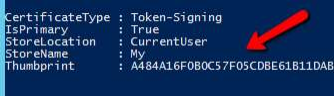
2. Type Get-AdfsCertificate, and select Enter on your keyboard. (The appearance of your PowerShell may vary from our example below.)

3. Copy the Thumbprint value.
Asset Panda Configuration
The final step is to configure Asset Panda. To do this:
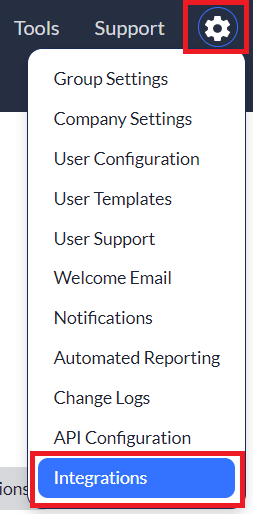
1. Log into your Asset Panda account, click your settings ![]() icon, and then select Integrations.
icon, and then select Integrations.
2. Locate, and then select Active Directory SSO from your integrations menu on the left side of your screen.
3. Click the Settings tab.

4. Enter the location of your ADFS Login Domain Name, along with your Certification Thumbprint.
5. Click Save.
Related Topics