OneLogin Integration
This article guides you through the process of creating your OneLogin connector to your Asset Panda account.
We recommend opening a Notepad (or other .txt file) so that you can copy and paste items from OneLogin. You will need these items again when configuring from within the Asset Panda application. You may also choose to log into and then open the Asset Panda application from another tab, and then move back and forth between the two.
NOTE: OneLogin is a third-party application and Asset Panda does not control updates made by OneLogin. As a result, your screens and options may vary from those you see in our examples below. See OneLogin technical documentation for the most up-to-date technical information.
OneLogin Configuration
1. Log into your OneLogin account.
2. Select the Applications menu, and then click Applications.
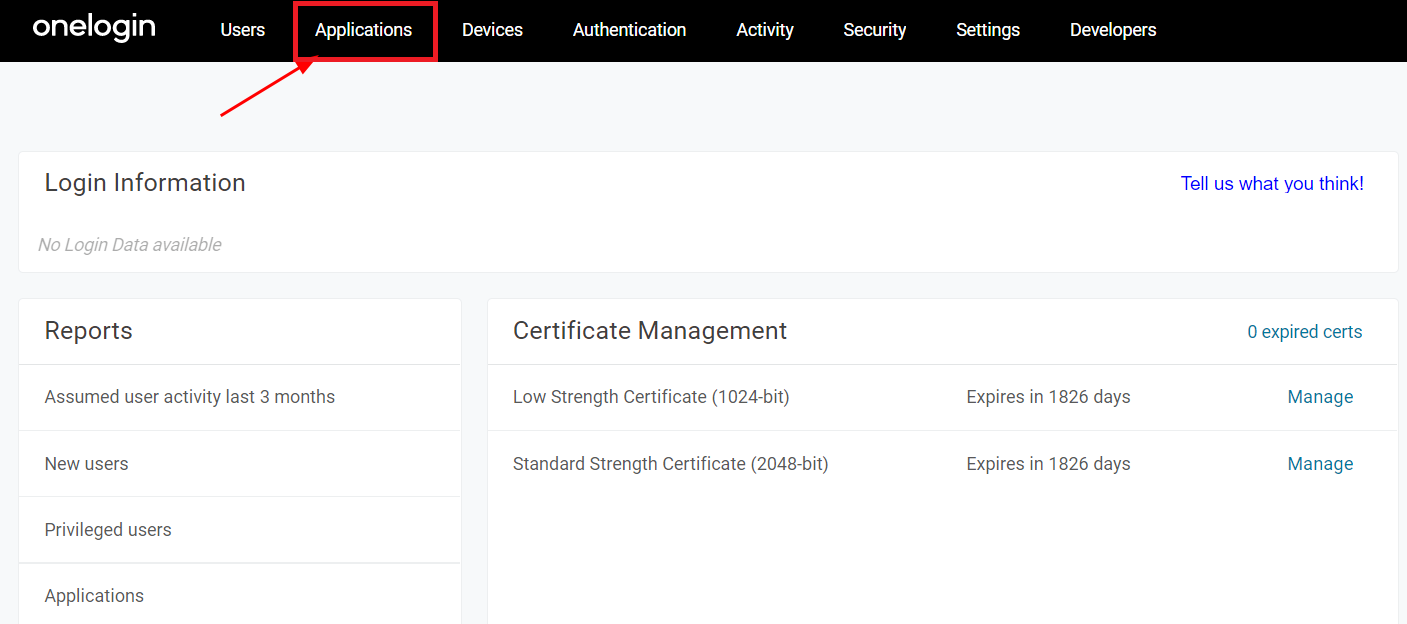
3. Select Add App from the Applications screen.
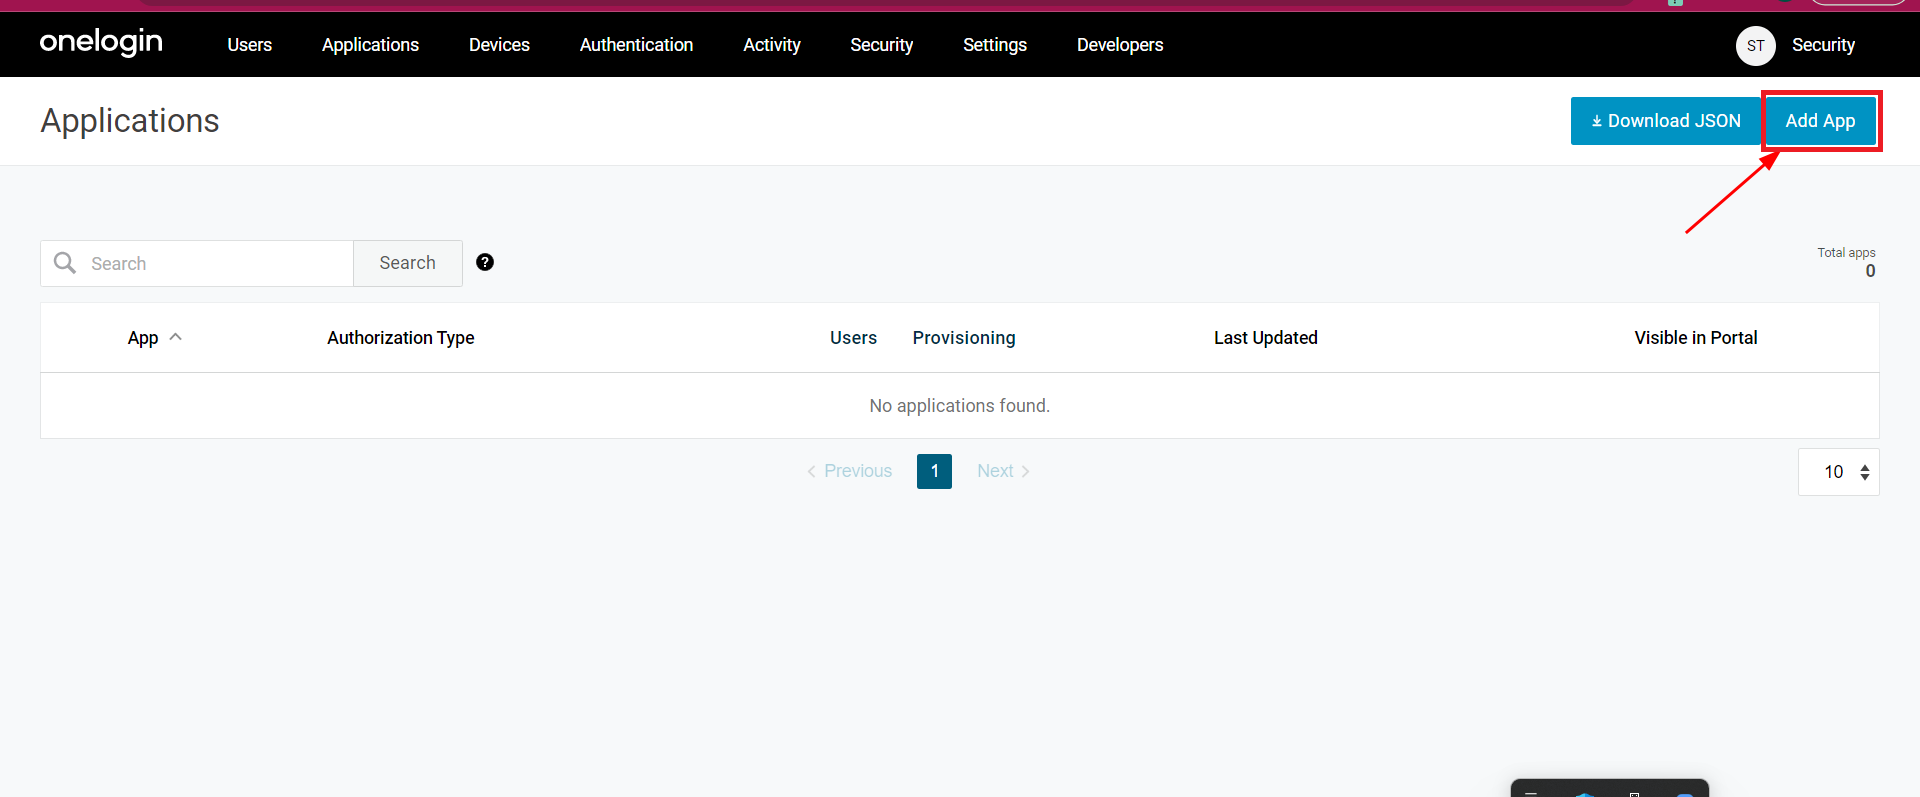
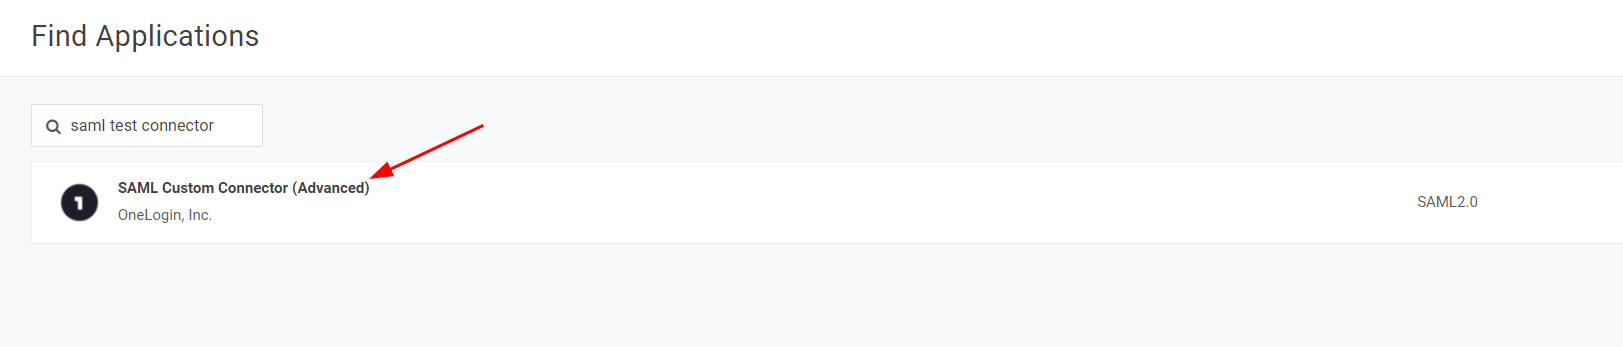
The Find Applications page displays.
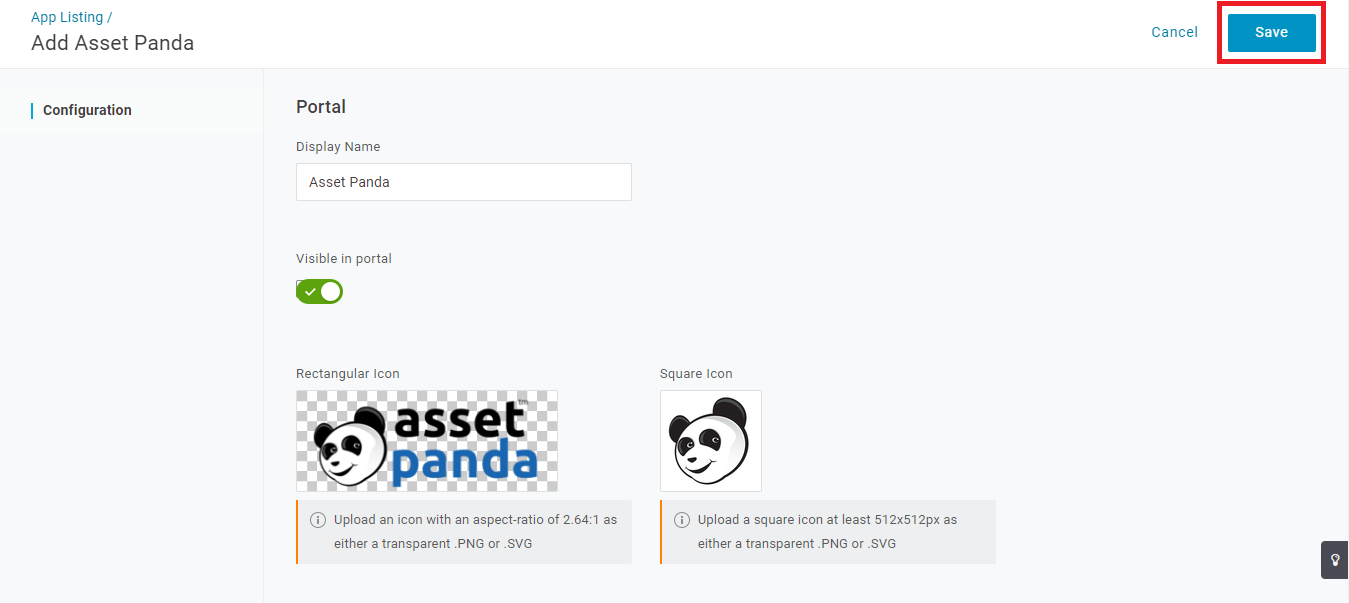
4. Enter Asset Panda within the search field, and then select the Asset Panda app.

5. Click Save.
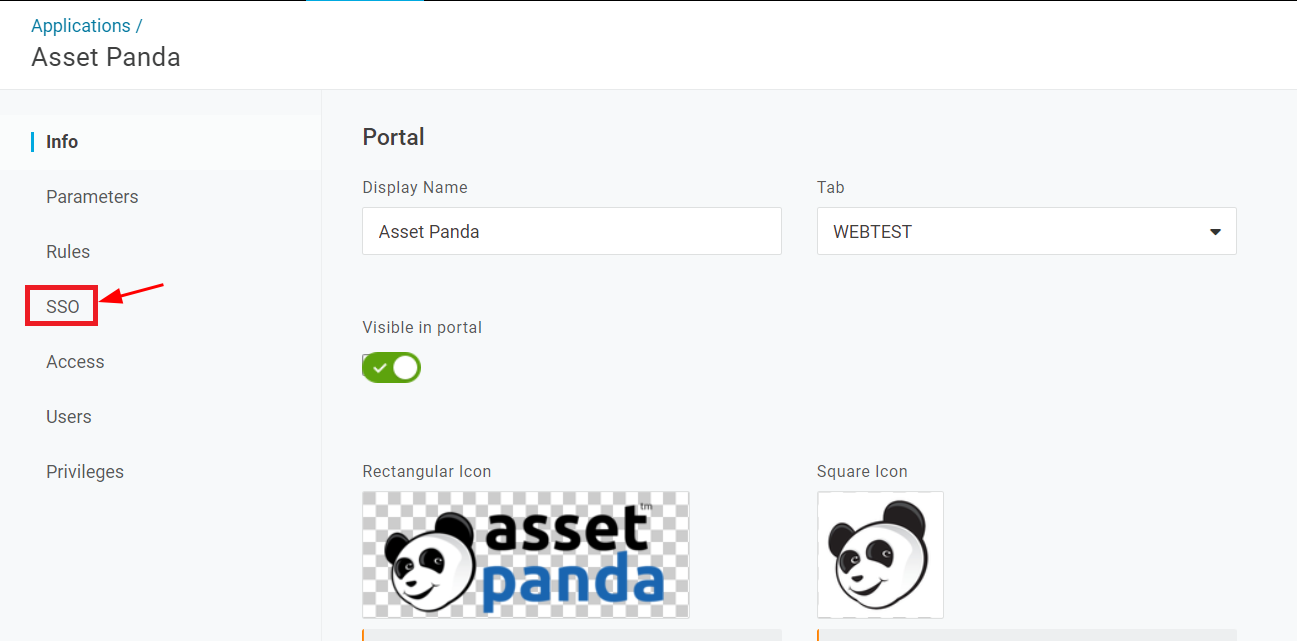
6. Select SSO.
7. Scroll down to the Assumed Sign-In section, and then select Allow assumed users to sign into this app.
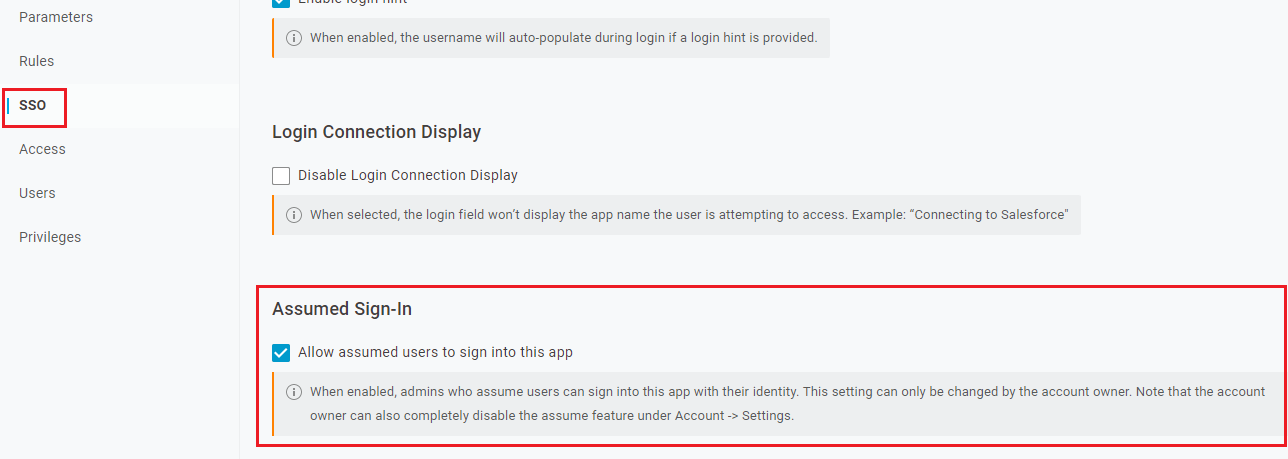
8. Click Save.
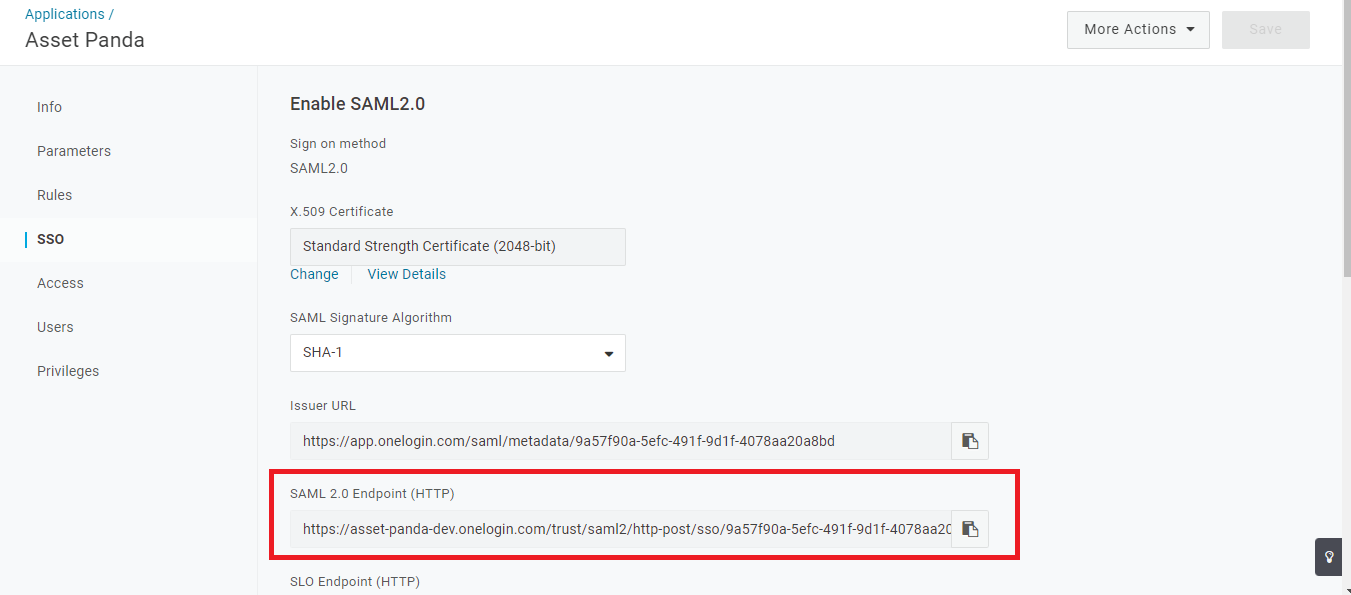
9. Select SSO again.
10. Click the copy ![]() icon to copy the SAML 2.0 Endpoint (HTTP), and then paste it into your Notepad (.txt) file. You will need this when configuring your SSO within Asset Panda.
icon to copy the SAML 2.0 Endpoint (HTTP), and then paste it into your Notepad (.txt) file. You will need this when configuring your SSO within Asset Panda.
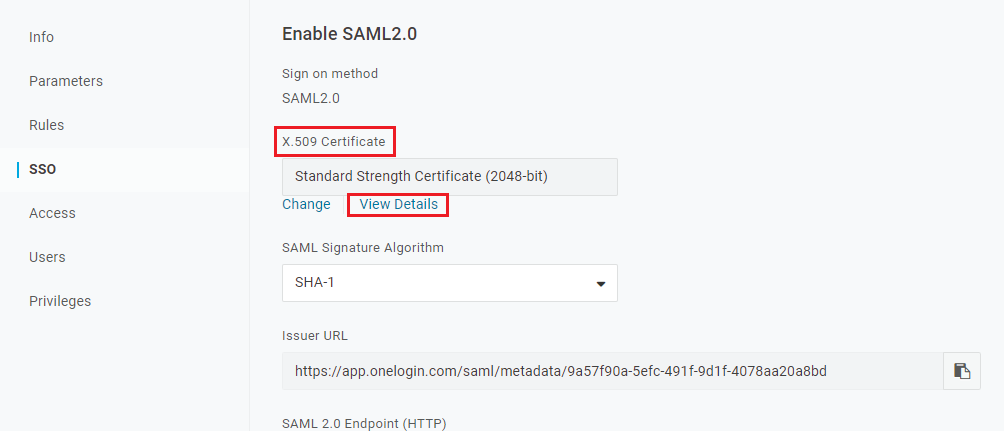
11. Locate the X.509 Certificate, and then click the View Details link.
12. Make sure SHA1 is selected for the SHA fingerprint.
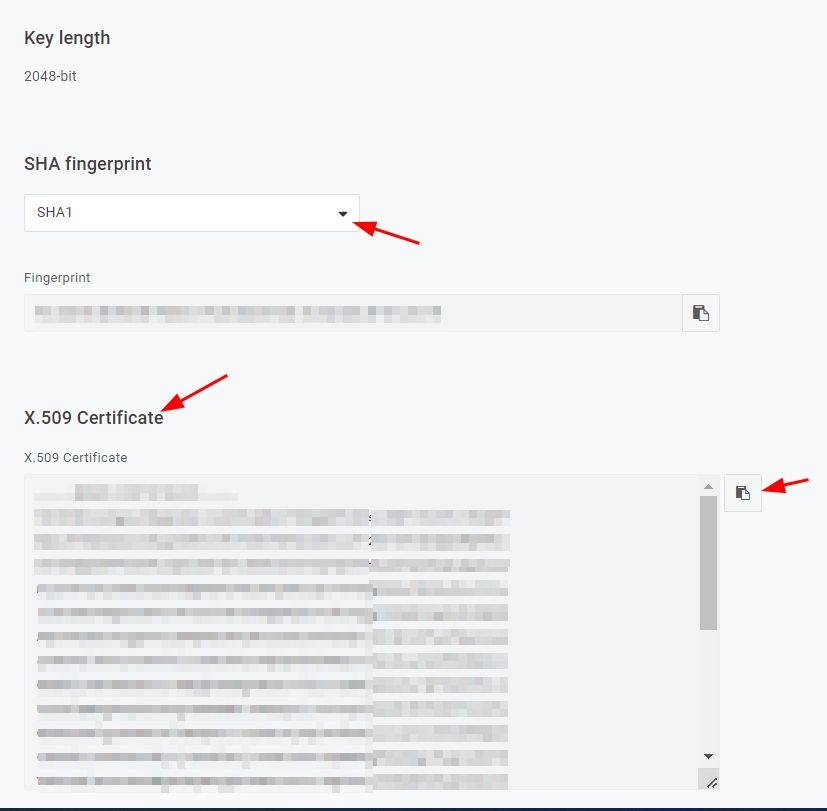
13. Copy the X.509 Certificate, and then paste into your Notepad (.txt) file for later use within Asset Panda.
14. Select the Applications menu, and then click Applications.
15. Enter saml test connector into the search field, and then select SAML Custom Connector (Advanced).
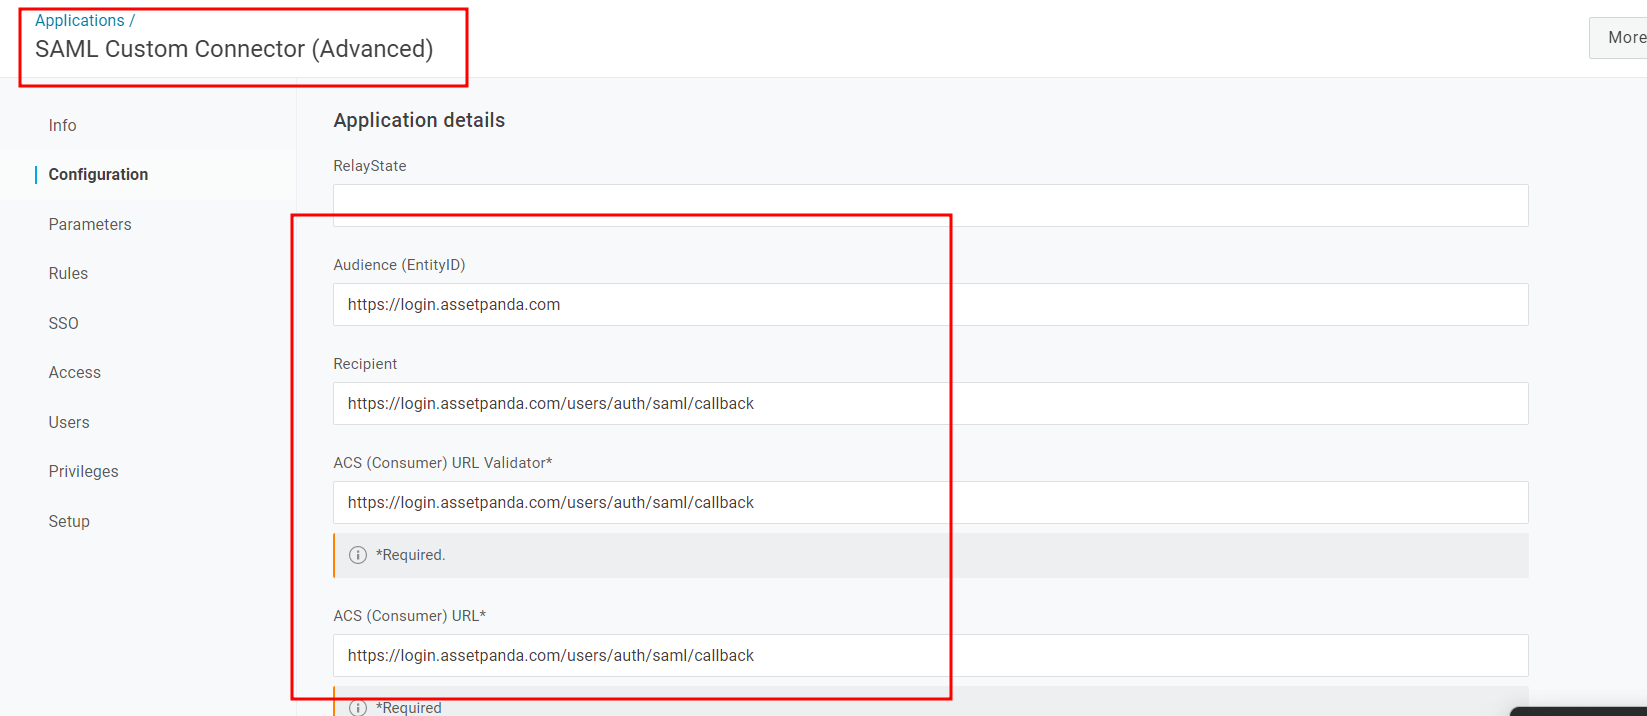
16. Select Configuration, and then enter the following settings (also shown in the screenshot below):
NOTE: Fields that contain an asterisk (*) are required.
- RelayState: leave blank
- Audience (EntityID): https://login.assetpanda.com
- Recipient: https://login.assetpanda.com/users/auth/saml/callback
- ACS (Consumer) URL Validator*: https://login.assetpanda.com/users/auth/saml/callback
- ACS (Consumer) URL*: https://login.assetpanda.com/users/auth/saml/callback
- Single Logout URL: leave blank
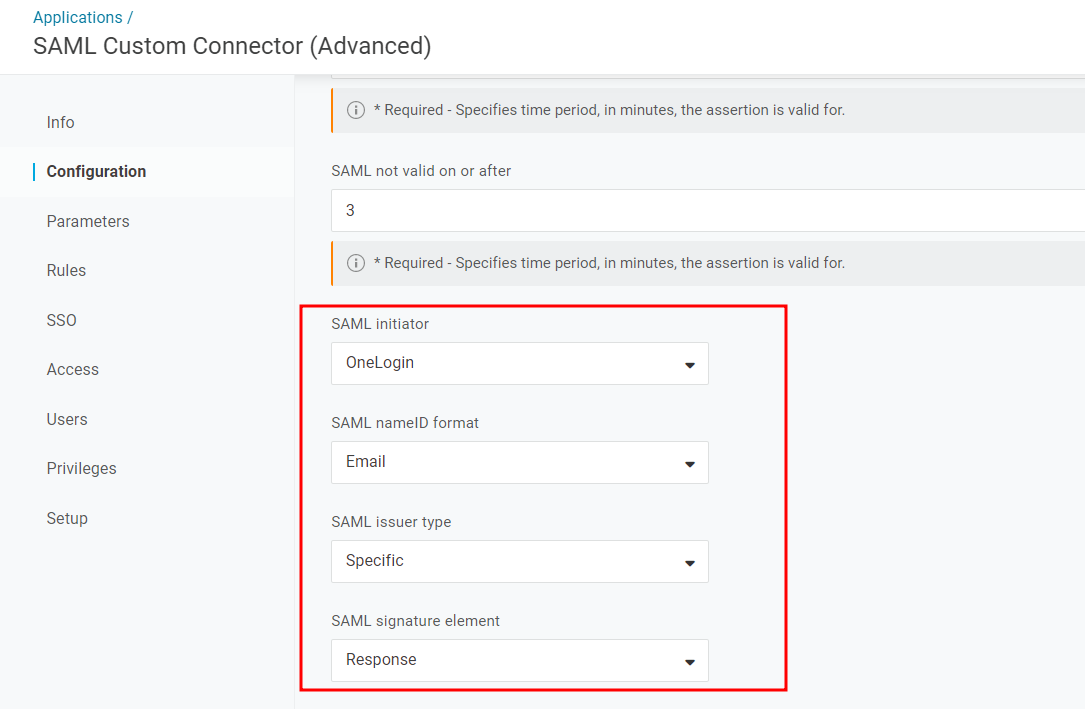
17. Enter the following settings (also shown in the screenshot below):
- SAML Initiator: OneLogin
- SAML nameID format: Email
- SAML issuer type: Specific
- SAML signature element: Response
18. Click Save.
19. Proceed to the Asset Panda Configuration section below.
Asset Panda Configuration
We recommend keeping your OneLogin account open within a separate tab. You will be moving between both your Asset Panda and OneLogin accounts.
NOTE: You must first complete the steps within the OneLogin Configuration section.
1. Log in to your Asset Panda account.
2. Select the settings ![]() icon, Integrations, and then select SSO.
icon, Integrations, and then select SSO.
3. Click the Settings tab, and then select Certificate from the Configuration drop-down menu.
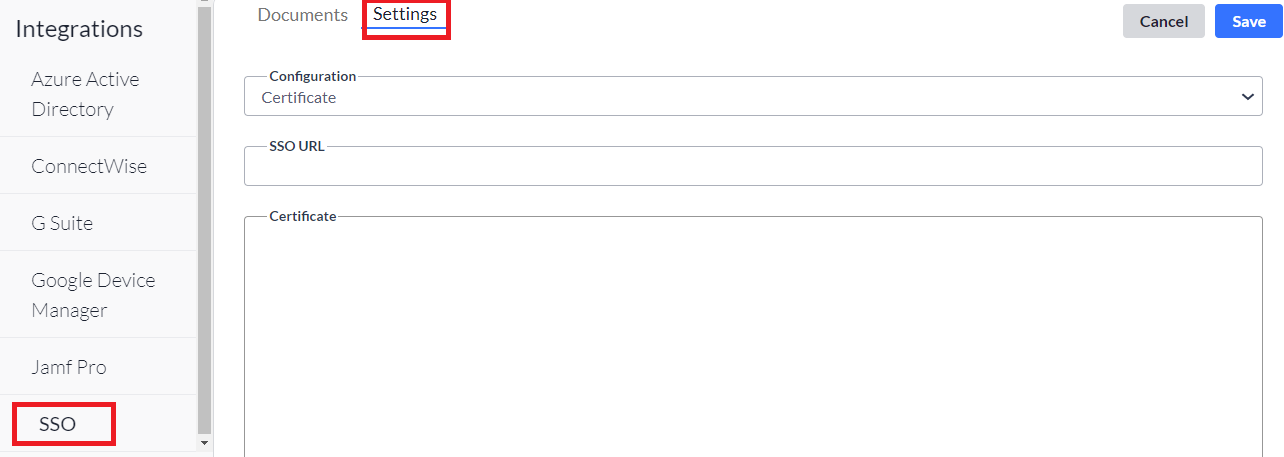
4. Copy the SAML 2.0 Endpoint (HTTP) from your .txt file, and then paste this value into the SSO URL field.
5. Copy the entire X.509 Certificate from your .txt file (starting with the dashes before Begin Certificate and followed by the dashes after End Certificate).
6. Paste this selection into the Certificate field.
7. Click Save.
To login, navigate to the subdomain (your Asset Panda URL), and then enter your OneLogin credentials. You can also choose to download a OneLogin browser extension. This extension can then be used to perform a single sign-on into Asset Panda.