Okta SSO
This article will help you to successfully integrate your Okta and Asset Panda accounts. Let's jump right in!
NOTE: We recommend using the Okta extension on your browser (such as Chrome or Firefox).
1. Log into your Okta account, and then click the Admin button.
NOTE: Okta is a third-party application and Asset Panda does not control updates made by Okta. As a result, your Okta screens and options may vary from those you see in our examples below. See Okta documentation for more information.
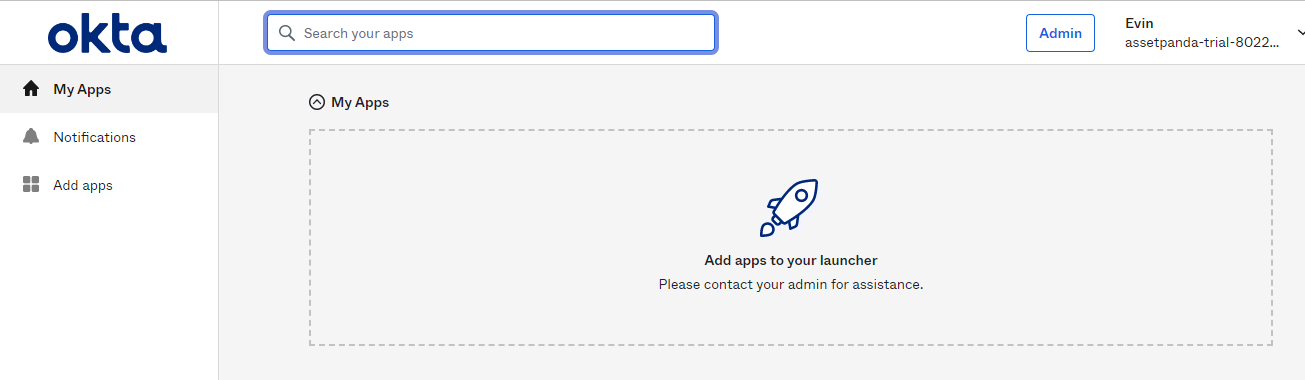
NOTE: You may be required to log into your account a second time.
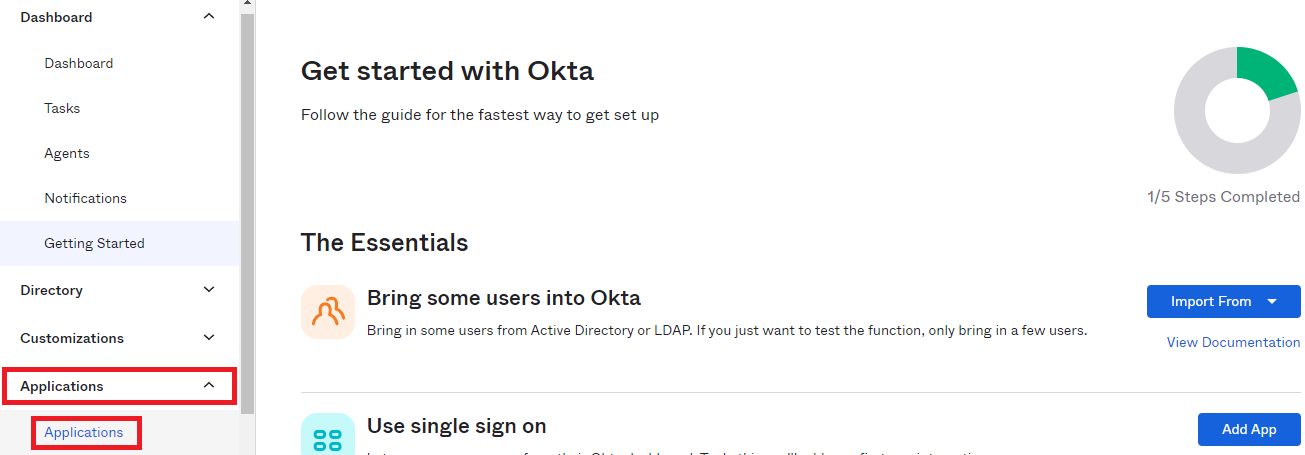
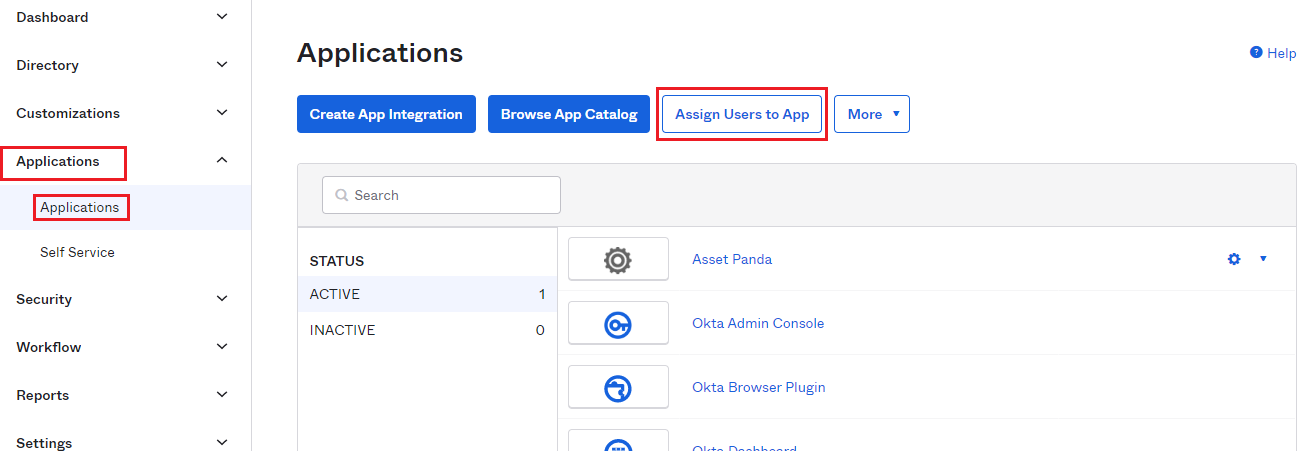
2. You'll notice that you are now in your Dashboard. Click Applications, and then select Applications.
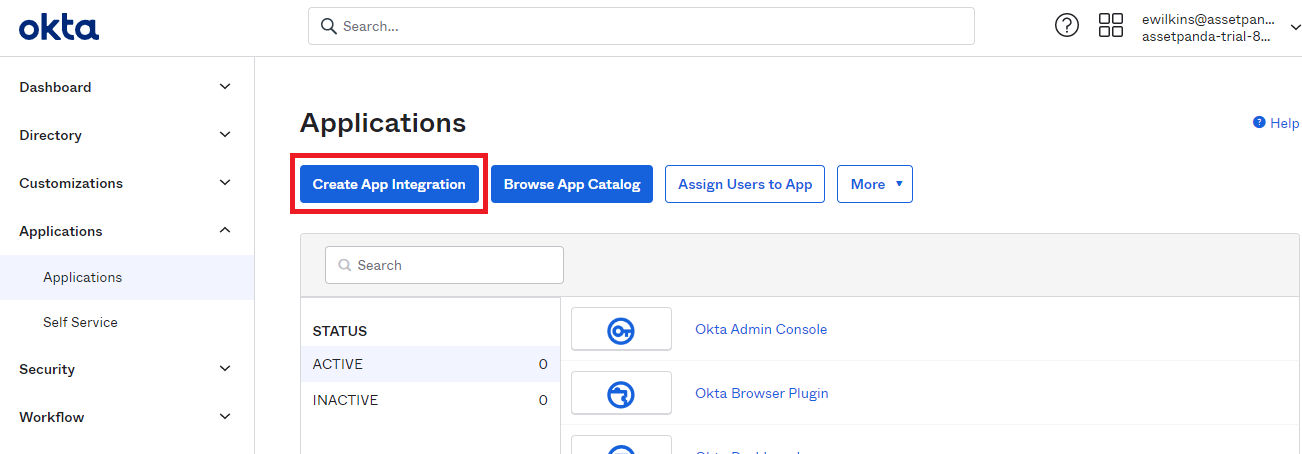
3. Select Create App Integration.
The Create a new app integration page displays.
4. Select SAML 2.0 as the Sign-in method.
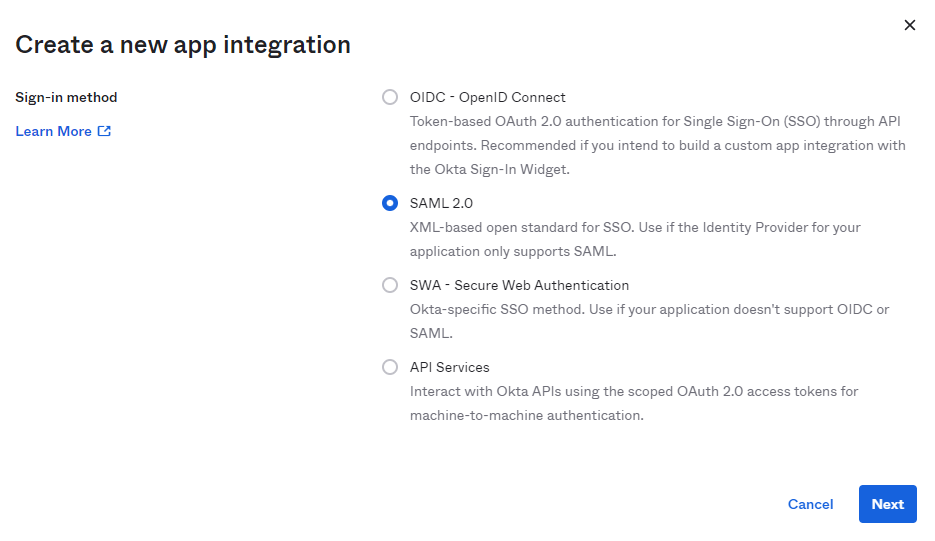
5. Click Next.
The Create SAML Integration page displays.
6. Enter Asset Panda into the App name field, and attach a logo if there's a logo you would like to attach.
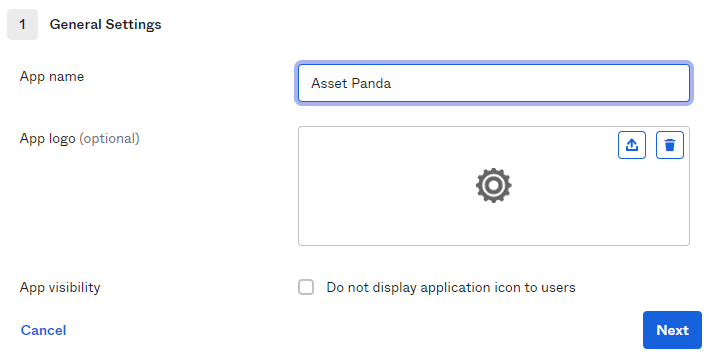
7. Select your desired App visibility, and then click Next.
You'll then find yourself on the SAML Settings page.
8. Make sure the Configure SAML tab is selected, and then enter https://login.assetpanda.com/users/auth/saml/callback within the Single sign on URL field.

9. Enter https://login.assetpanda.com within the Audience URI (SP Entity ID) field. Note that this will not work properly if you include the slash (/) at the end of the URI. In other words, https://login.assetpanda.com/ would be incorrect so don't do it!
10. Select Email for the Application username.
11. Leave the remaining fields blank if you wish, and then click Next to continue on to the Feedback page. You can fill these in, in whatever way you choose and then click Finish.
12. Select the Sign On tab (if not already selected by default).
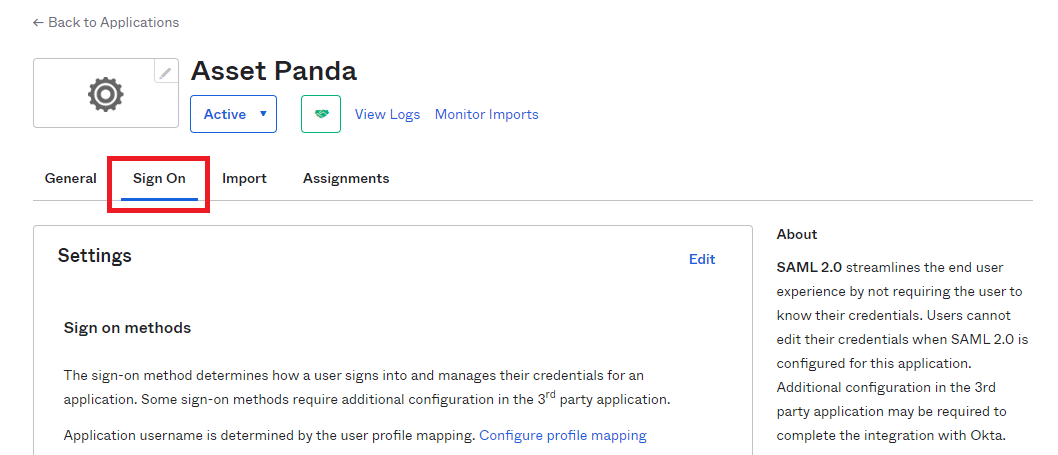
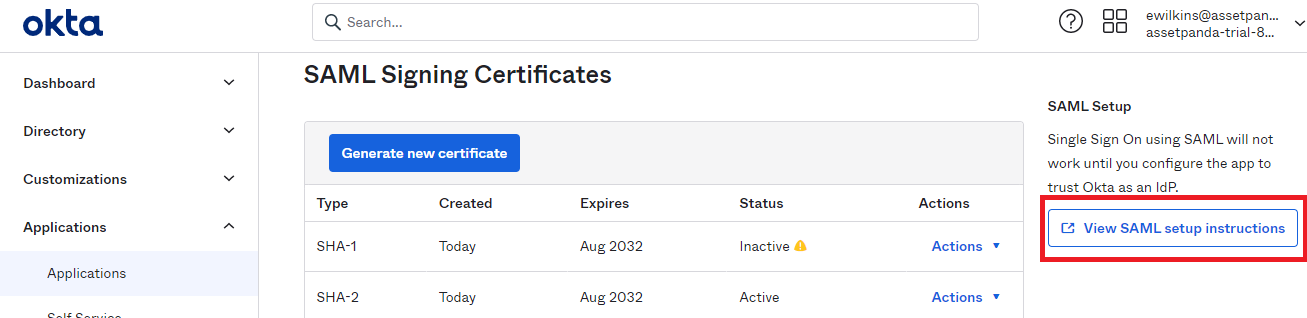
13. Scroll down, and then select View SAML setup instructions.
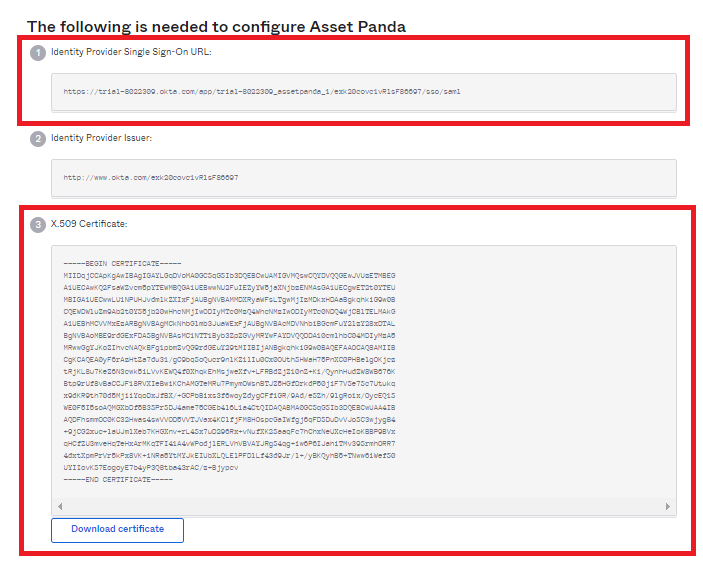
14. Copy both the Identity Provider Single Sign-on URL and the X 509 Certificate, and then paste them into Notepad, or other similar text file.
You'll now assign users to your app.
15. Click Applications, select Applications, and then click Assign Users to App.
16. Locate the Applications and People sections, and then click both the application(s) and the users you'd like to assign to the selected apps.
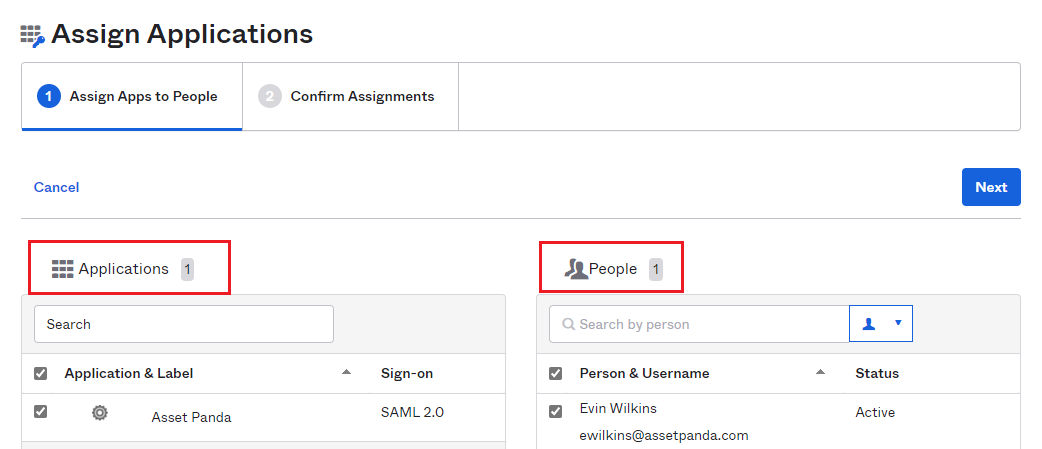
17. Click Next.
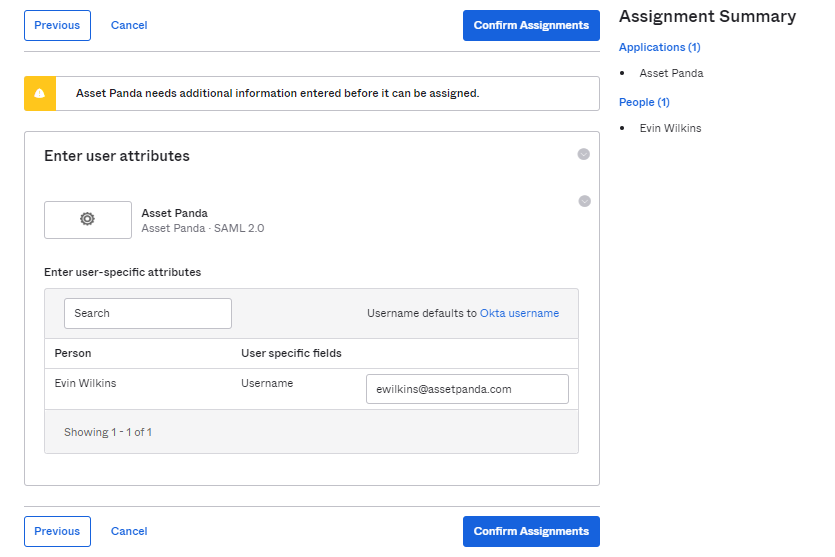
18. Review user assignments, and then select Confirm Assignments.
19. Navigate to, and log into your Asset Panda account.
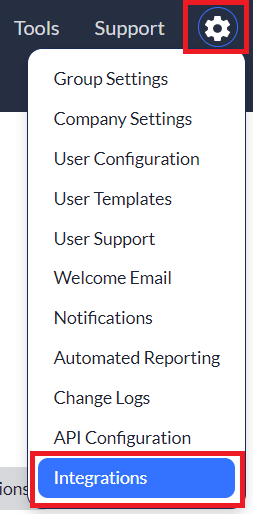
20. Click the settings ![]() icon, and then select Integrations.
icon, and then select Integrations.
21. Select SSO from the Integrations menu, on the left side of your screen.
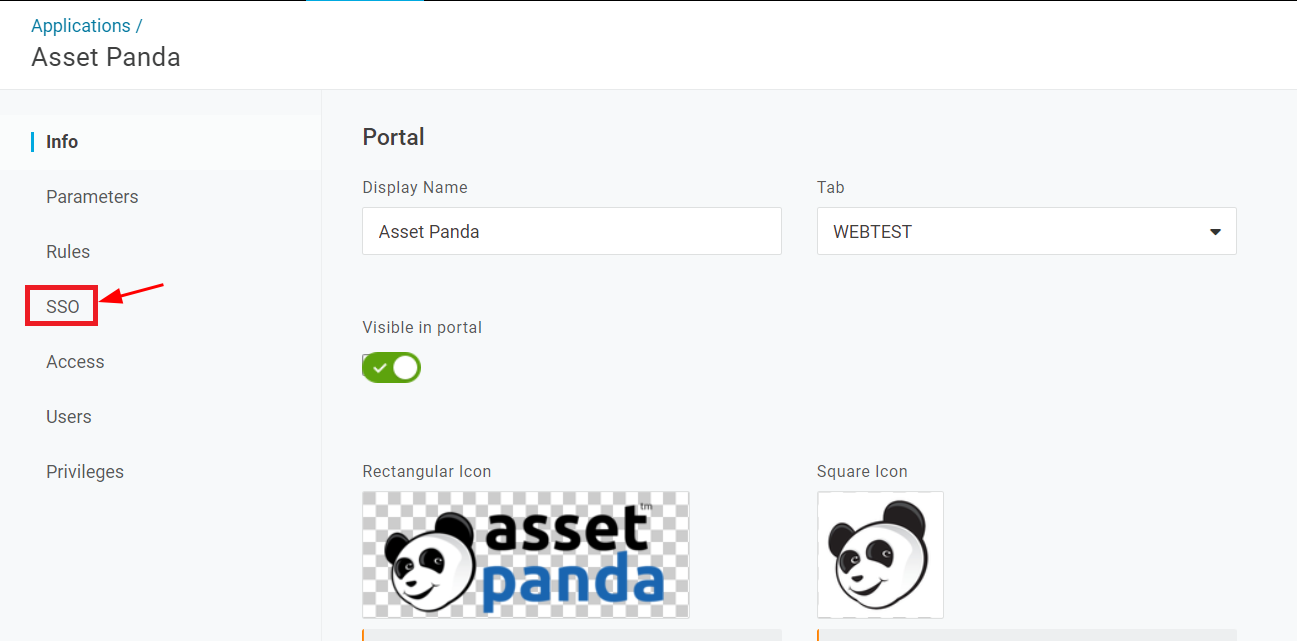
22. Paste the Identity Provider Single Sign-on URL into the Asset Panda SSO URL field, and the X509 Certificate into the Certificate field.
NOTE: Paste the text, including the dashes right before the BEGIN CERTIFICATE and the dashes directly after END CERTIFICATE.
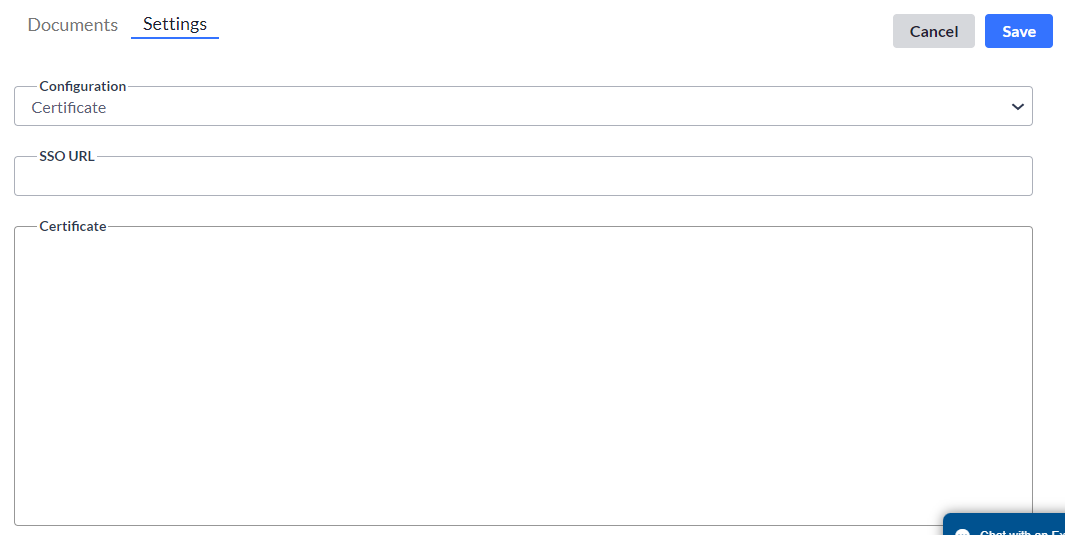
23. Click Save to complete the configuration. Any assignments you add within Okta should also exist within Asset Panda.