Kandji
The Kandji and Asset Panda integration allows you to both import and update devices shared between the accounts.
NOTE: Kandji is a third-party application and Asset Panda does not control updates made by Kandji. As a result, your Kandji screens and options may vary from those you see in our examples below. See Kandji's support site for more information.
This guide will take you through the setup to successfully integrate your accounts:
Kandji API Credentials
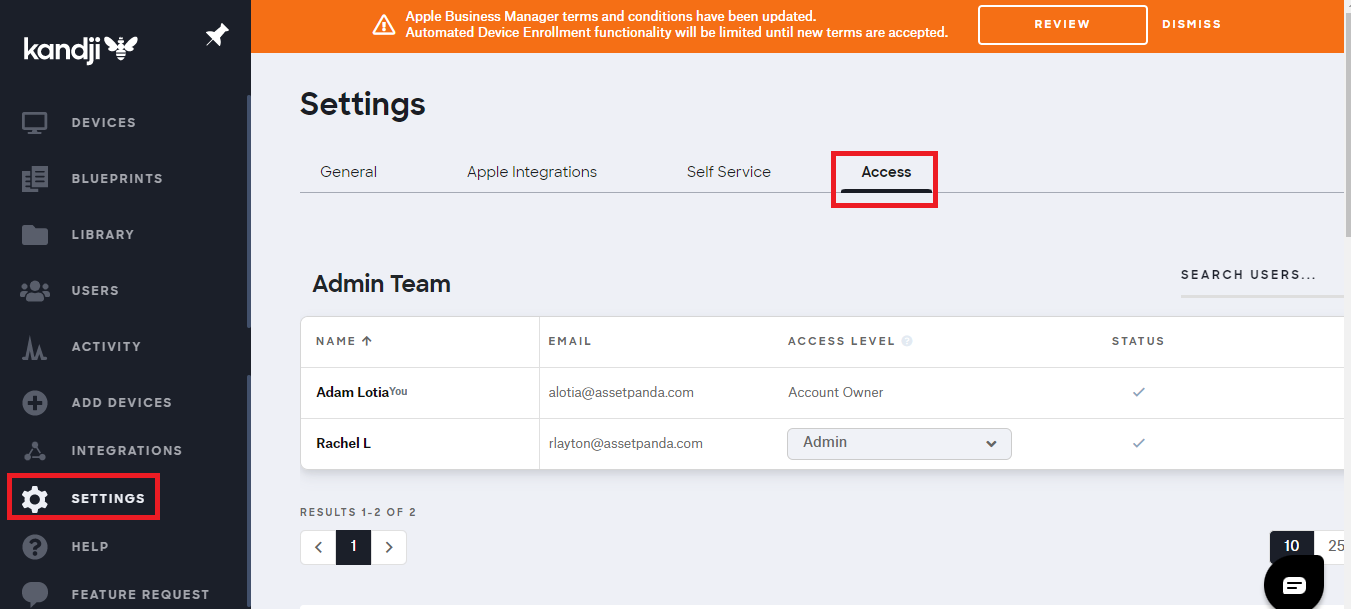
1. Log into your Kandji account, and then select Settings.
2. Select the Access tab.
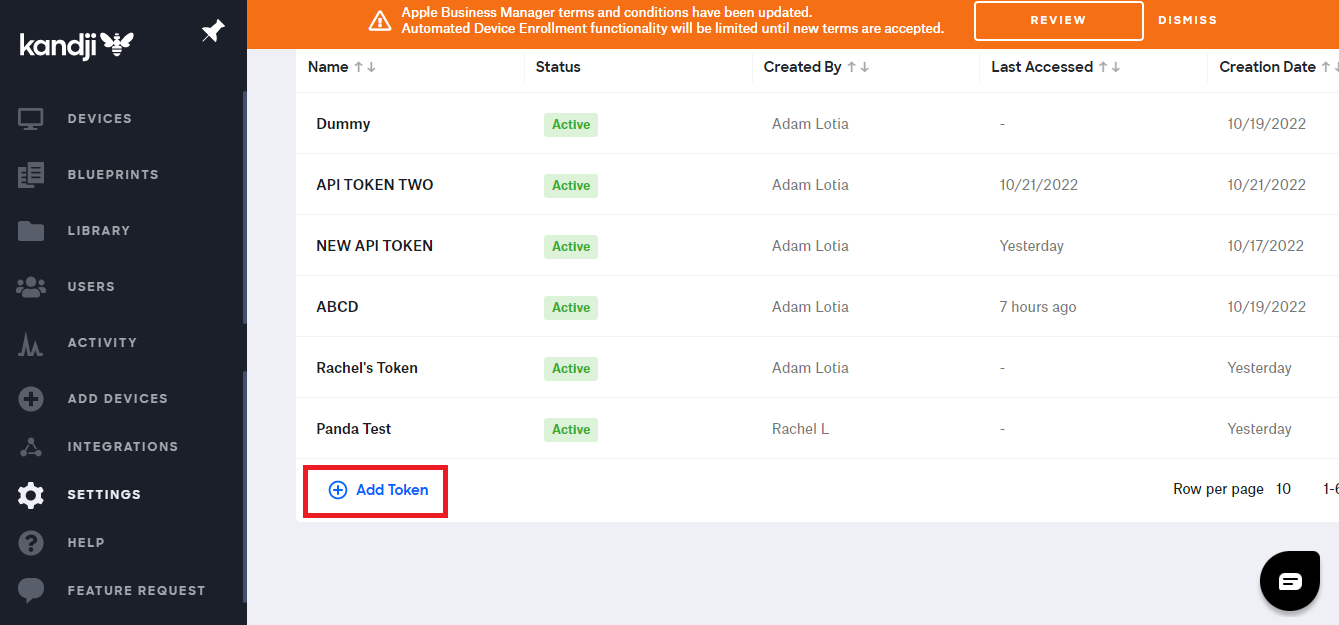
3. Scroll down to the API Token section, and then select Add Token to create a new API token.
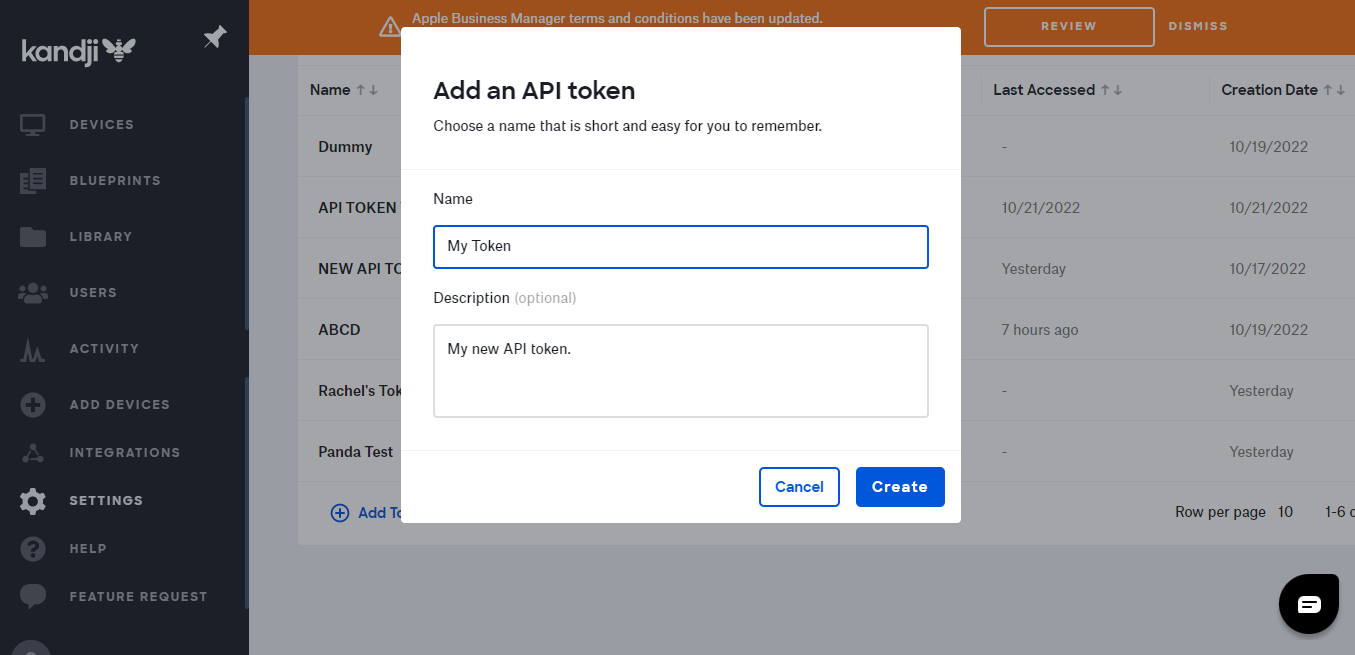
4. Enter your preferred token Name.
5. Enter a Description for your token, and then click Create.
Your token displays.
6. Click the visibility symbol (located within the Token field) to view the actual token and to copy and paste to a .txt file for later use (you'll need it again in the Asset Panda and Kandji Integration section), or click Copy Token to copy the token to your clipboard.
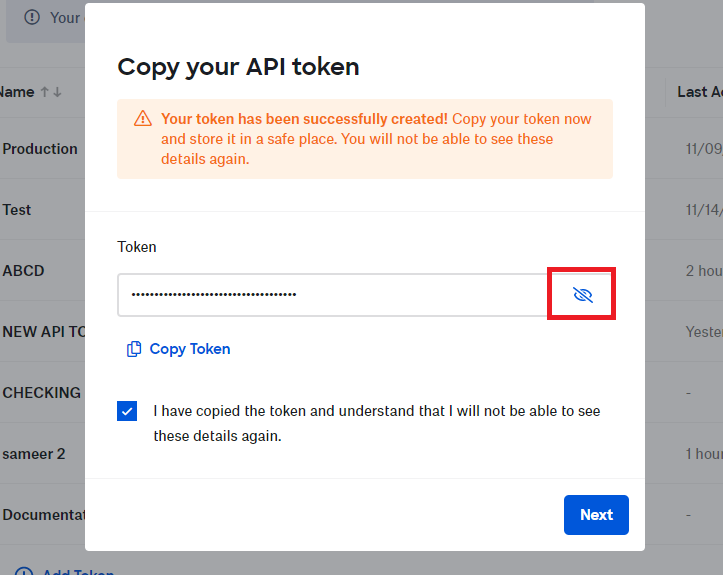
NOTE: You will not be able to see your token details again so make certain to perform one of the options in step #6.
7. Check the box to acknowledge that you will not be able to view your token details again, and then click Next.
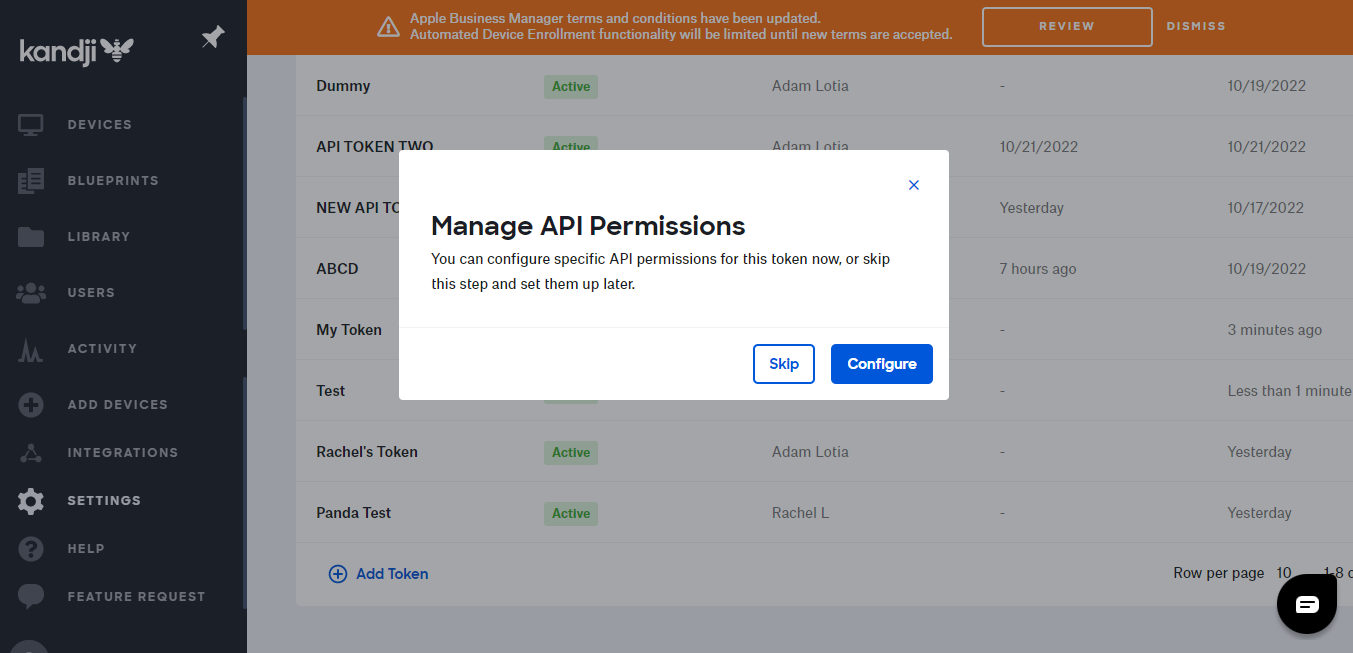
8. Click Configure to manage the permissions for your token.
NOTE: You can also select Skip to configure permissions at a later time. Permissions must be configured prior to setting up integration with Asset Panda.
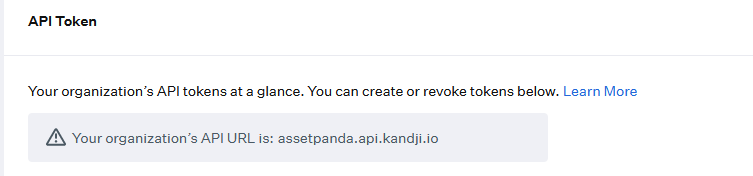
The next thing you'll need to do is grab your organization's API URL, as you'll need this in the Asset Panda and Kandji Integration section below.
9. Select Settings, and then select your Access tab (once again).
10. Scroll down to the API Token section, and then copy and paste your token into your .txt file.
NOTE: Be sure to include /api/v1/ at the end of the API Token URL, or it will not work correctly. For example, if the subdomain is http://assetpanda.api.kandji.io, the correct URL is https://assetpanda.api.kandji.io/api/v1/ .
11. Proceed to the next section to complete your integration.
Asset Panda and Kandji Integration
Use the instructions in this section to successfully integrate your Asset Panda and Kandji accounts.
To set up your integration:
1. Log into your Asset Panda account.
2. Click your settings  icon, and then select Integrations.
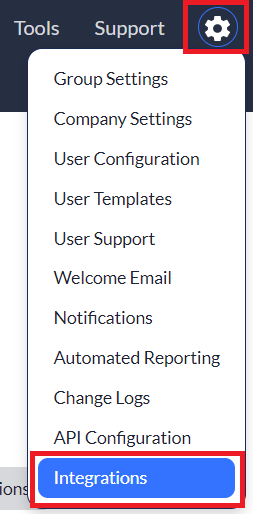
3. Select Kandji from your integrations menu, located on the left side of your screen.
Settings
Use the following instructions to configure your integration settings within Asset Panda.
1. Select the Settings tab.
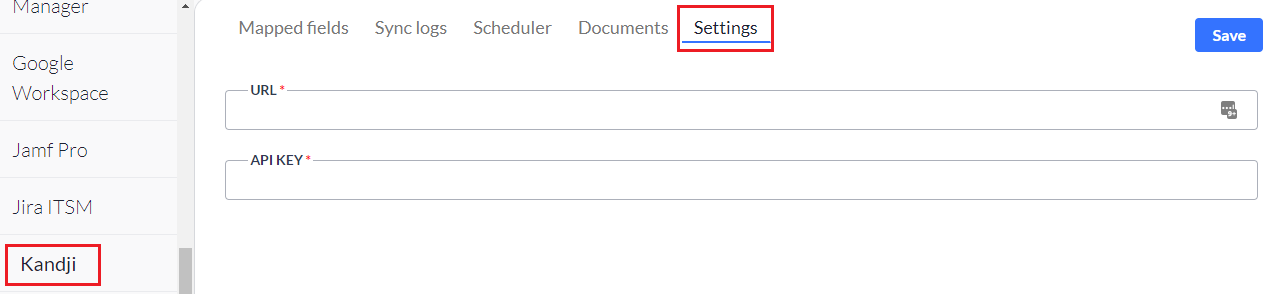
2. Enter your API token into the URL field. (See step # 10 in the section above to make sure you have the entire API token.)
NOTE: Include the forward slash (/) at the end of the API Token URL, or it will not work correctly.
3. Enter the API Key obtained from the Kandji API Credentials section.
4. Click Save.
Mapped Fields
Use the following instructions to configure your mapped fields within Asset Panda.
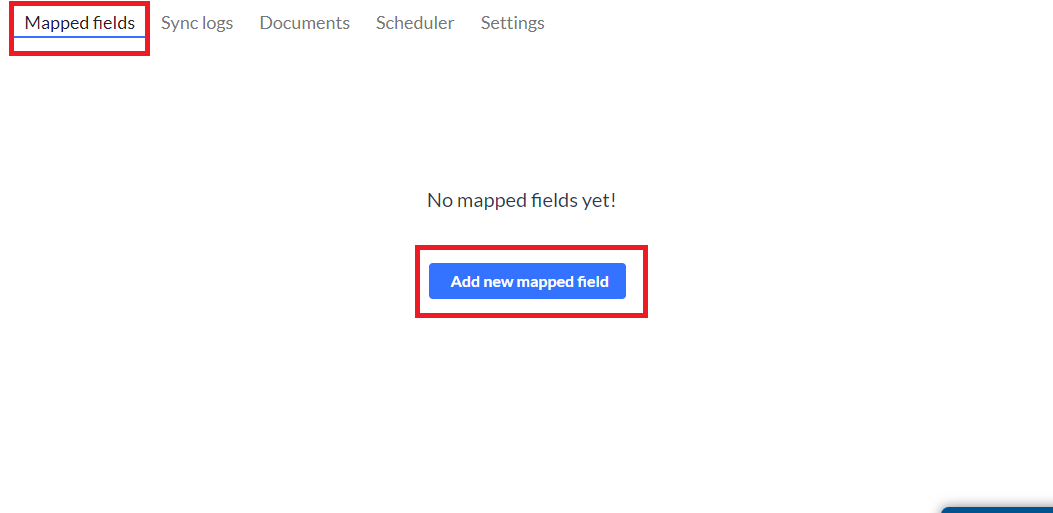
1. Click the Mapped Fields tab, and then select Add new mapped field.
Use the following drop-down menus to:
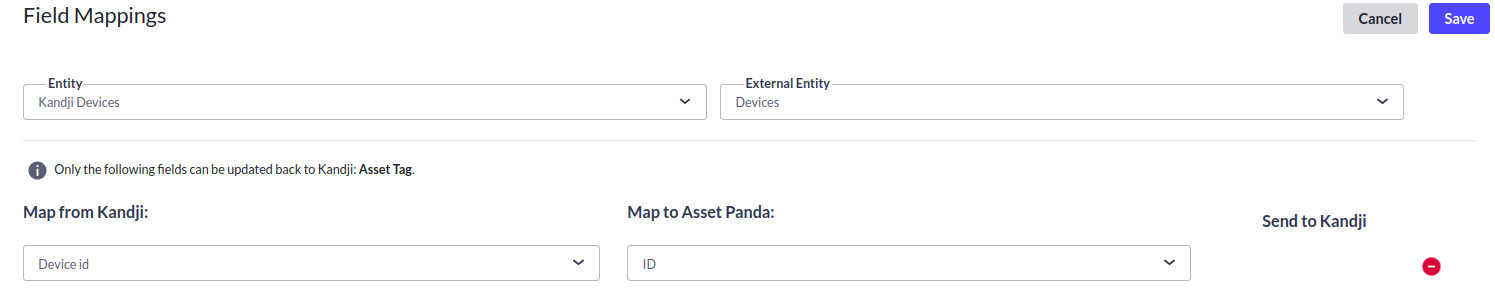
2. Select the Entity (from within Asset Panda) and External Entity (from within Kandji).
3. Select the fields you wish to Map from Kandji and Map to Asset Panda. (Note that the Name field is a required field.)
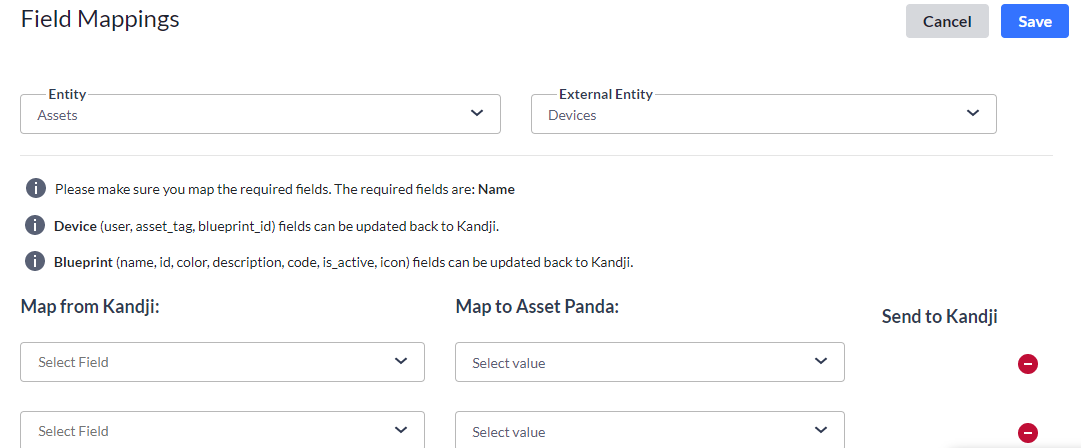
4. Select the Send to Kandji checkboxes for those fields you wish to update back to Kandji.
NOTE: Only certain field types can be synced back to Kandji. These fields are Device (Asset Tag) and Blueprint fields (Name, Color, Description, Code, and Icon).

5. Click Save.
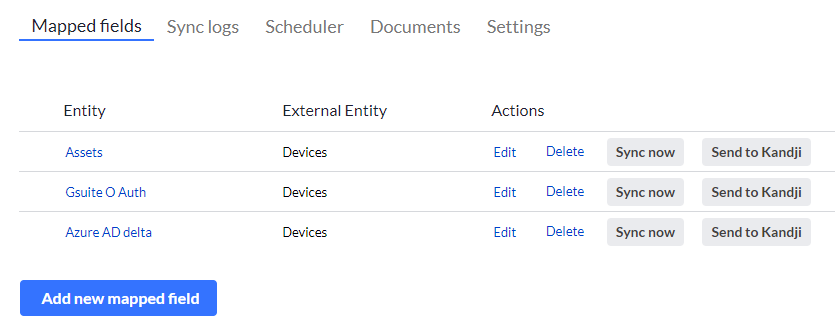
6. From the Mapped Fields page, click Sync now. (This pulls your Kandji information into Asset Panda, whereas Send to Kandji pushes your Asset Panda information into Kandji.)
7. Your items begin to synchronize and you will receive an email once it is complete.
NOTE: All sync information can be viewed by clicking the Sync Logs tab. See the Sync Logs section below for more information.
You can view your linked devices from within your Asset Panda groups.
Sync Logs
Your Sync Logs store all your syncing information and are divided by year and month.
1. Click the Sync Logs tab, and then select your desired year and month to expand your logs for the specified timeframe.
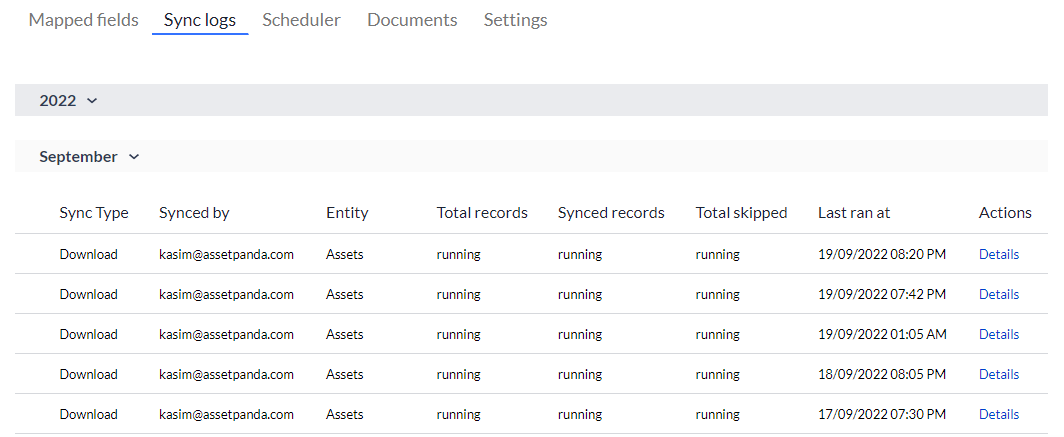
2. Click the Details link to view a more detailed log of sync information.
Schedulers
Use the Schedulers feature to set up automatic sync schedules. (You can choose when and how often your syncs occur.)
NOTE: A maximum of two schedules may be added at any given time. At least one must be deleted if you find the need to setup new schedules.
To begin:
1. From the Kandji page, click the Scheduler tab.
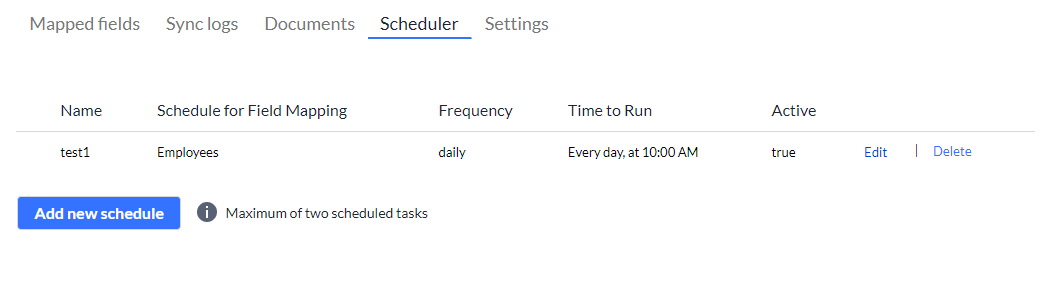
2. Click Add new schedule if you do not currently have any existing schedules.
The Add Kandji Schedule page displays.
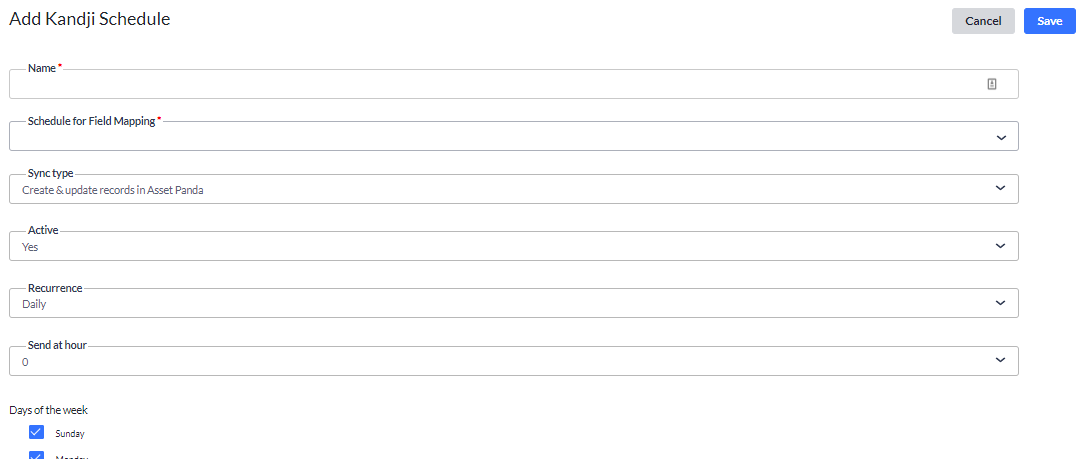
3. Enter your preferred scheduler name into the Name field.
This is a required field.
4. Use the Schedule for Field Mapping drop-down menu to select the group you wish to sync to.
The groups included within this drop-down menu are pulled from fields you mapped within the Mapped Fields section. This is a required field.
NOTE: You must create a schedule for each group.
5. Use the Sync type drop-down menu to select your preferred sync type.
6. Use the Active drop-down menu to select Yes, and to activate your scheduler.
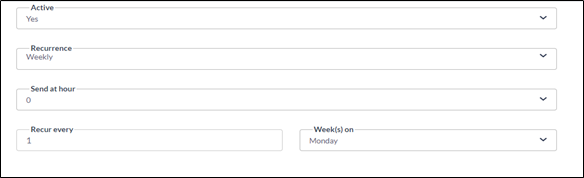
7. Use the Recurrence to select:
- Daily – Select Daily, the hour, and day of the week.

- Weekly – Select Weekly, the hour, the frequency, and day of the week.
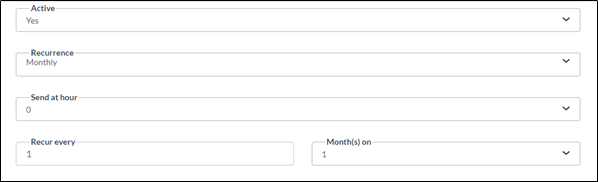
- Monthly – Select Monthly, the hour, and the frequency (includes the frequency of the month such as every month, every other month, etc., and the day of the month).
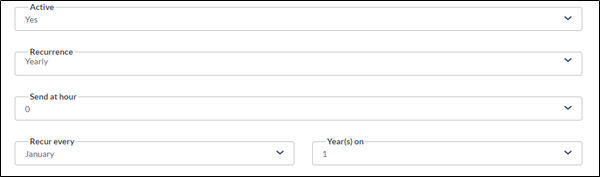
- Yearly – Select Yearly, the hour, and the frequency (includes the specific month and day of the month you wish to schedule).
8. Click Save.
Your new schedules display.
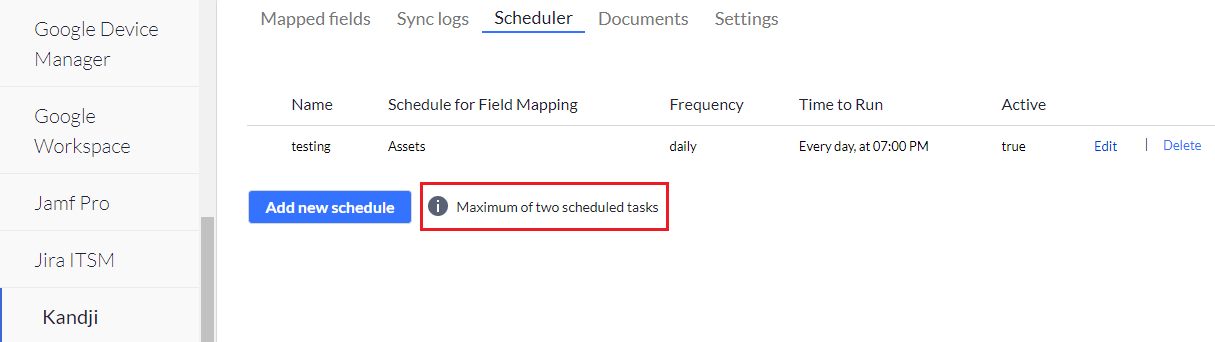
NOTE: There is currently a maximum of two scheduled tasks.
Sync Actions
Sync actions are actions you can perform with your Kandji devices on the Asset Panda side. These actions result in a mapped action on the Kandji side as well:
- Lock
- Restart
To access and complete these sync actions within Asset Panda:
NOTE: Only those with specific user permissions can perform these sync actions. If you are an administrator and wish to provide these permissions, see the following steps 1 through 4.
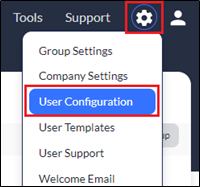
1. Click your settings  icon, and then select User Configuration.
2. Select Edit user permission.

3. From within the Permission for Configurations section, scroll down to and locate Integration: Kandji, and then select Edit.

4. Click Save Permissions.
5. Select the group in which you wish to sync your actions.
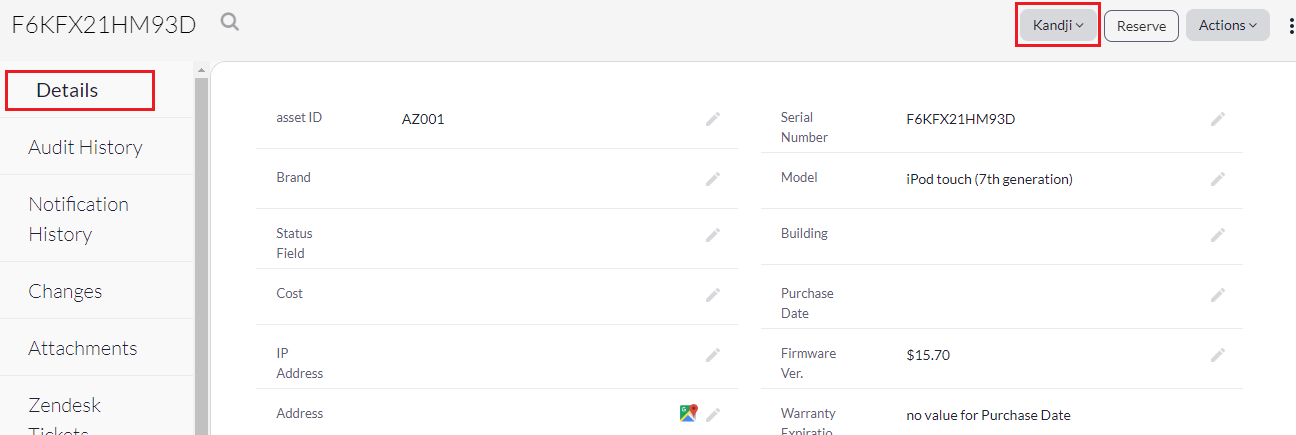
6. Select your asset from within that group.
NOTE: You must be within the Details page of your selected asset for the Kandji menu (shown below, in step #7) to display.

7. Select the Kandji menu.
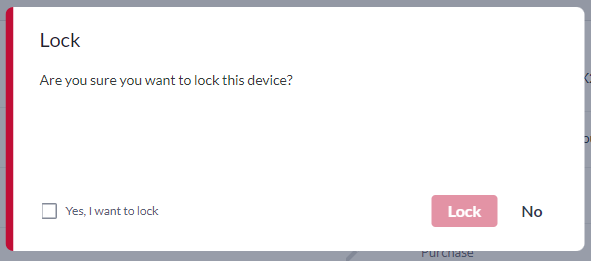
8. Select your Lock or Restart sync option (to either lock or restart your device).

9. Follow the prompts for the option you select:
- Lock
- Restart

Permissions
Automated Device Enrollment
| Name | Type | Required? |
| Renew Integration | POST | No |
| Create Integration | POST | No |
| Update Integration | PATCH | No |
| Download Public Key | GET | No |
| List Associated Devices | GET | No |
| Get Integration | GET | No |
| List Integrations | GET | No |
| Delete Integration | DELETE | No |
Blueprints Management
| Name | Type | Required? |
| Create Blueprint | POST | No |
| Update Blueprint | PATCH | No |
| Get Blueprint Templates | GET | Yes |
| Get Blueprint | GET | Yes |
| List Blueprints | GET | Yes |
| Delete Blueprints | DELETE | No |
Device Information
| Name | Type | Required? |
| Create Note | POST | Optional |
| Update Note | PATCH | Optional |
| Update a Device | PATCH | Yes |
| Device Activity | GET | Yes |
| Device Status | GET | Yes |
| Device Parameters | GET | Yes |
| Device Library Items | GET | Yes |
| Note ID | GET | Yes |
| Device Notes | GET | Yes |
| Application List | GET | Yes |
| Device ID | GET | Yes |
| Device List | GET | Yes |
| Device Details | GET | Yes |
| Delete Note | DELETE | No |
Device Actions
| Name | Type | Required? |
| Renew MDM Profile | POST | No |
| Update Device Inventory | POST | No |
| Install Kandji Agent | POST | No |
| Account Unlock | POST | No |
| Shutdown Device | POST | No |
| Set a Device Name | POST | No |
| Restart Device | POST | Required |
| Remote Desktop | POST | No |
| Erase Device | POST | No |
| Lock Device | POST | Required |
| Delete a User | POST | No |
| Clear Device Passcode | POST | No |
| Send a Blank Push | POST | No |
| Device Commands | GET | No |
| Delete a Device | DELETE | No |
Device Secrets
| Name | Type | Required? |
| Activation Lock Bypass | GET | No |
| Unlock Device Pin | GET | No |
| FileVault Recovery Key | GET | No |