Disposal Actions
Don't you hate it when you accidentally delete something that you found you ultimately needed? Yeah, so do we. This is precisely why Asset Panda has created disposal actions (which just happens to be a standard action). These actions help you to dispose of an action, without actually deleting it from the system.
But enough trash talk. (Get it? Trash...disposal? Yeah, we like to laugh at ourselves.) Let's get down to it.
Create a status field
Let's start by first, setting up a status field. (We will build upon this field as we go along.)
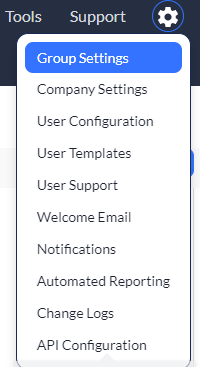
1. Click to select your settings ![]() icon, and then select Group Settings.
icon, and then select Group Settings.
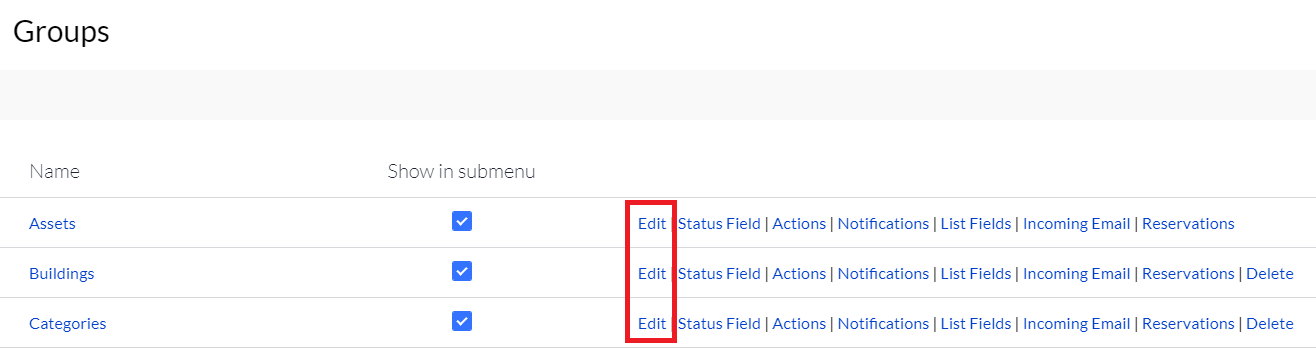
2. Select Edit in the group you want to edit.
3. Scroll down to your Fields section, and then select Add New Field.

4. Name your field (doesn't have to match our example below), and then select Status as the Type.
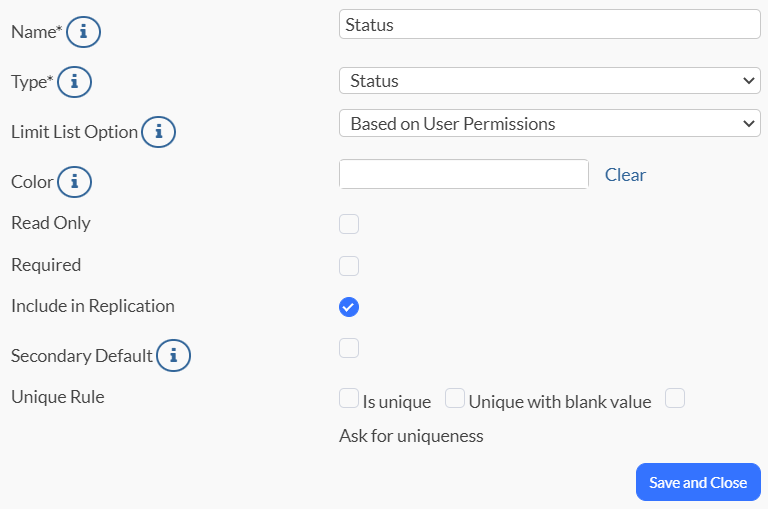
5. Click Save and Close to save your new field.
6. Proceed to the Add Disposed Status section below.
Add a disposed status
We know you're eager to jump right in but we ask that you first make sure to complete the steps in Create Status Field. Don't worry if you haven't done this already. We'll wait right here.
Okay, are you ready? Great! Let's get started.
1. Click to select your settings ![]() icon, and then select Group Settings.
icon, and then select Group Settings.
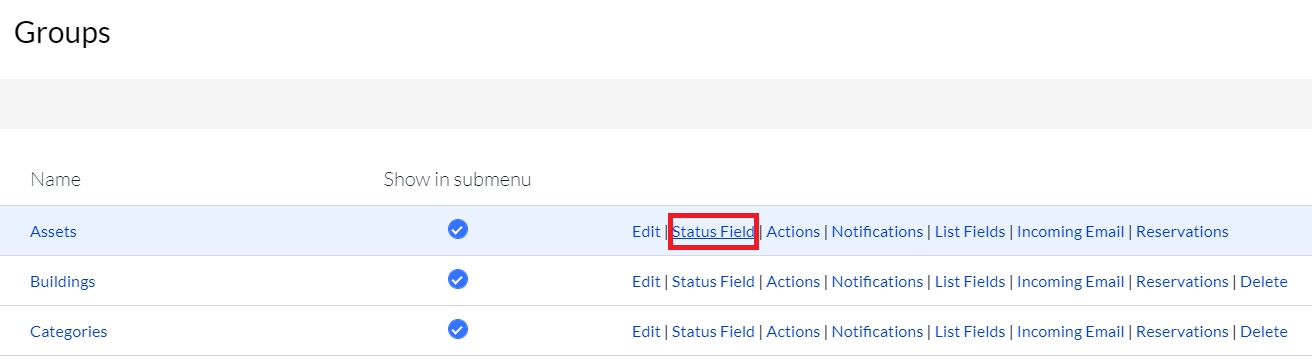
2. Select Status Field from the group in which you just created your new field.
3. Select Add New.

4. Enter Disposed as the Status, and then select Yes for Is default for listing.
5. Select No for Is default for new assets.

6. Click Save and Close.
7. Proceed to the Create Disposal Action below.
Create a disposal action
You're almost finished! The last step is to set up the Disposal action. Easy as pie. Let's dig in (no, not into pie; into the action!)
1. Click to select your settings ![]() icon, and then select Group Settings.
icon, and then select Group Settings.
2. Click Actions from the group you've been working in.
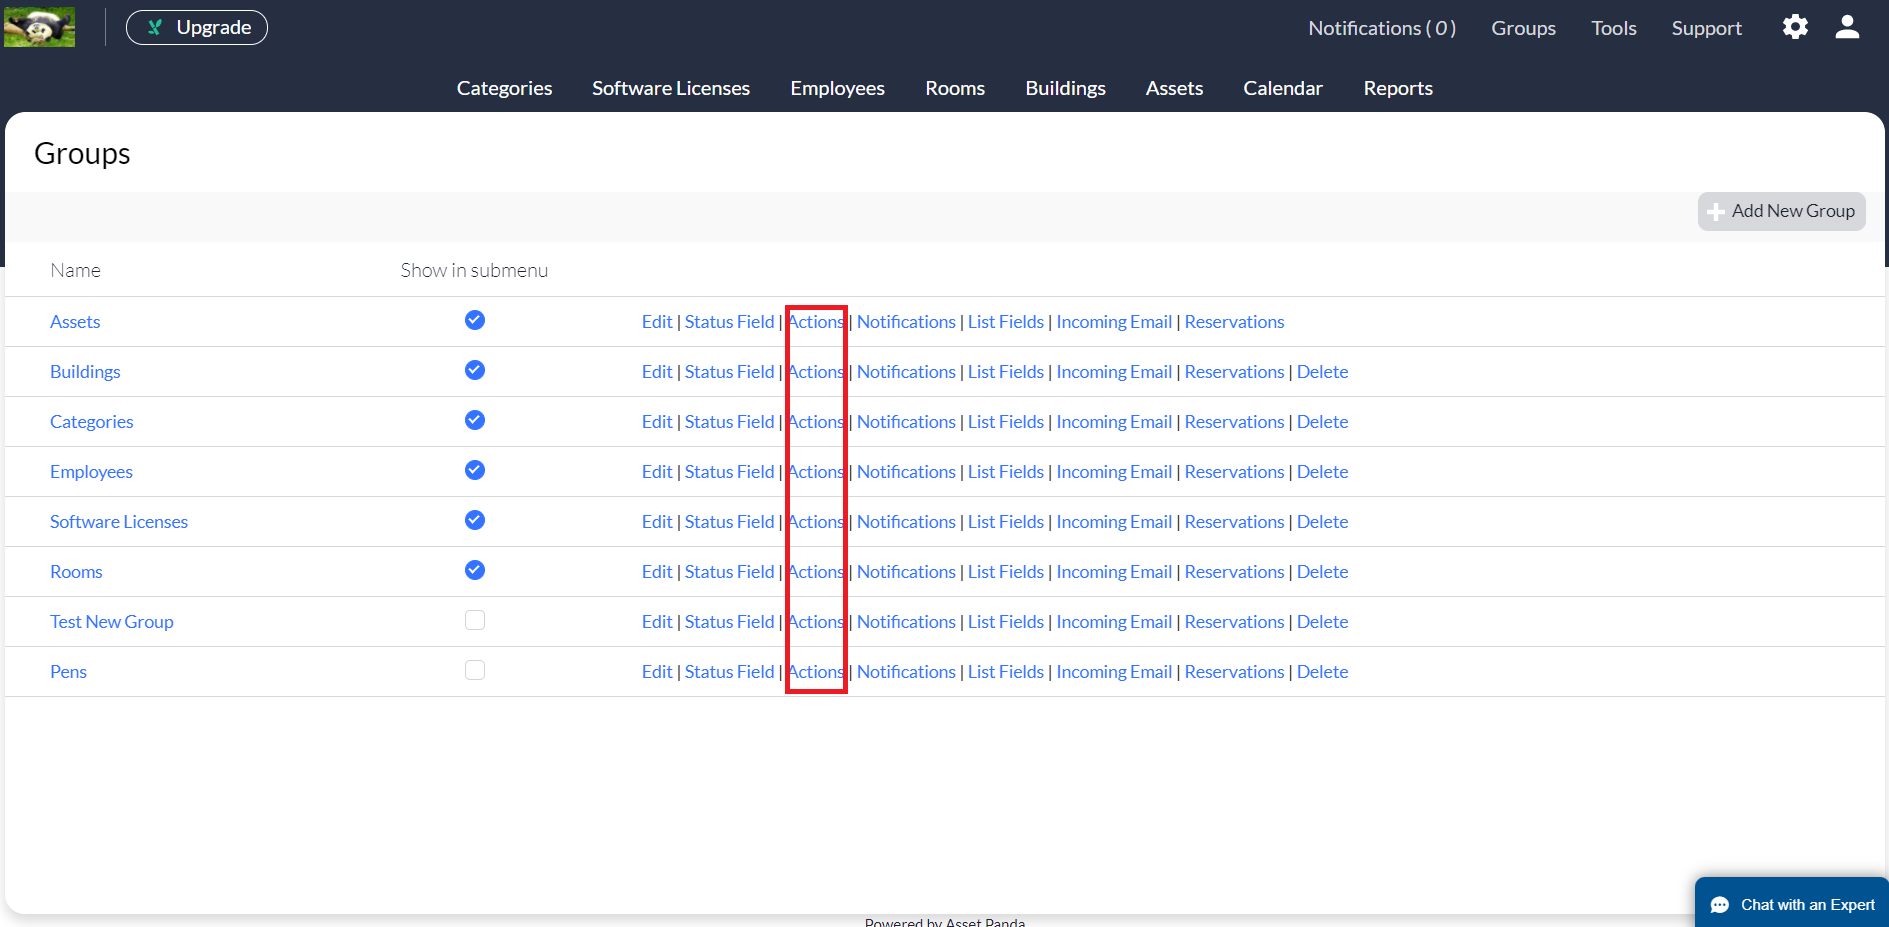
3. Click Add New.

4. Make sure the Action Type is Standard Action.
5. Select Yes for Does this action deactivate depreciation if you wish for the action to stop depreciation.
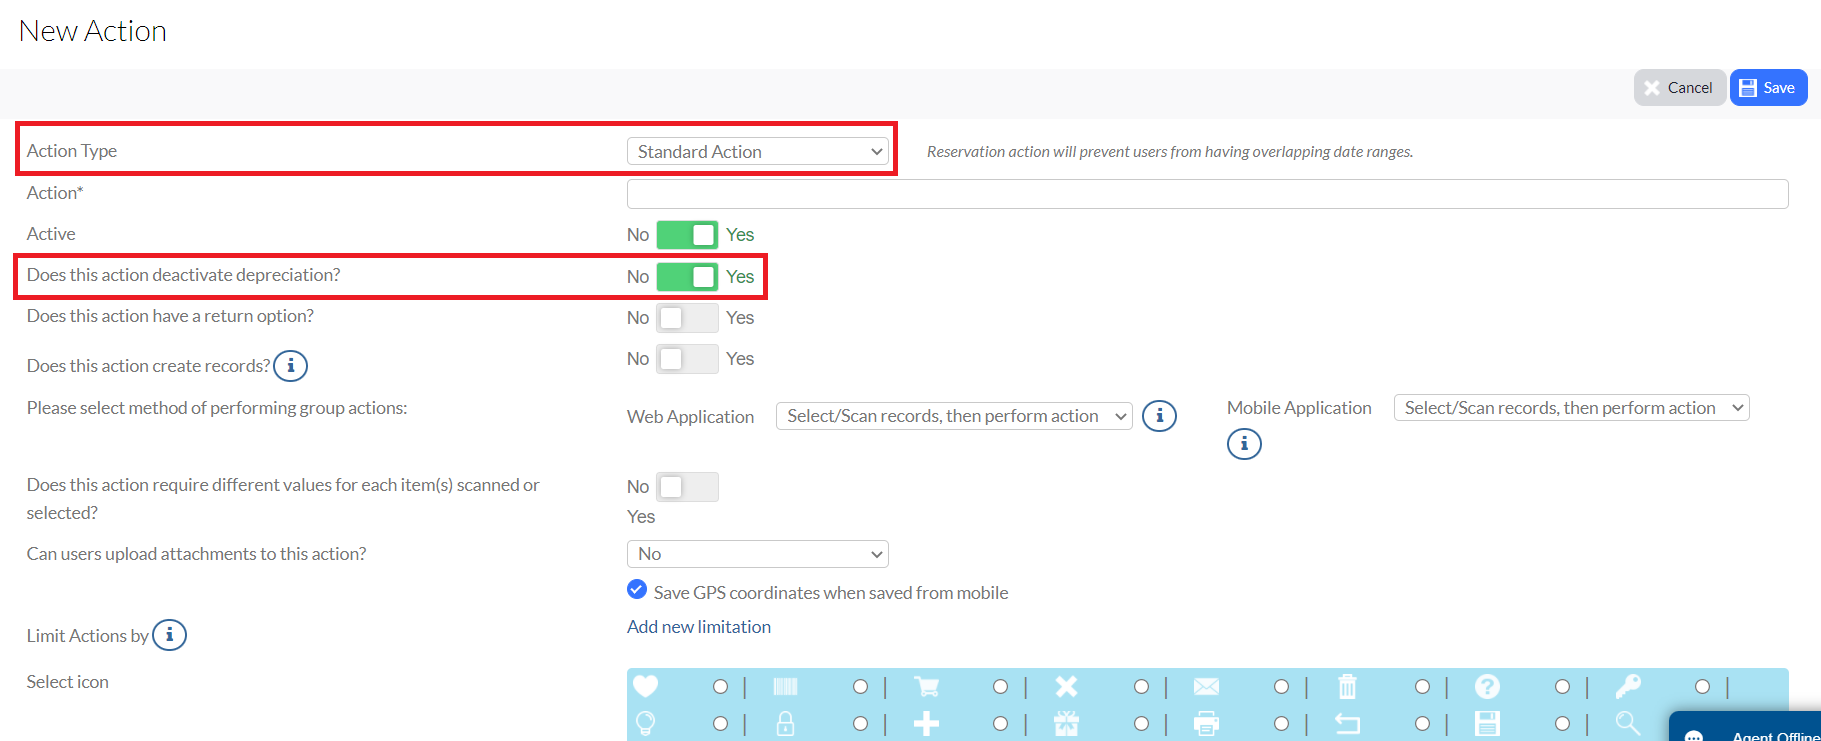
6. Click Save.
7. Scroll down to your Open Field section, and then click Add New.
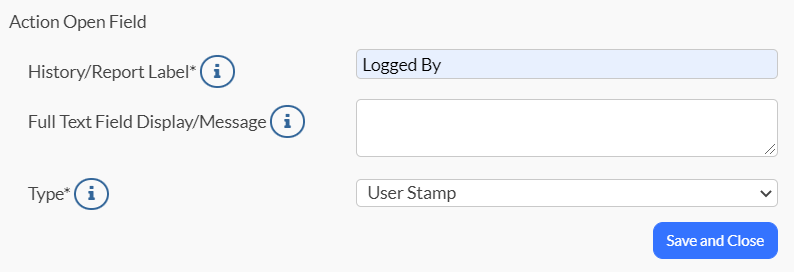
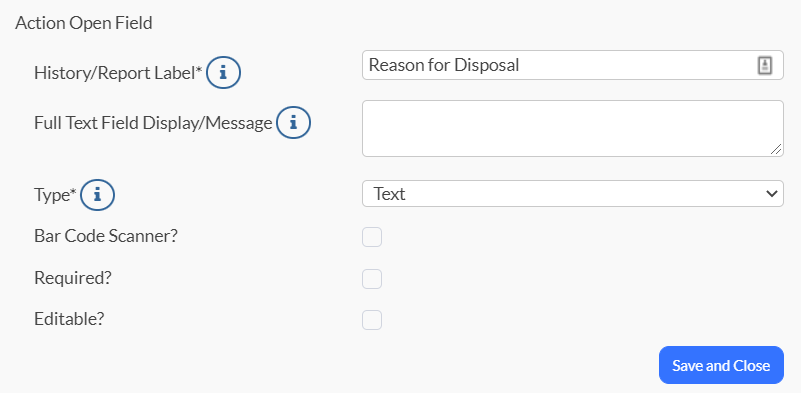
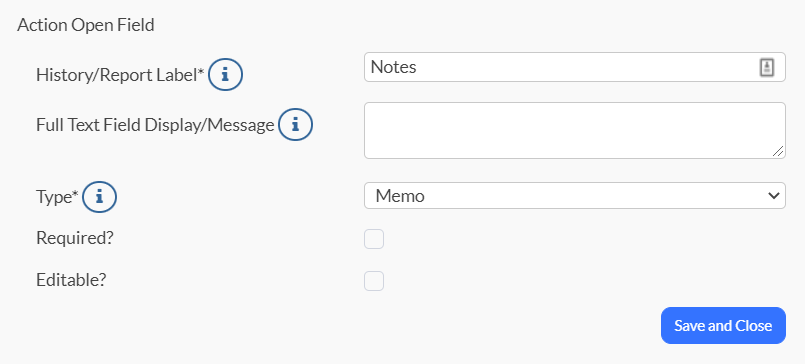
8. Create the following fields, using the same History/Report Labels and Types. (Click Save and Close after each one.)
Logged By
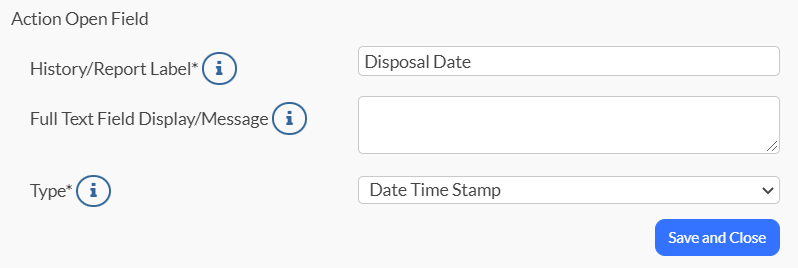
Disposal Date
Reason for Disposal
Notes
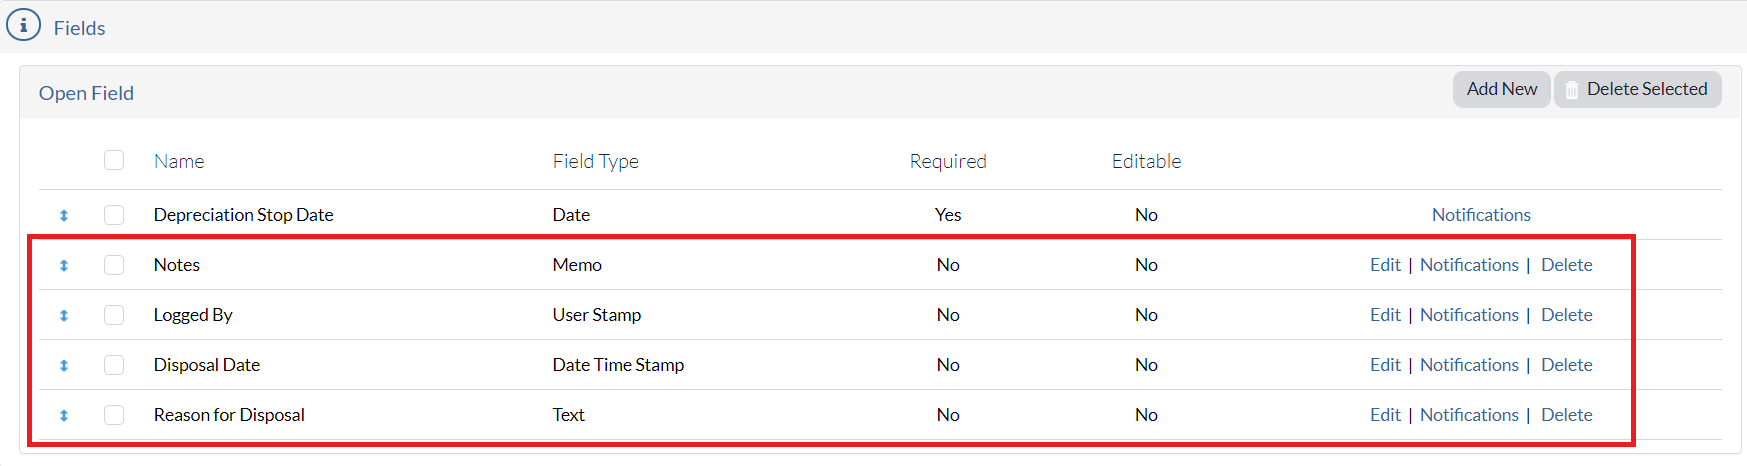
Your Open Field section at least include Notes, Logged By, Disposal Date, and Reason for Disposal like our example below:
Finally, we will create a change field, allowing the status to change to Disposed when this action is performed.
9. Scroll down to your Change Fields section, and then click New Change Field.
![]()
10. Use the screenshot below as a guide to build your new change field:
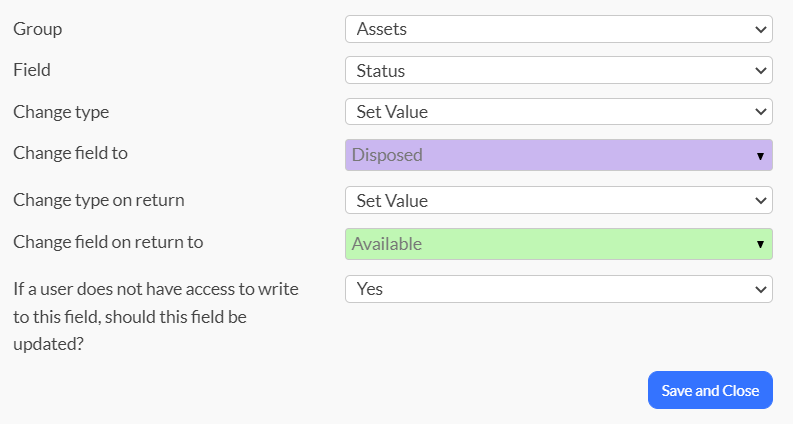
11. Click Save and Close and viola! You have a new change field.
Now, your status will correctly change when you perform your Dispose action!