Create an Audit on Mobile
This article guides you through a step-by-step process on how to create a new audit with the Asset Panda mobile app.
To do this:
Log into your Asset Panda mobile app.
From here, there are a couple of different ways to start creating your audit. Note that you can select your method according to your preference because they both ultimately provide the same result.
Create audit from a group
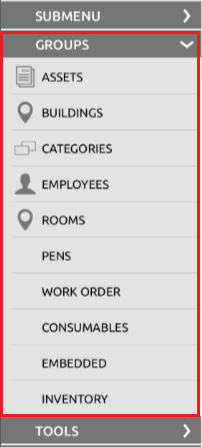
1. Navigate to the group in which you wish to create your audit.
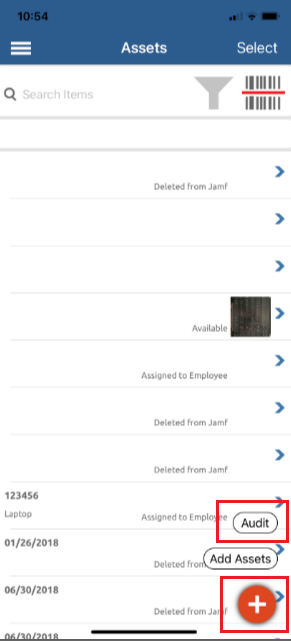
2. Select the red, plus symbol icon at the bottom of the screen, and then select Audit.
3. Select the Audit Name field to provide a custom name for your audit. The system will automatically give it a name if you choose not to.
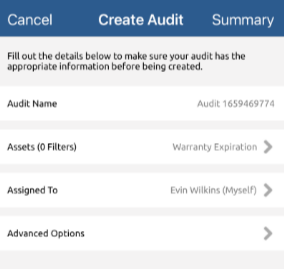
4. Select Create Audit to begin to audit items within your selected group.
Create audit from the Tools menu
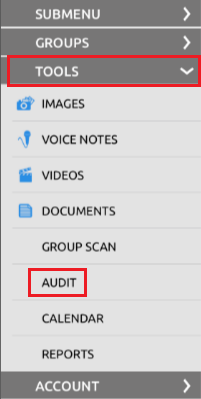
1. Select Tools, and then select Audit.
2. Select the red, plus symbol icon at the bottom of the screen.

3. Select the Audit Name field to provide a custom name for your audit. The system will automatically give it a name if you choose not to.
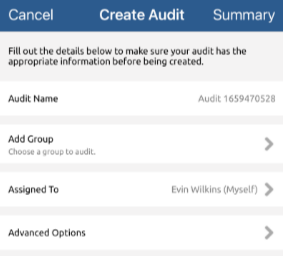
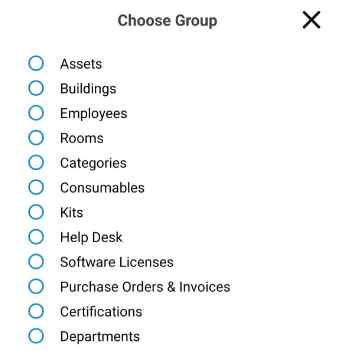
4. Select the Add Group field, and then choose the group from which you wish to create your audit.
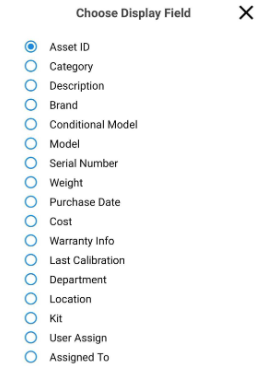
5. Select the Display Field you wish to show in your audit list.
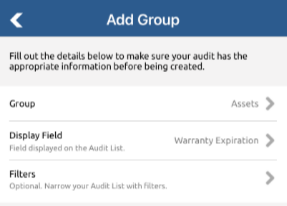
6. Select Filters if you wish to scan specific items. (You can add more than one.)
You can deselect any of these filters if you change your mind. Just click on it once more to remove the selection.
7. Select Add Group, and then proceed to the Assign audit to a user section.
Assign audit to a user
1. Assign the audit to specific users, or...

to users with a specific user template.
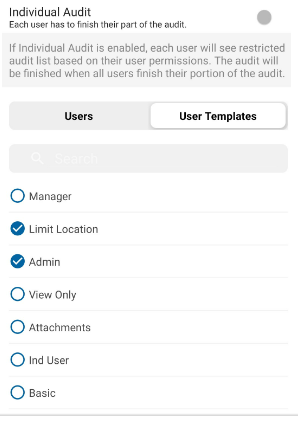
2. First, the Individual Audit option must be set correctly.
For example, if you turned it off, the first user to select the Finish Audit button will close the audit for all assigned users.
If you turn it on, a user can select the Finish Audit to let you know they have completed scanning assets for which they are responsible. Other users can then continue their share of the audit.
3. Proceed to the Advanced Settings section.
Advanced Settings
This section covers the advanced, audit settings to help you make sure you've chosen the best options for the needs of your organization.
To access your advanced settings:
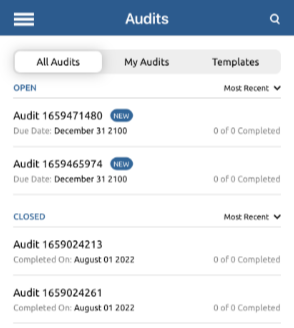
1. Select an audit from your Audits page.
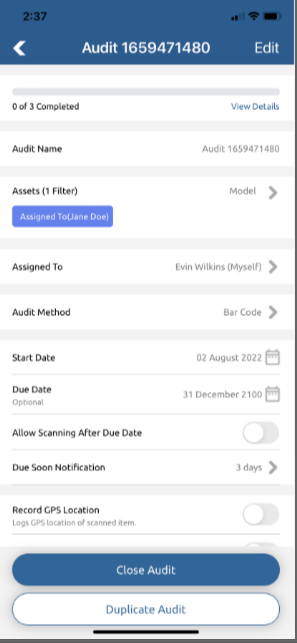
2. Enter your Audit Method, Start Date, Due Date, and other preferred settings. (All of the following settings are included within the audit screen, as shown in the screenshot below. You will likely need to scroll down to find them all.)
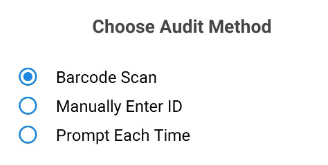
Audit Method
You can allow for users to scan barcodes (Barcode Scan), manually enter values (Manually Enter ID), or choose an option with that will prompt them to choose each time they run an audit (Prompt Each Time).
The default setting is Barcode Scan and will remain as this method if you do not choose anything else.
Start Date
The start date defaults to the current day however, you can choose a specific date.
Due Date
Due Date is an optional setting however, this option allows you the ability to select a date for the audit to be completed.
If you select a due date, you'll have the option to toggle the Allow Scanning After Due Date to the ON position.
You can also send a notification to the assigned users before the due date with the Due Soon Notification.
Record GPS Location
This option allows you to log the GPS of the mobile device when the item is scanned or entered.
Show Asset Details After Each Scan
This option shows the user the asset information after an item is entered. It can be also be used to confirm other information.
Automatically Update Fields
This feature allows you to have the user update fields on the asset. As an example, let's say you're scanning all assets at specific locations and want the status of the assets to be set to Available. After you turn it on, you can select a field in the group, then enter the data it updates to.
Allow User to Edit Fields
This setting allows you to grant access for users to be able to edit specific fields during the audit.
Email Finished Reports
This setting allows you to have specific users or all users with a template receive a report of the audit summary.

Complete the audit setup
Once you've completed all your settings, you can go back to make any necessary changes or, select Create Audit or Start Audit.
NOTE: We currently can only audit 1:1 assets and not inventory or quantity based assets.