Consumables and Inventory Management
Asset Panda is highly configurable when it comes to keeping track of assets and workflow management, and helps you to manage your workflow from the beginning to the end of an asset's life cycle.
You'll find the following topics covered in this article (click on any of the links to be taken straight there, if you wish):
First things first. A bit about inventory management is that it is different than asset management. Although the term for inventory and assets has been used interchangeably, there are key differences to be noted.
NOTE: Keep in mind that our screenshots are examples. Yours may be the same or it may differ. We recommend you provide the names and use verbiage that best suits your organization. It's okay. We won't hold it against you.
Let's get started with a quick summary of assets and inventory:
Assets
Assets are resources with economic value owned or controlled by an individual, corporation or country. There is an expectation that these assets will provide a future benefit. Assets can be almost anything and can consist of laptops, vehicles, pieces of equipment, and so forth.
An asset typically has a unique identifier to separate it from other assets, such as being in one location, having one owner, and so forth. For instance, you can think of it as a one to one relationship.
Inventory
Inventory are different than assets. Inventory consists of raw materials, work-in-process products, and finished goods that are considered to be the portion of a business's assets that are ready or will be ready for sale.
The key point about inventory is that it has a multiple to one relationship. In other words, inventory is quantity based. For instance, you can have one type of inventory item but have multiples of it, and the number would be reduced, or increased at varying points throughout its usefulness to the business.
Pretty simple, huh? Proceed to Configuration to now delve into the fun stuff!
Configuration
Here at Asset Panda, the configuration from an asset record to an inventory record can be quite different. The following screenshot provides an example of what an inventory record and its fields of information typically consists of.
NOTE: Keep in mind that you can create as many custom fields of info you wish to create.
![]()
Create groups and fields
You just got a peek into a new group. We'll guide you through the configuration process so you can create one of your own.
To create this group and its fields:
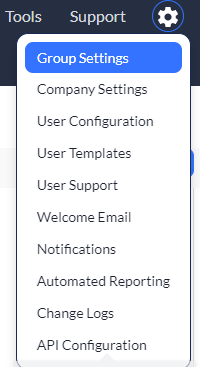
1. Click to select your settings ![]() icon, and then select Group Settings.
icon, and then select Group Settings.

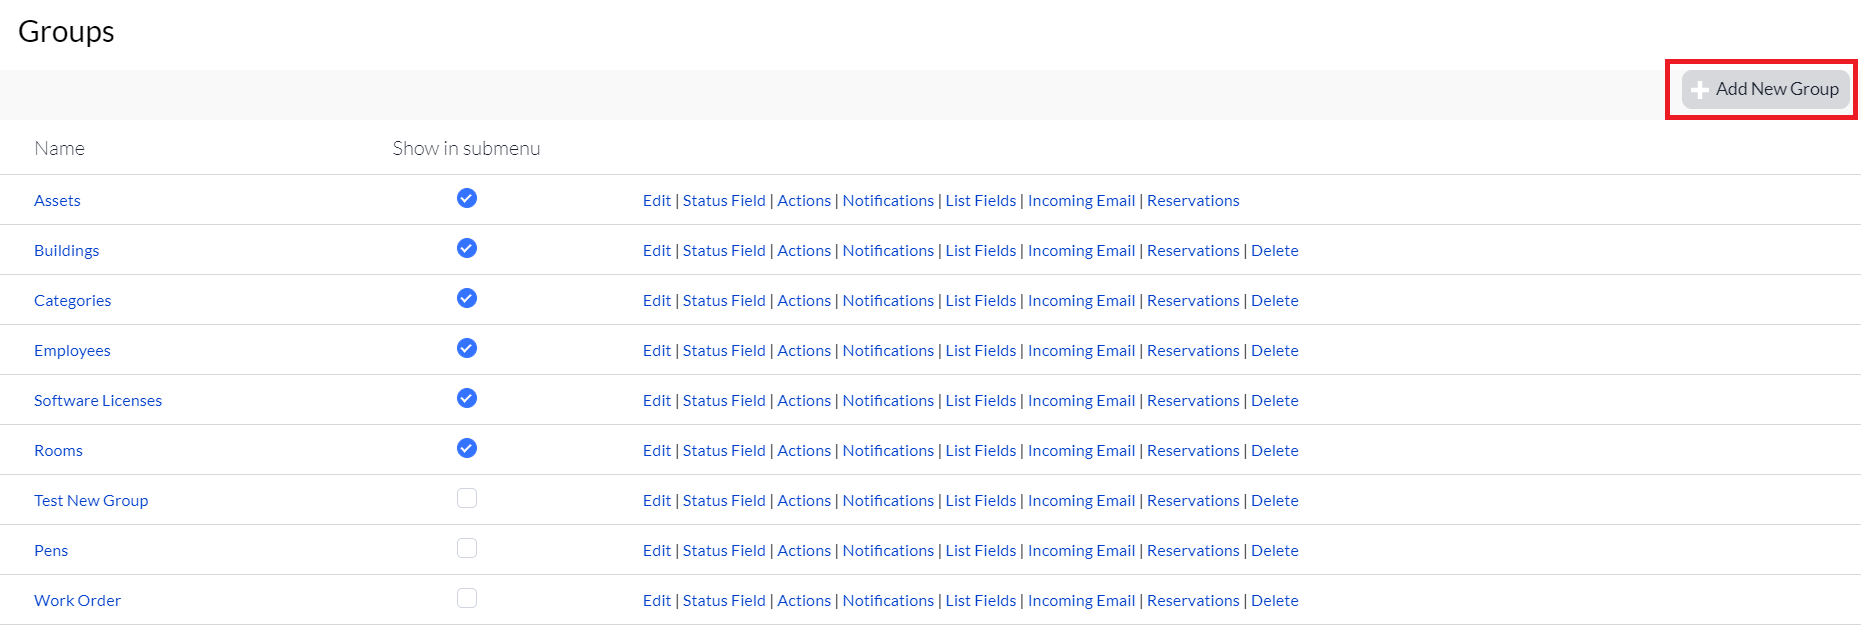
2. Click Add New Group.

3. Provide the Name of your choice (we recommend and are using Consumables in our example), and then click Save.
Once you click Save, a Fields section displays on your screen, allowing you to begin to add new fields.

4. Navigate to the Fields section, and then click Add New Field.

5. Create and add the new field(s) you wish to add.
Keep in mind that the selections on this screen change depending on what you choose. You would of course repeat the field creation process for all new fields you wish to create. (We're using our Quantity on Hand field for our example below.)

6. Click Save and Close. Just like that, your new field has been created and saved.
Create notifications
Notifications are good because they keep us on track and in the know, especially with our busy schedules. Asset Panda realizes this and provides you with the ability to be notified whenever an item and its quantity reach a breaking point (set by you!).
For example, say you've created a numeric field type for Quantity on Hand (shown below).
1. Navigate to the Quantity on Hand field, and then select Notifications.

2. Click New Notification.

3. Enter a name for your notification. (We've used Quantity is Low for our example.)
4. Set the Send on field to Numeric.
5. Decide your Notification type.
Selecting Email will require you to enter Users who can view notification and a Subject.

6. Set the Value is as Less than and then select your less than value number.
You could also opt to select another field from the second drop-down menu rather than a specific number. It really all depends on the fields that you have created. For instance, we have a Quantity Minimum field (shown in the first screenshot of this article). We could have selected that rather than an actual number.

7. Add any other options you wish to add to your new notification.
8. Click Save to save it.
Quantity Changes
By this point, you've likely created your fields of information about an inventory item. Now, it's time for the next step which is to create the functions to quickly increase or reduce the quantities on a daily basis.
1. Click the settings ![]() icon, and then select Group Settings.
icon, and then select Group Settings.

2. Locate your new group (we're using our new example Consumables group), and then click the Actions link.

3. Click Add New.
![]()
4. Provide a name for your Action (we've used Add Inventory as our example), and then click Save.

We'll now create an action that will remove a quantity from a specific item. Keep in mind that you can have as many fields as you like within the action but for our example, we will focus on when an item is being removed (by having a date time stamp to automatically capture this) and by how many (with a numeric field for the quantity removed).
5. Scroll down to your Fields section and locate the Change Fields section.
6. Click New Change Field.

Our next goal is to let Asset Panda remove quantities from the quantity we have on-hand. Just so you know, the drop-down options contained within the Calculation options fields are pulling from fields contained within the group (the Consumables group in our example). (See Create groups and fields if you need help or a reminder for how to create groups and fields.)
- Group: Select the Group that is being changed.
- Field: Select the Field that is being changed (pulling from the Group and the Fields contained within that Group).
- Change Type: Select how the field needs to be changed. (We've selected Action change update field, which directs our system to take the existing quantity on hand and reduce its value.)
- Calculation options: We've selected from two of our existing Consumables Group fields, Quantity on Hand and Quantity Removed. We selected the (-), asking the new Change Field to remove the Quantity Removed from the Quantity on Hand.
- If a user does not have access to write to this field, should this field be updated: Users aren't usually automatically given the ability to manually change certain fields. We recommend setting this to Yes.

7. Click Save and Close once you have finished creating your new Change Field. Remember, your own preferences and settings may or may not match those we've used in our examples.
Data and Use
So we've got our functions and parameters set. Now, we'll add some data.
Just as with assets, you can manually add an inventory record via both the browser or mobile, or by importing through the browser.
To add a new record:
1. Navigate to your Consumables group, and then click Add New.

The fields shown on this screen are pulling from the fields you've added to your Consumables group. As a result, yours will likely differ from what you see in our example below. (See Create groups and fields if you a refresher with adding more fields.)
2. Enter the information you wish to enter into your fields, and then click Save.

You will receive the message that your record was successfully saved. Click on any of the pencil icons to make any needed changes.

You can now perform an action.
3. Click the Actions button, and then select the action you wish to perform.

4. Enter the applicable information, and then click Save and Close.

This changes the amount shown in your inventory. The history of this action can also be pulled into a report.
Reports
Now that you've set actions to reduce inventory items, you can also create a report to summarize which items were reduced over time.
To create such a report:
1. Click Reports from your dashboard or click Tools, and then select Reports.
2. Scroll down to, and then select Action Reports.
3. Click Add Action Report.

4. You'll now need to set your parameters:
- Name: Enter the name you wish to give your report. (We've used Removed Consumables Log in our example but of course you can use whatever name you wish to use.)
- Group: Set the report to pull from your Consumables group (or whatever you named your specific group, if different).
- Select Action: Set the report to pull from the removal action you created (our example is from our Remove Inventory action).
- Action Objects: Set the report to pull only consumable items via the Only objects that have had this action option. In this case, it is objects that have had the removal action performed.

5. Select the fields you wish to see inside of your report.
The selected fields will display on the right hand box so you can keep track of what your report will include. We selected the fields that provide us with information about the item (SKU, etc.) but also questions from the action itself (Date Removed and Quantity on Hand, etc.).

You can customize your report to pull from all time or, you can get really specific by applying filters (like date ranges to see what was taken out in a certain time frame, or only certain consumable items).
