Calendar Events
The calendar acts as a notification system and displays multiple events. This topic provides information on how to set up a group calendar event, along with help of the following:
The calendar can display a single event or a date range for any event that spans over a specific period of time.
Add group calendar events
To add your group calendar events:
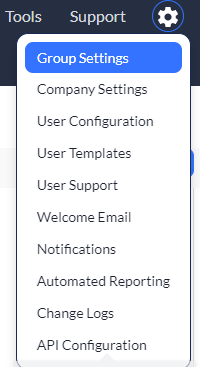
1. Click to select your settings ![]() icon, and then select Group Settings.
icon, and then select Group Settings.
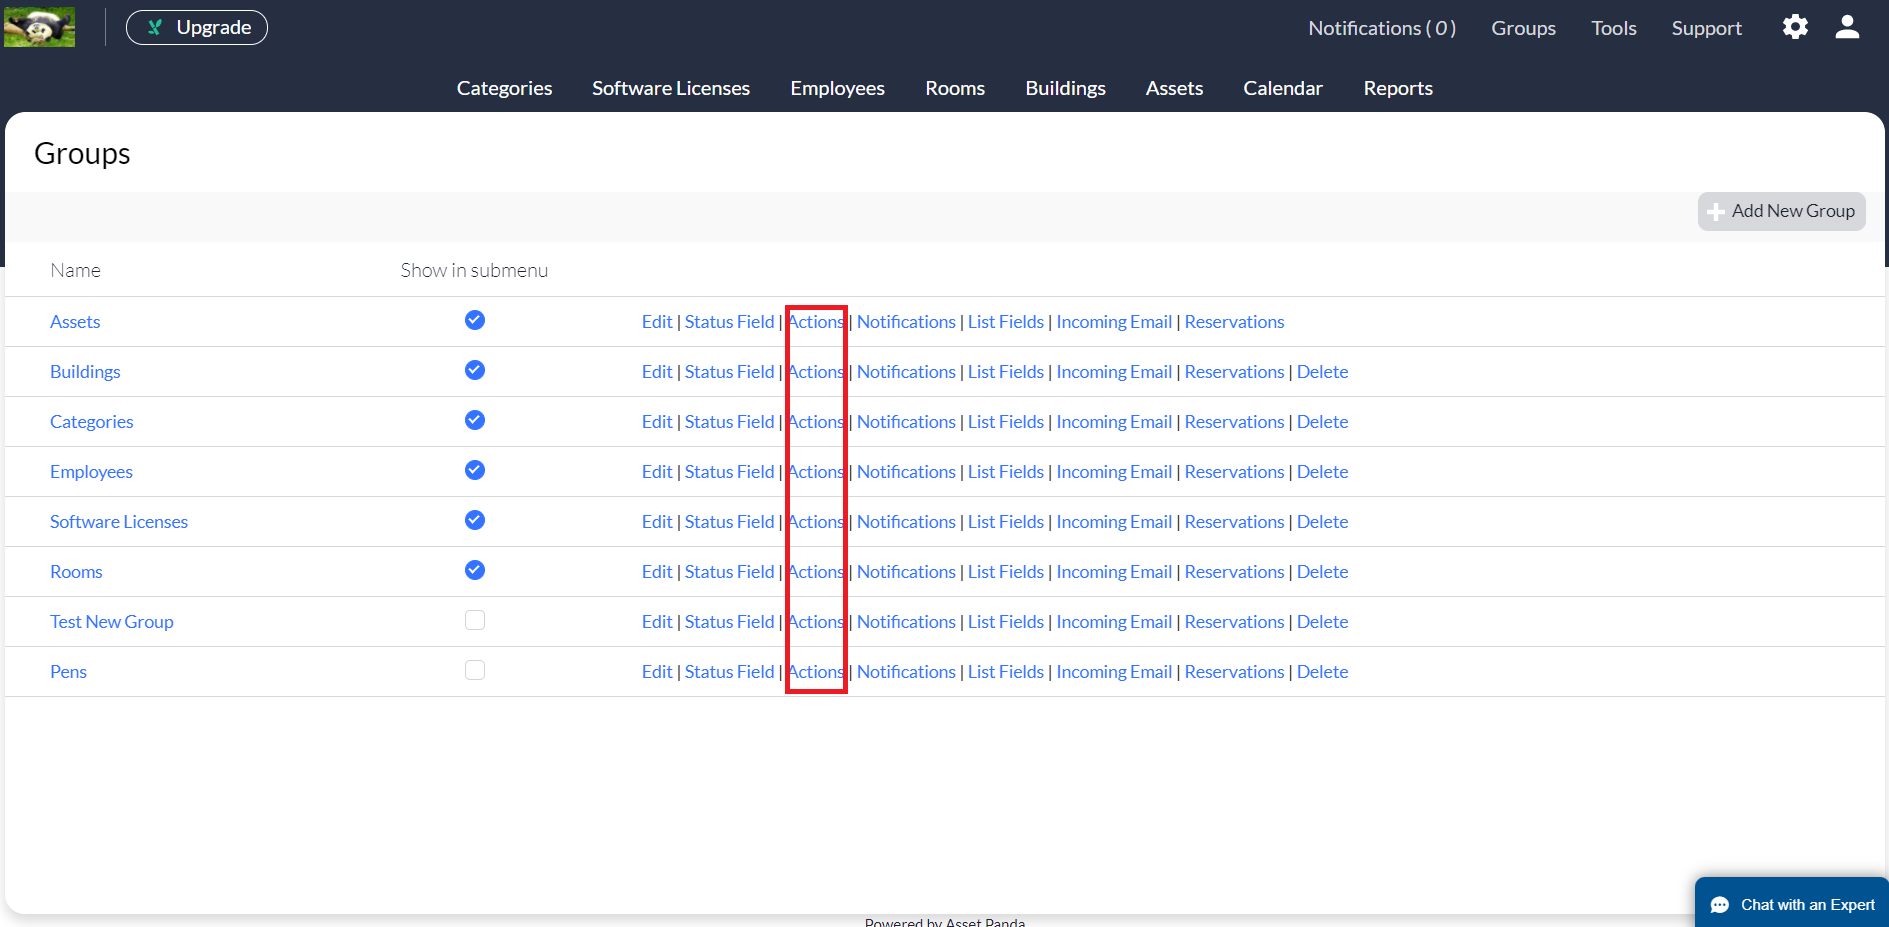
2. Click on the Actions link for the desired group.
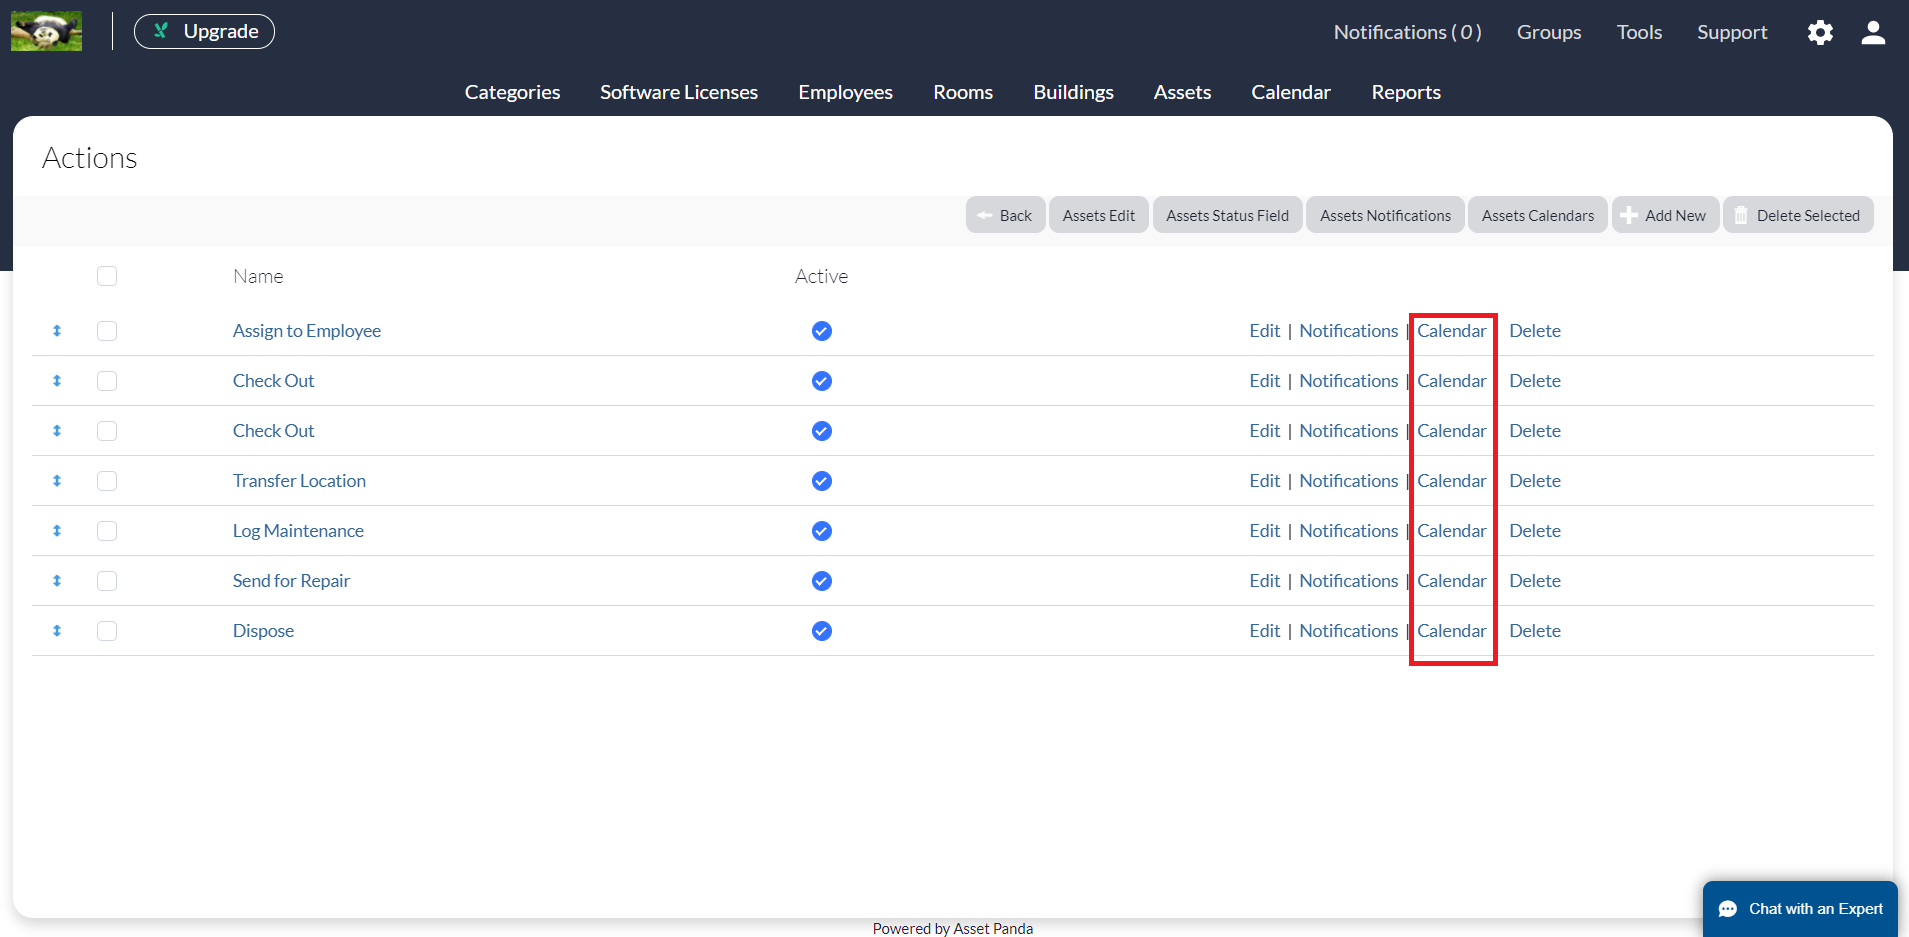
3. Click on the Calendar link for the group in which you wish to add an event.
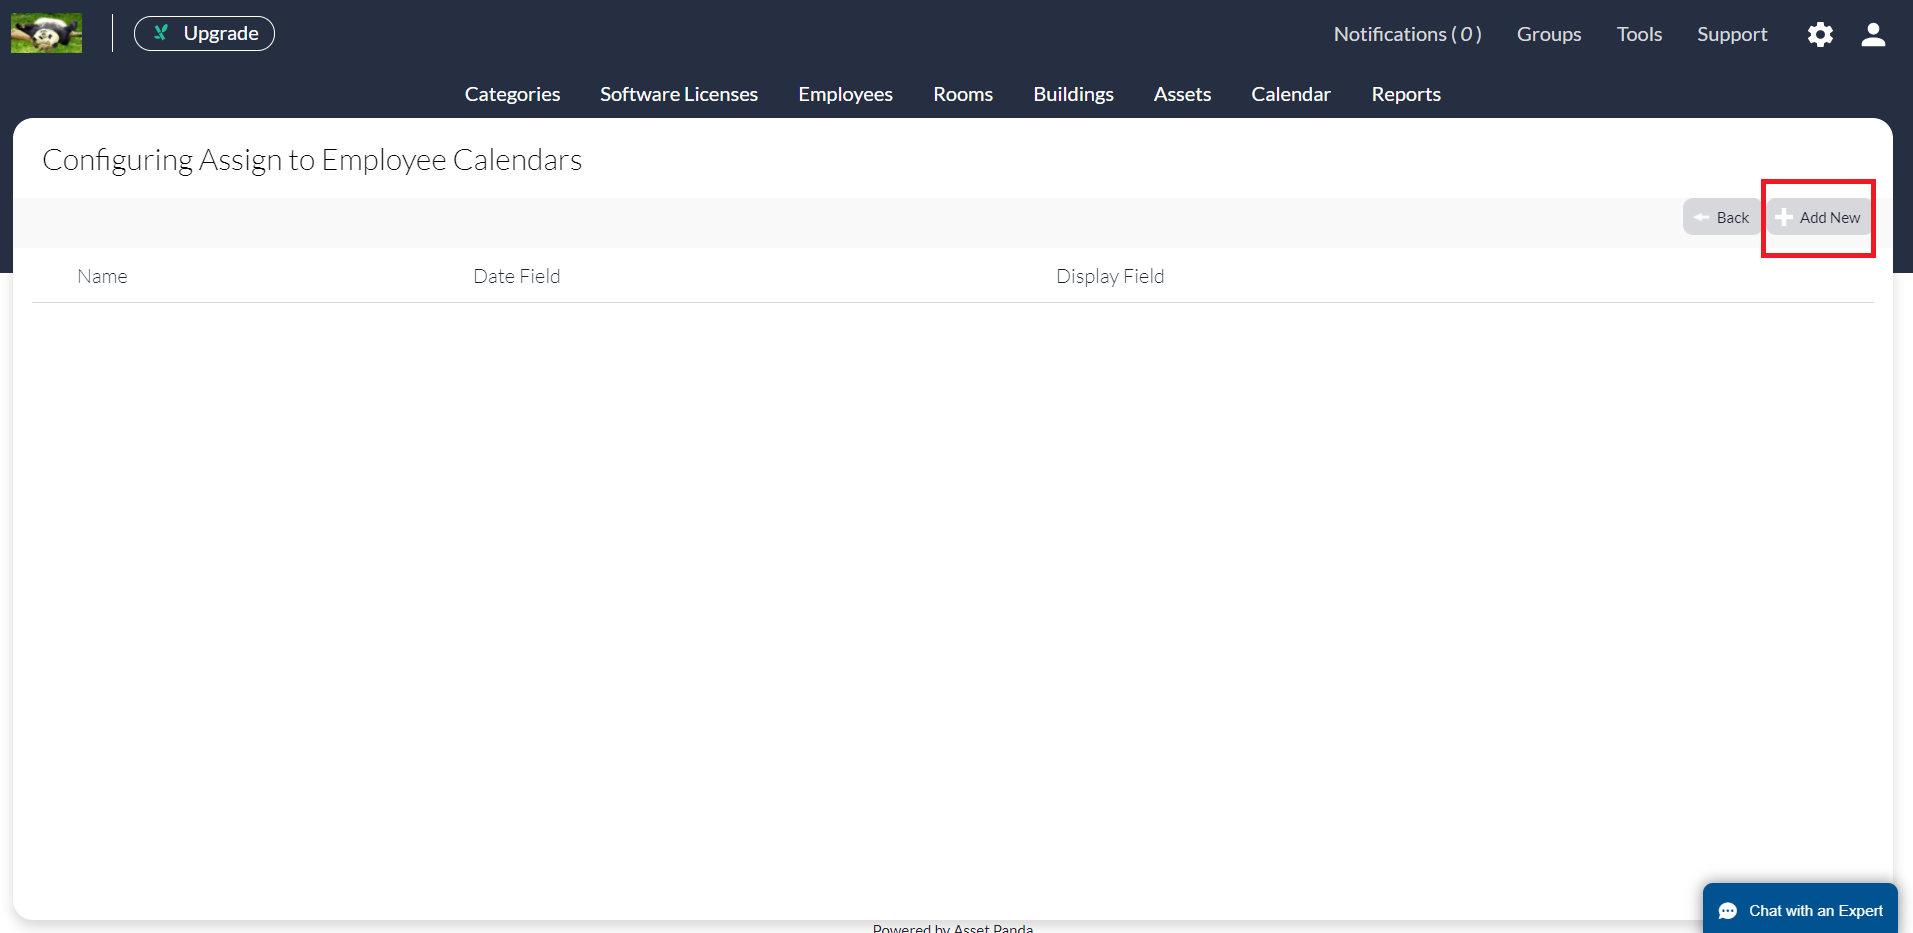
A page that displays any existing events displays (see the screenshot below). It will be blank (like shown below) if you haven't yet created and added any events for this specific group.
4. Click Add New.
A new calendar configuration page displays, allowing you to set up and format a new calendar event. See the sections below to assist you with these fields.
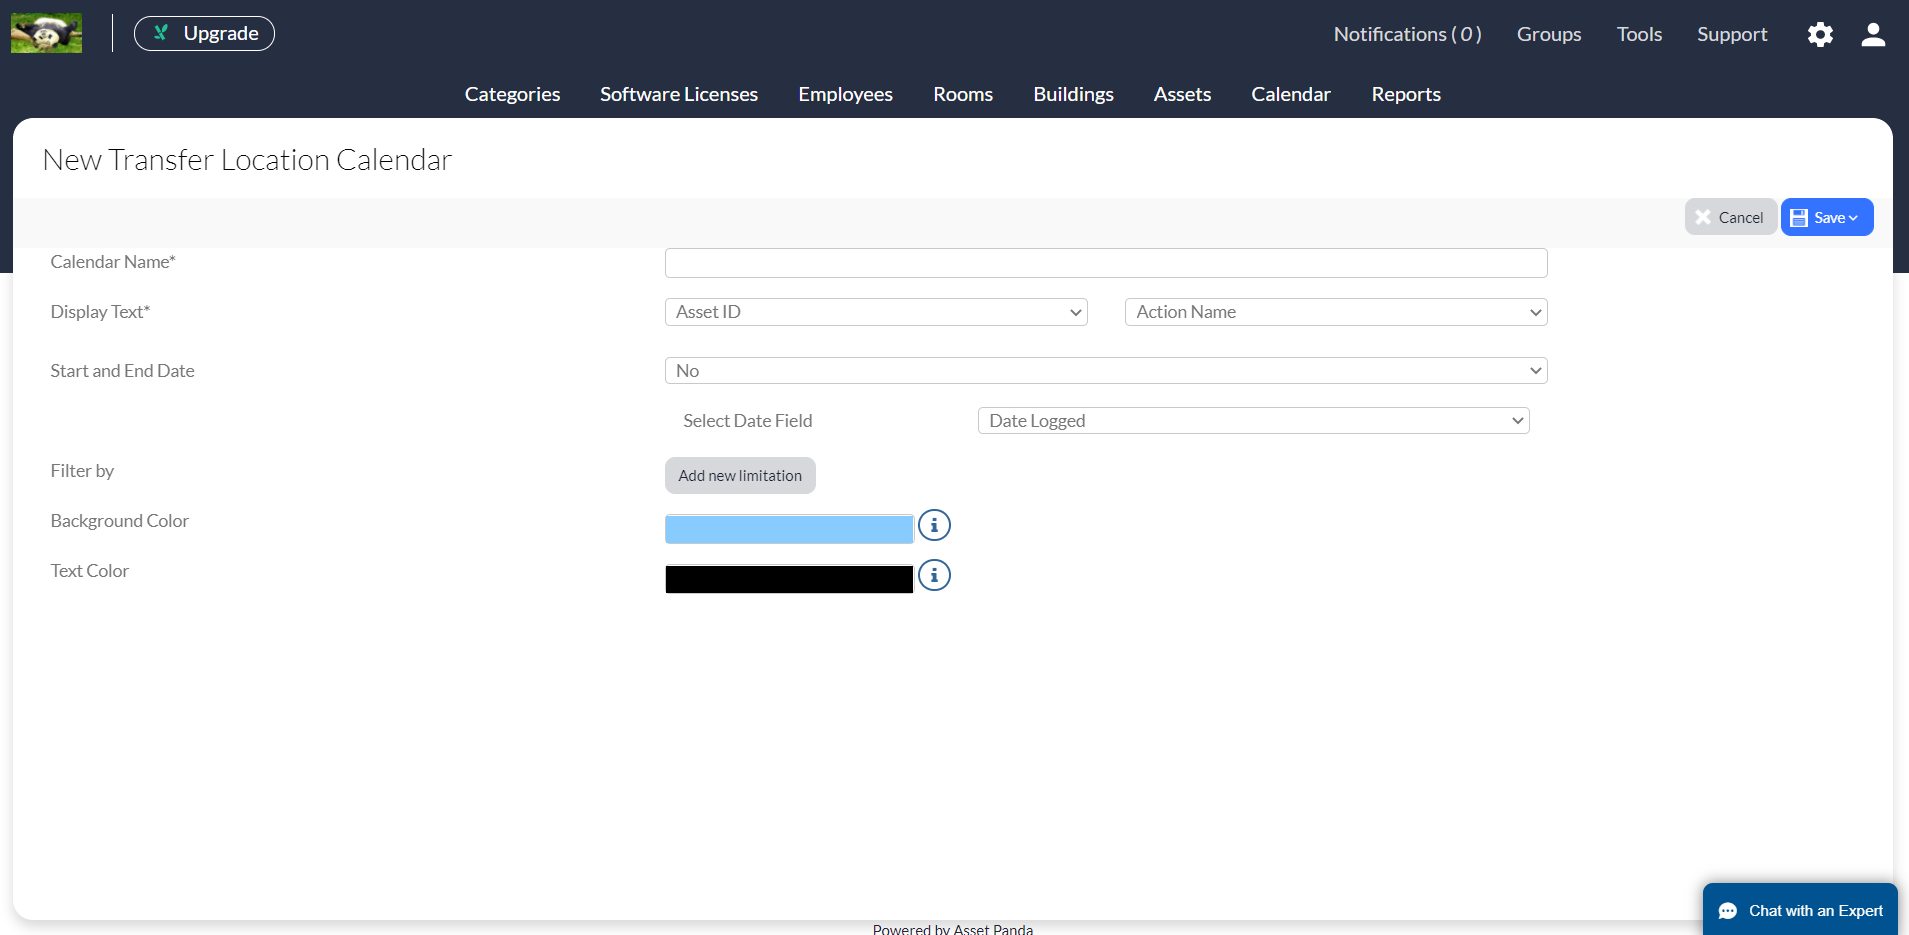
5. Click Save after completing the following instructions.
Name the calendar
Use this field to enter the title of your event. (This is a required field.) To set the Calendar Name:
![]()
Set display text
These drop-down menus allow you to select the fields you wish to display on your calendar. (This feature is required.) To set the Display Text:
![]()
1. The first drop-down menu allows you to select the field you wish to display on the calendar.
2. The second drop-down menu allows you to choose either the Action Name or Calendar Name to display on the calendar. You may also select Other Value which offers a free form field, allowing for your own customization.
Set start and end dates
These options allow you to create and select a start and end date for your event. To set a Start and End Date:
Select Yes or No from the Start and End dates drop-down menu.
Selecting Yes

Selecting Yes will provide you with a range of dates.
1. Select a start date from the Start Date Field to identify the beginning date of that range that the event will display. For example you may wish to display when a software license needs to be renewed. You would select Renewal from the selected date field.
2. Select an end date from the End Date Field.
This field offers a selection of dates to identify the last date of the range that the event will display. You will also notice a Set Number of Days option, allowing you to enter a set number of days the event is to appear on the calendar. For example, you may wish to renew a software license that has a grace period of 15 days. You would select Renewal from the Start Date Field and then set the number of days within the End Date Field as 15. It will then display on the calendar for 15 days, beginning on the renewal date.
Selecting No
![]()
This option allows an event to display on a single date. You will need to select a date field from the Select Date Field drop-down menu. Selection of this field identifies the date on which the event will display. (Example: If the event is to display when an software license needs to be renewed, choose Renewal for the selected date field. The software license # displays on the calendar on the renewal date that is recorded in the insurance record.)
Filter by field
![]()
Use the Filter by field if you wish to set limitations, limiting the number of calendar entries based on chosen, filtered characteristics. To set limitations:
1. Click Add new limitation.
![]()
2. Use the first drop-down menu to select a field that contains the characteristic that you would like to filter by.
3. Use the free form field to enter more specific information on what you wish to filter by.
4. Use the second drop-down menu to select the item as either Like (equal to) or Not Like (not equal to) to the filter by information you entered into the free form field.
NOTE: Click the red X if you wish to remove any filters.
Set background color
The Background Color feature allows you to change the background color of your event.
NOTE: Using different color schemes for different events helps to easily identify items on the calendar.
To change the background color:
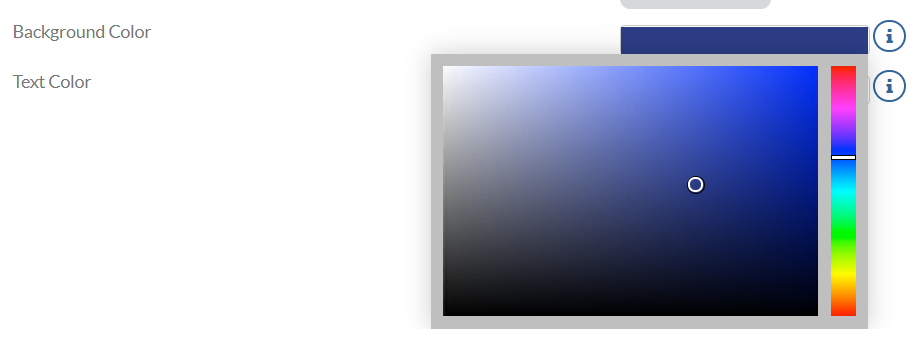
1.Click on the color field to display a color chart.
![]()
2. Click within the square to select a color or use the scroll bar on the side of the square to select the desired color.
Set text color
Like the Background Color feature, the Text Color option allows you to customize your colors. The Text Color field lets you select the color of your event text.
NOTE: Using different color schemes for different events helps to easily identify items on the calendar.
To use the text color option:
1. Click on the color field to display a color chart.
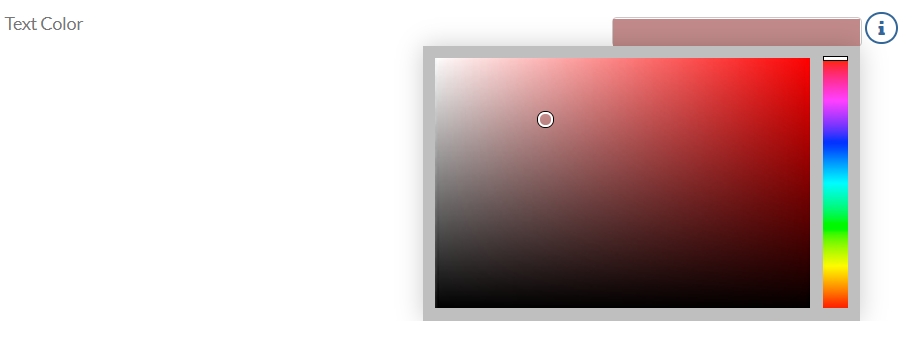
2. Click within the square to select a color or use the scroll bar on the side of the square to select the desired color.
We recommend that you use different color schemes for different events. This helps to easily identify items on the calendar.