Barcode Generator
Asset Panda generates barcodes based on sheet templates and label designs, and sends them to your browser as .pdf or .png documents. You can use any printer as long as the correct paper dimensions are outlined in the sheet template.
NOTE: On that note, we know you're ready to dive right in but a quick word before you do that. Please know (BEFORE you print) that it is completely up to you to enter the proper measurements to fit your templates and labels. Although we'd like to do this portion for you, there are lots of third party printers out there and well, you get the picture.
Generate and print barcodes
To generate and print barcodes:
1. Locate the Tools menu, and then select Barcode Generator.
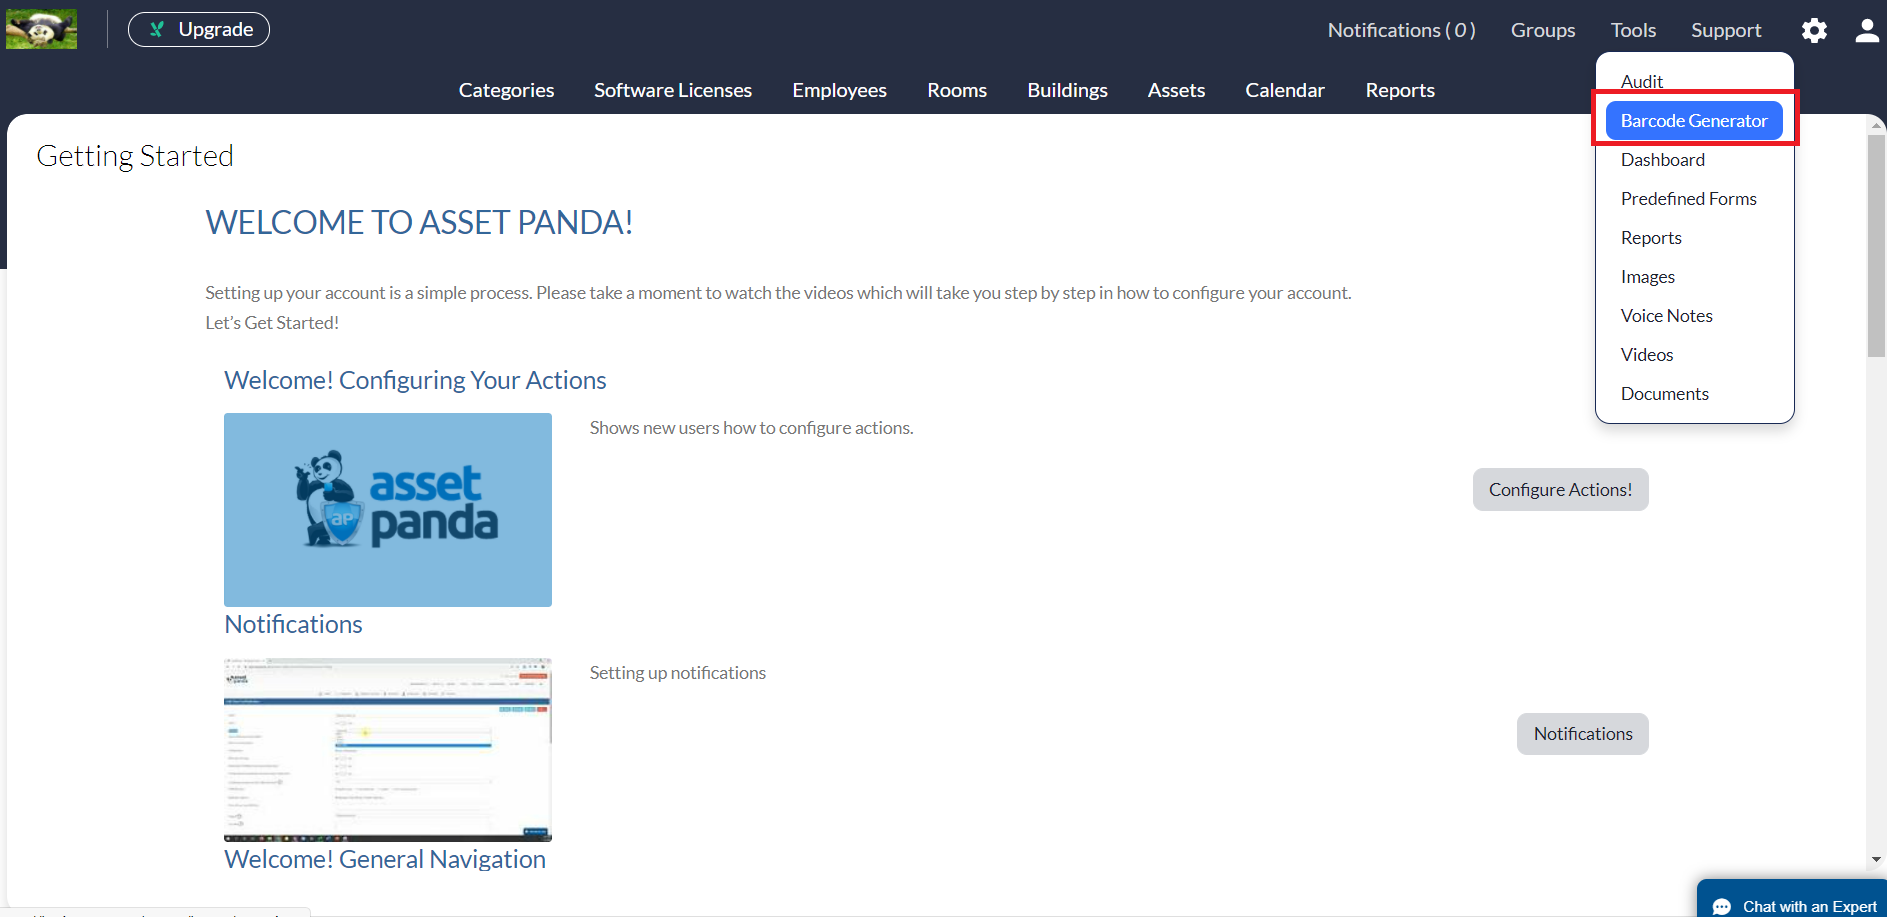
NOTES: Contact your company's account administrator if you do not have access to the Barcode Generator.
Your landing page may appear differently than the one shown below, depending on your settings.
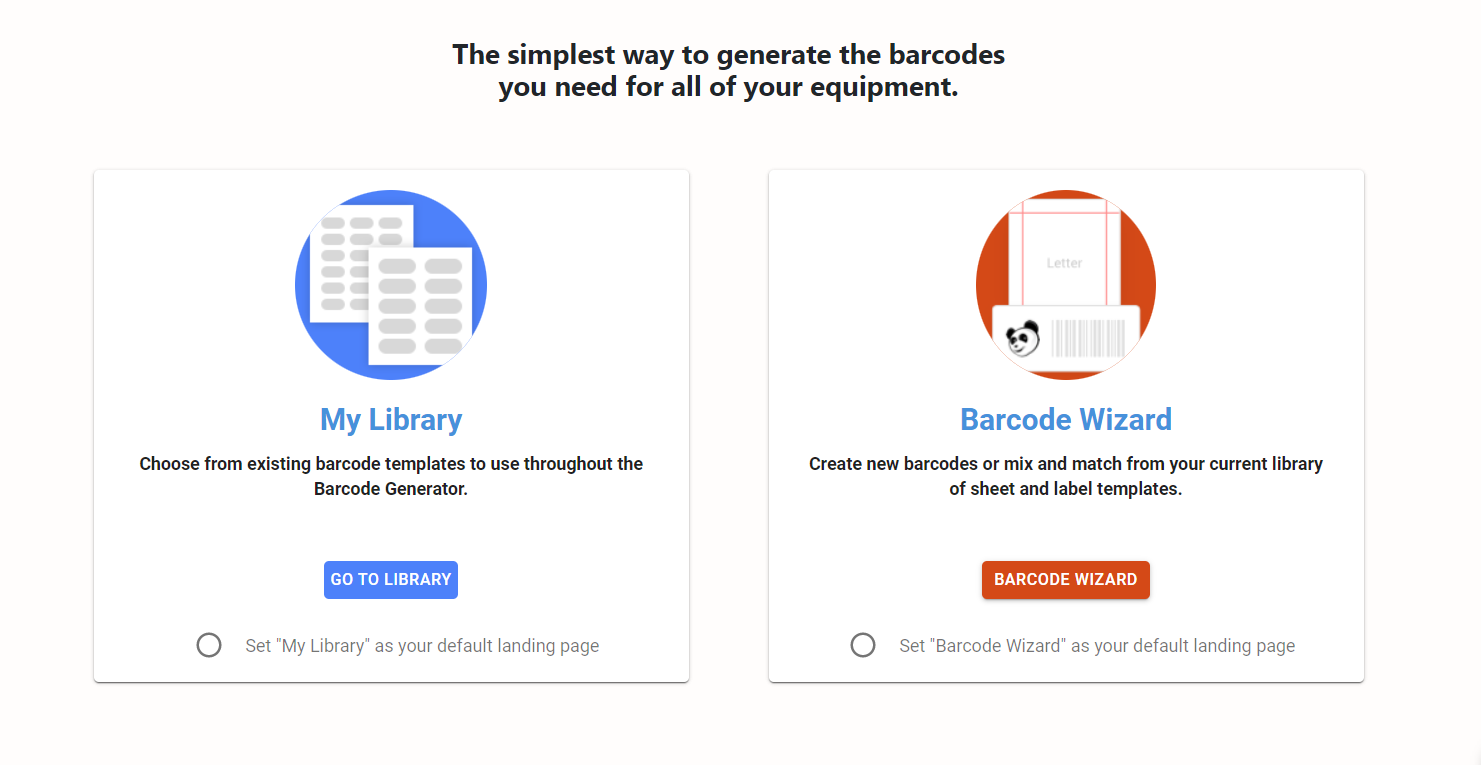
2. Select either My Library or Barcode Wizard to create your barcodes.
My Library
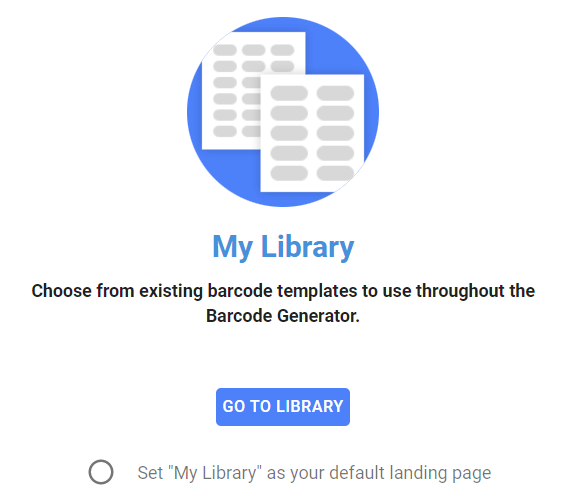
The My Library option contains your existing barcodes, sheets and templates. To use this option:
1. Select My Library.
Barcode Wizard
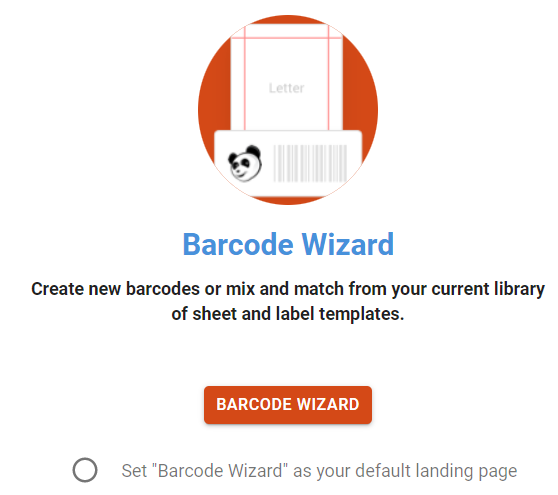
The Barcode Wizard option allows you to create new barcodes. To use this option:
1. Click Barcode Wizard.
2. Use the Choose Your Sheet drop-down menu to select the sheet(s) that you will feed into your printer. This menu contains several of the most popular sheet templates.
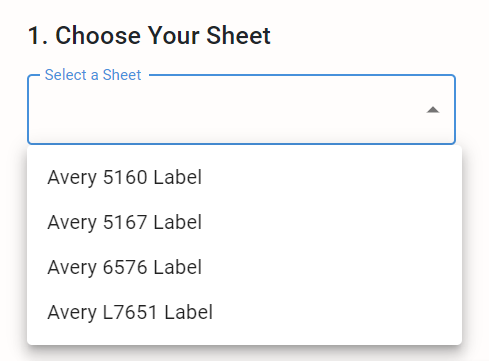
3. Click the Create New button if your sheet size is not found within the Choose Your Sheet drop-down menu. This will allow you to enter the dimensions of your preferred sheet.
NOTE: The dimensions come from the product you have purchased.
4. If you decided to create a new sheet, click Save Barcode Template to save your template within the Choose Your Sheet drop-down menu.
5. Use the Choose Your Label drop-down menu to select a label from within the list of saved label templates. (The label is the sticker that will peel off and get attached to your asset.)

Proceed to step #17 if you select a label from the template.
Proceed to the next step (step #6) if your label is not found within the drop-down menu.
![]()
6. Click the Create New button if your label is not found within the Choose Your Label drop-down menu. This will allow you to create a new label template.
7. Enter the name of your barcode sticker within the Name Your Barcode Sticker field. (We know our example name below is kinda boring, which is why although we encourage creativity, we also encourage you to name it something that makes sense to you and your organization!)
8. Select your label type from the Sheet Info drop-down menu.
The size of the label will appear within the label template screen on the right side of the screen.
![]()
9. Click a barcode to select your preferred barcode style.
Your selected barcode will also appear within the label template screen on the right side of the screen.
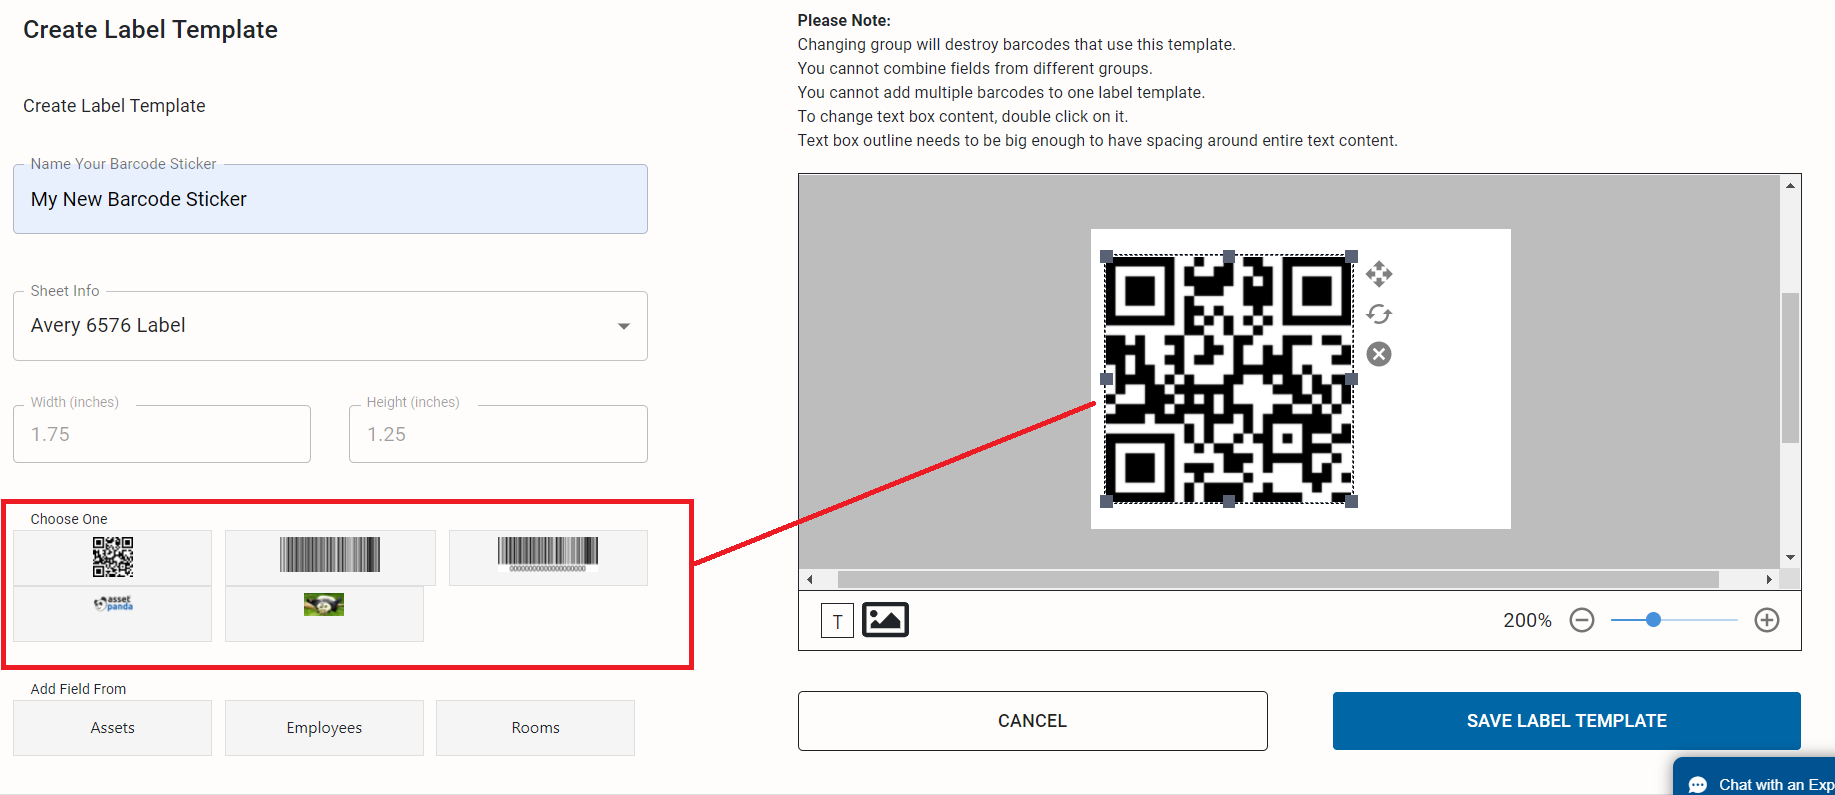
10. Click the barcode to reveal icons that allow you to delete, drag or rotate the barcode to your desired location within the label..
![]()
11. Select a group field from the Add Field From section.
The selected field will display on your printed label.
![]()
12. Click the field to reveal icons that allow you to delete, drag or rotate the field to your desired location within the label.
13. Click your group field to reveal a drop-down menu, allowing you to select information that will appear on your printed barcode.
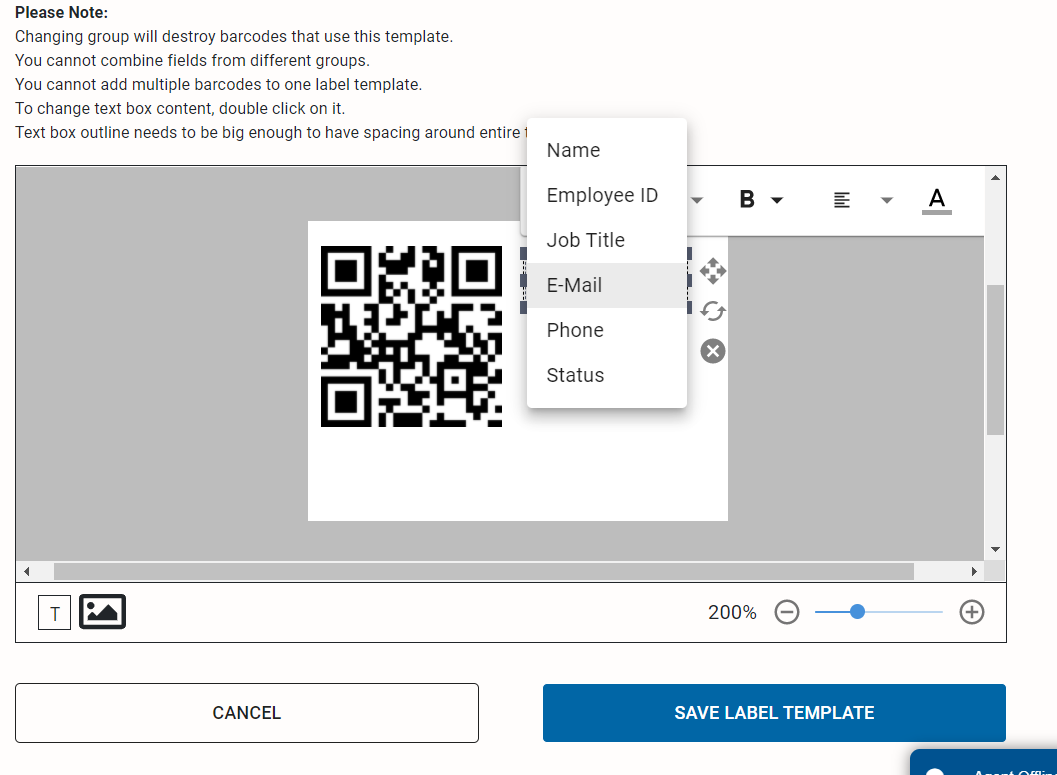
NOTE: If you do not see your specific field listed, make sure that it has been marked to be used on a barcode.
14. You can also use add additional information to your barcode by using the text field or inserting an image.
15. Click Save Label Template to save your new template.
If you watch the right side of your screen, you will notice a preview of your new sheet layout, along with the barcode label sticker design. This allows you to check it out before you commit.
16. Click Continue.
17. Select Automatically Generated Barcodes if you wish to print a sequence of barcodes, or Generated From Field Value if you wish to print only records that have already been added to your account.
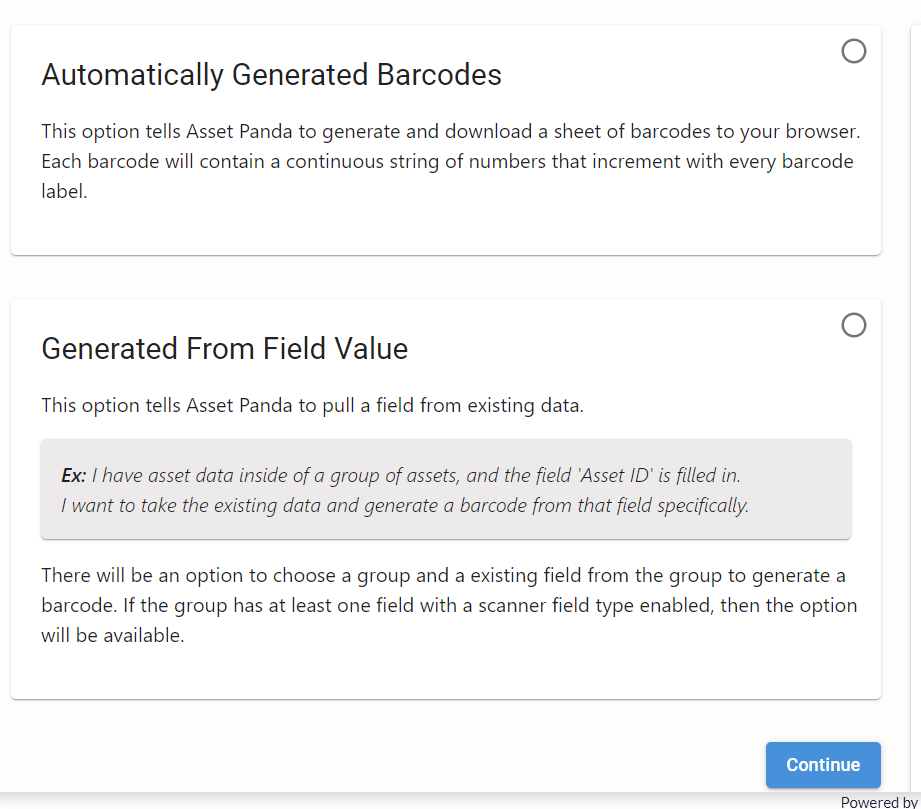
18. Click Continue.
19. If printing Automatically Generated Barcodes, enter the requested information, and then click Save and Generate.
Note that this option will ask you how many labels you want to generate and where on the label sheet to start.
The code number captures the last number used, and then auto begins with the next applicable number. Every generated label will automatically increment going forward. Very cool, huh?
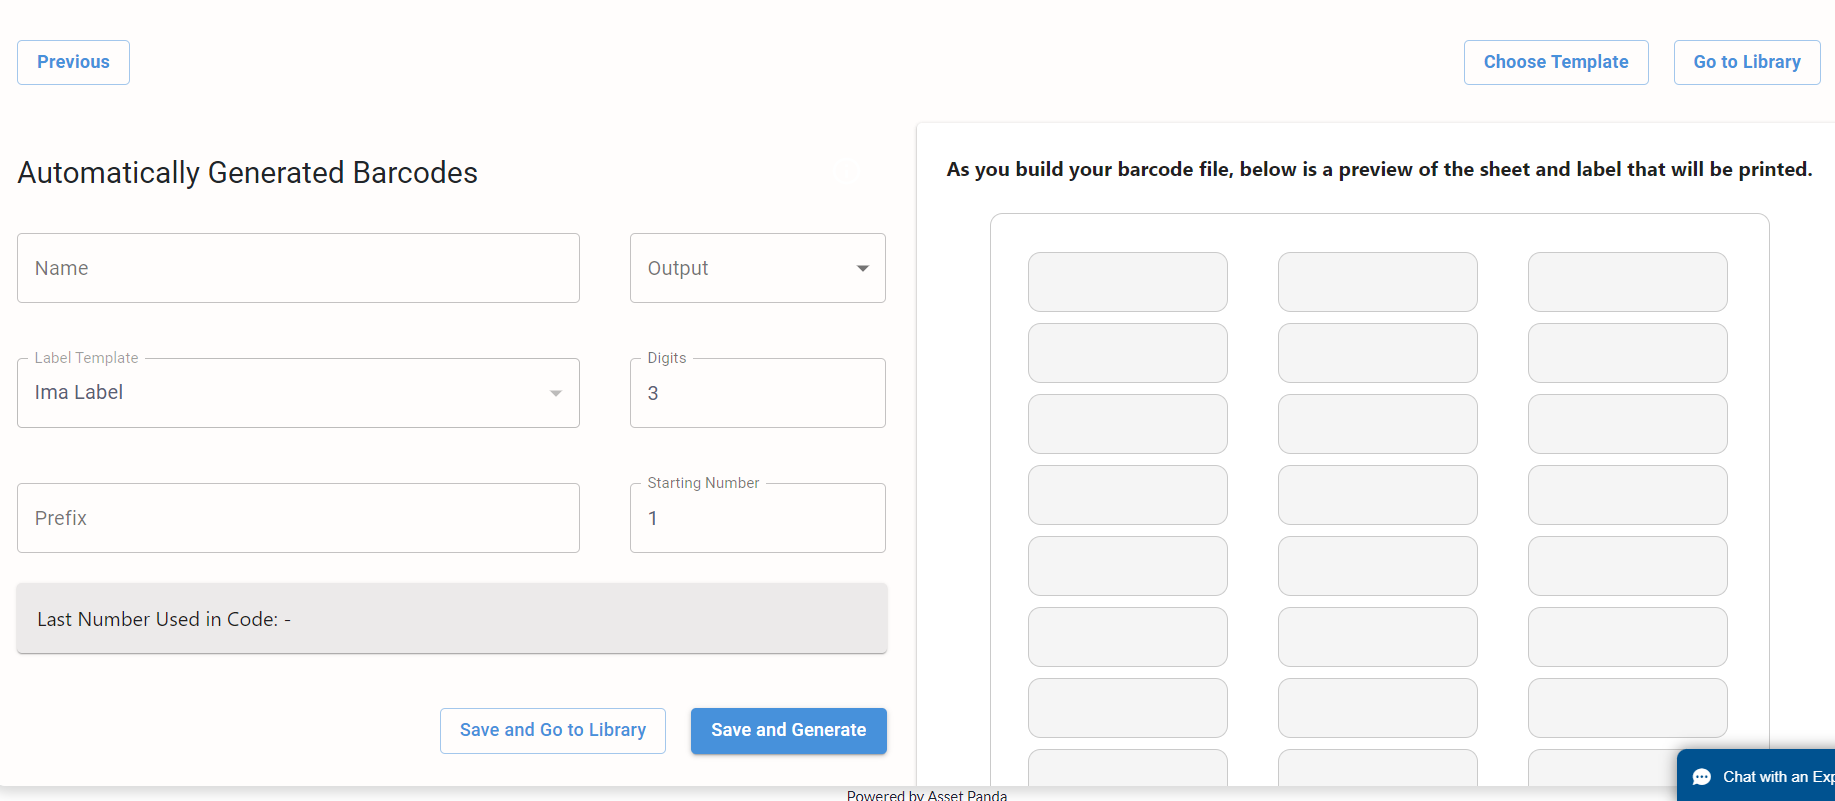
NOTE: Use the same method to re-print barcodes or print multiples of the same barcode.
If printing barcodes that Generate from Field Values, use the drop-down menus to select the Group and Field.
![]()
20. Click Save and Select Items.
21. Click Finish and Generate to generate your barcodes within your preferred output!
Compatible barcodes
You may find yourself asking just which barcodes are compatible with Asset Panda. We are one step ahead because we answer that question here:
Note that the most common barcode used in the US is Code 128.
1D Barcode Types
- UPC/EAN
- EAN-2/EAN-5 Add-On
- Code 32
- Code 39
- Code 128
- ITF (Interleaved 2 of 5)
- Code 93
- Code 11
- Code 25
- Codabar
- GS1 Databar
- MSI Plessey
2D Barcode Types
- QR Codes
- Datamatrix
- PDF417
- AZTEC
- Micro QR Code
- Micro PDF417
- MaxiCode
- GS1 DotCode
Postal Code Types
- RM4SCC (Royal Mail 4 State Customer Code)
- KIX (Klant Index)
- Posi LAPA 4 State Code